- Author: Cathy
What is 3d laser engraving?
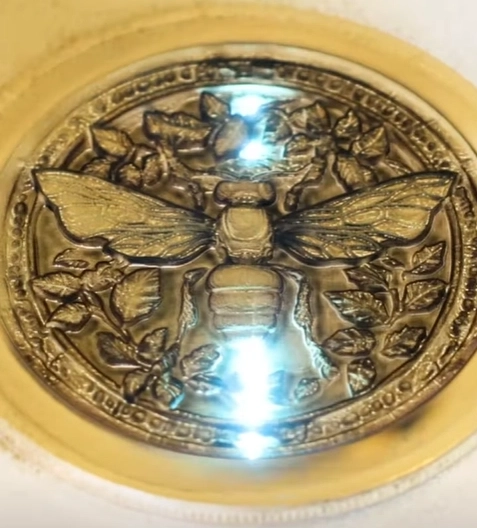
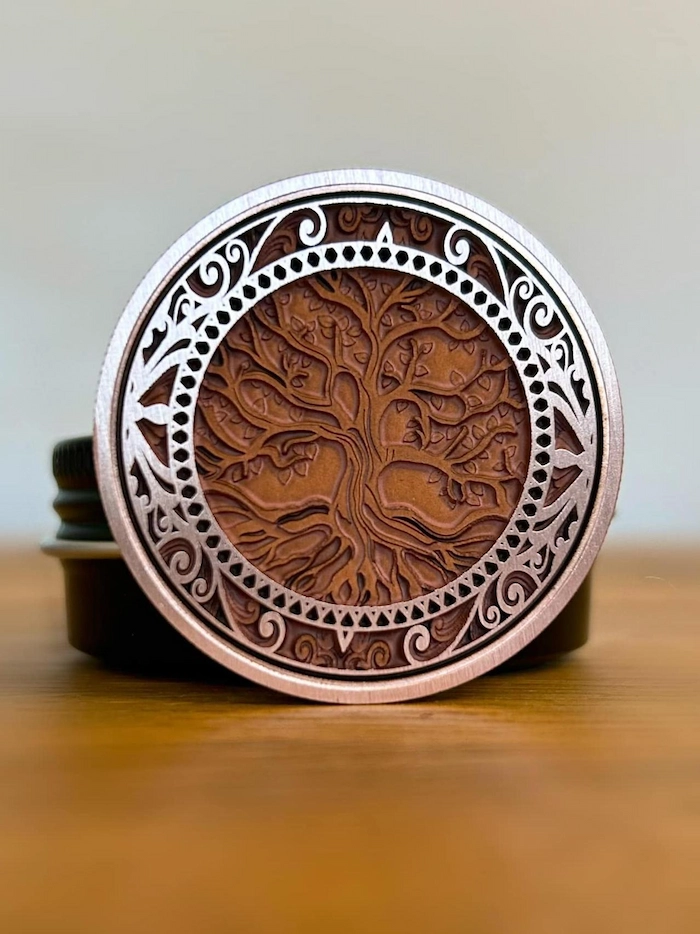
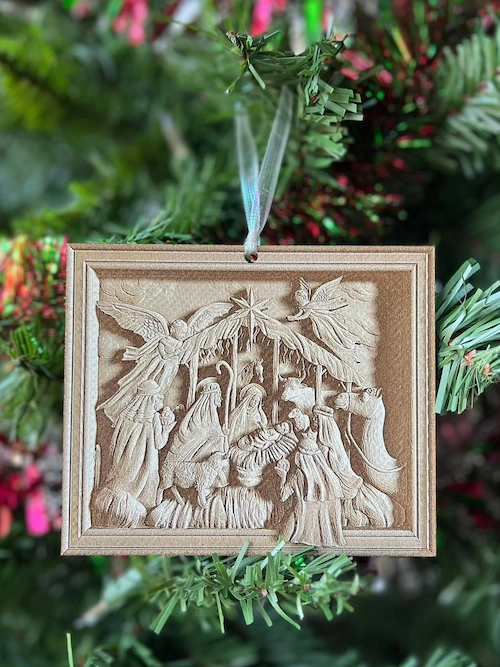
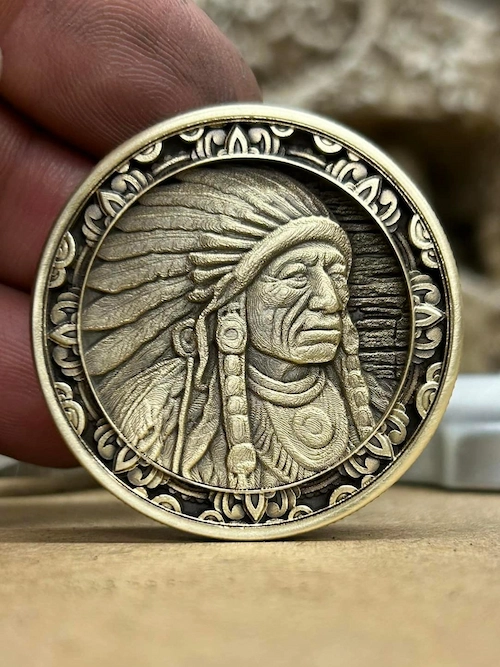
3D laser engraving is a specialized technique that allows laser engraver for the creation of three-dimensional designs on various materials. Unlike traditional laser engraving, which etches flat or shallow images, 3D engraving can carve deeper layers to create a sculpted or relief effect. This process involves varying the laser power and focus to achieve depth, making it ideal for producing intricate, multi-layered designs that stand out from the surface. It’s commonly used for detailed artwork, custom trophies, and decorative elements on materials like wood, glass, acrylic, and metal.
Is a 3D laser printer the same as a laser engraver?
A 3D laser printer is not the same as a laser engraver, though both use laser technology.
A 3D laser printer uses lasers to build objects layer by layer, typically with materials like plastic or metal, to create a 3D structure. It focuses on additive manufacturing, where material is added to form the object.
A laser engraver, on the other hand, removes material from the surface of an object to create an engraving. It is used for marking or etching designs, logos, and text on various surfaces, like wood, metal, glass, or plastic.
In short, 3D laser printers create objects, while laser engravers etch or mark existing surfaces.
What 3d laser engraving products can you create?
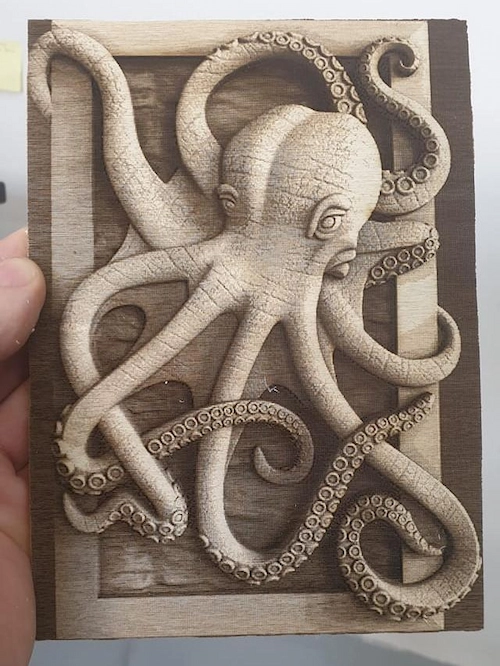
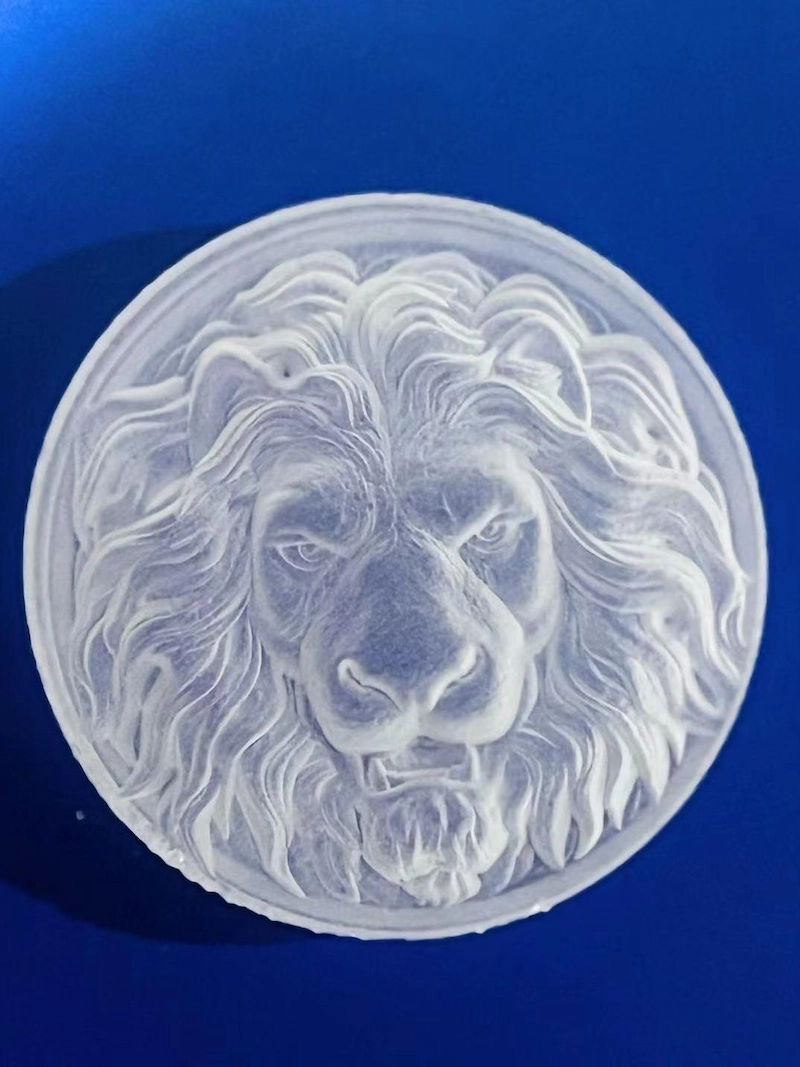
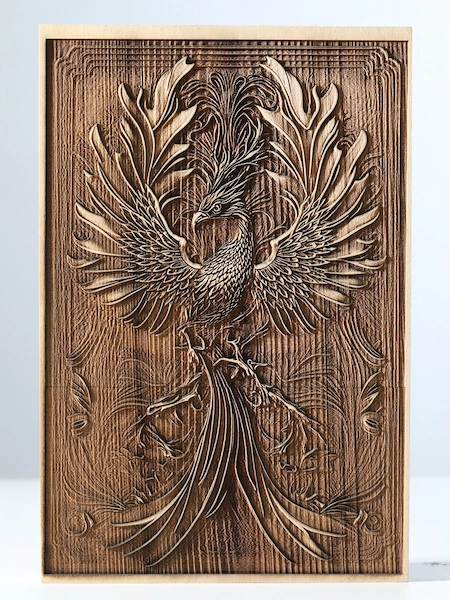
How does 3d laser engraving work?
Unlike standard engraving, which typically etches flat or shallow designs, 3D laser engraving creates depth by removing multiple layers of material at varying intensities, resulting in a more intricate and lifelike design. It works by interpreting a grayscale image or 3D model, where different shades correspond to different engraving depths. As the laser moves across the material’s surface, it adjusts its power output based on these grayscale values, burning away more material in darker areas to create deeper engravings, while lighter areas receive less intense treatment, resulting in shallower cuts or untouched surfaces. This process often requires multiple passes, with the laser gradually building up depth and detail layer by layer.
The method can be applied to various materials, including wood, acrylic, and certain metals, with the choice of material and laser type (such as CO2 or fiber) influencing the final outcome and level of detail achievable in the 3D engraved piece.
How to 3d laser engrave?
Basic steps
- Design preparation
- Material selection
- Laser settings
- Engraving process
- Multiple passes
- Finishing
Key considerations
Resolution: Higher resolution images produce more detailed results.
Material thickness: Thicker materials allow for more dramatic depth variations.
Laser power: More powerful lasers can engrave deeper and faster.
Software: Specialized software is often used to convert 2D images into 3D engraving instructions.
How to choose the right material for 3D laser engraving?
When choosing materials for 3D engraving, you should prioritize those that can handle the depth and detail required for intricate designs. Materials like wood, acrylic, and certain metals work well because they allow for varying engraving depths without compromising structural integrity. The material should be durable enough to hold the detail of the engraving, while also being suitable for the laser type you’re using. Softer materials may lose detail, while overly hard materials might require more power and time to engrave effectively.
Compared to shallow engraving, relief carving requires thicker materials. This is because relief carving needs a wider range of engraving depths to fully showcase a distinct layered effect. We recommend using materials with a thickness of 8mm or more for processing. Cherry wood is an ideal material for relief carving. Its natural color is moderately deep, and the wood grain is not overpowering, allowing the details of the relief pattern to be displayed to the greatest extent.
What kind of image is suitable for 3D laser engraving?
Not all types of images can be used for laser relief engraving; a depth map is the suitable design for this purpose. Unlike standard images, depth maps contain extra information on the Z-axis, which describes the depth or height of objects. This is the key feature that makes depth maps applicable for CNC relief production. In laser engraving, depth maps are also commonly referred to as height maps.
Depth maps are usually stored in formats like .png or .jpeg. The .png format, with its lossless compression, supports 16-bit data storage and provides better preservation of depth map data.
How to obtain a depth map?
The simplest way is to search for free or paid resources online. However, these may not always come with the appropriate licenses or may not fit your needs. You can also refer to tutorials or consult a professional designer.
We encourage creating your own depth map: First, create your desired 3D model using professional 3D design software, typically in .stl format. Then, use an application or plugin to convert the .stl file into a .png or .jpeg format, making sure to check whether it is the front or side view. Adjust the brightness of the depth map in image editing software, and add your logo or name. You can also use AI tools to easily convert line drawings into 3D images.
Tips for designing depth maps
- Use clear, high-resolution images to showcase the laser’s precision.
- Refer to the original design in professional 3D software for guidance on depth values.
- Ensure the depth range in the image is broad to maximize the 3D effect.
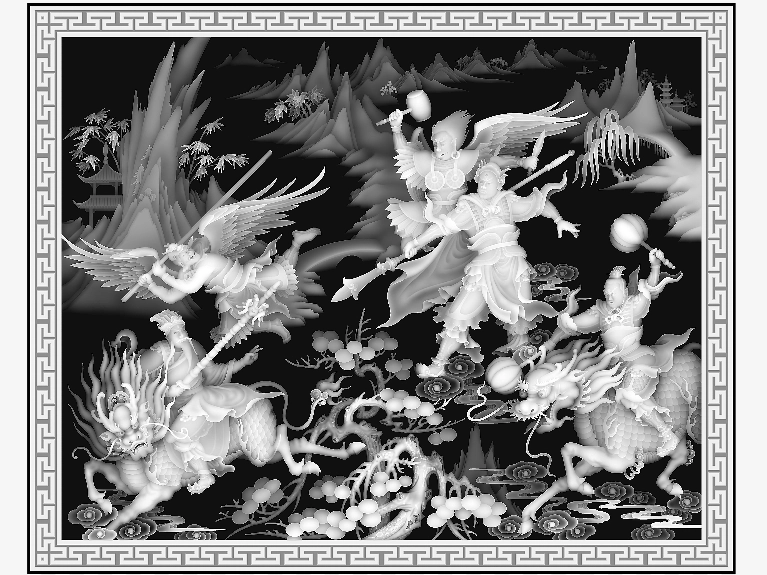
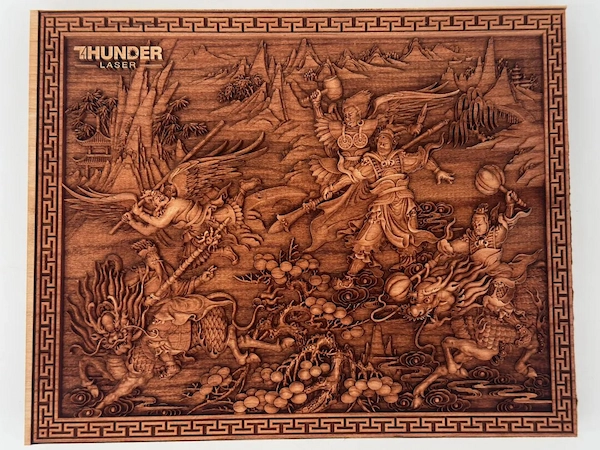
How to set laser parameters for depth maps?
To engrave depth maps, use the grayscale mode and adjust the laser power accordingly. Laser software like Lasermaker or Lightburn will automatically recognize depth maps: the darker areas closer to black correspond to higher laser power, while the lighter areas closer to white use lower power.
The darkest parts of the image should be engraved with the maximum set power, and the lightest parts with the minimum power. Each pixel is engraved with the corresponding power, resulting in deeper engraving for darker areas and shallower engraving for lighter areas, creating a relief effect.
| Material | Speed(mm/s) | Max power(%) | Min power(%) | DPI | Blow type | Image mode | Hatch type | No. of passes |
|---|---|---|---|---|---|---|---|---|
| cherry wood | 300 | 99 | 2 | 350 | strong | grayscale | single | 3 |
Here are the sample parameters for the 3D engraving shown above, created using our Thunder Bolt Pro 32. You can use these as a reference to adjust your own 3D engraving settings, but it’s best to perform multiple tests first.
Best 3D laser engraving machine
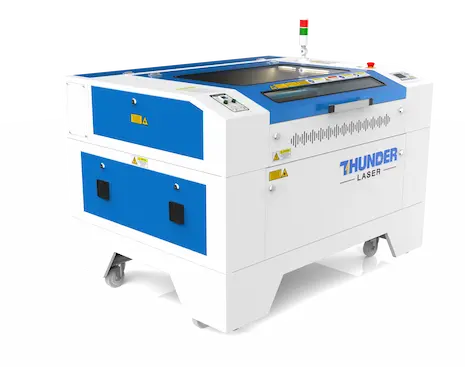
Firstly, the Nova CO2 Laser Cutter is capable of meeting most of your CO2 laser 3D engraving needs. 3D laser engraving on wood is a popular choice for relief carving, and the Nova is versatile enough to work with a variety of non-metallic materials including wood, acrylic, and more. It offers a generous working area, allowing you to tackle larger projects with ease. With its high-power capabilities, the Nova efficiently creates intricate 3D laser engraved pieces, bringing your designs to life with remarkable detail and depth.
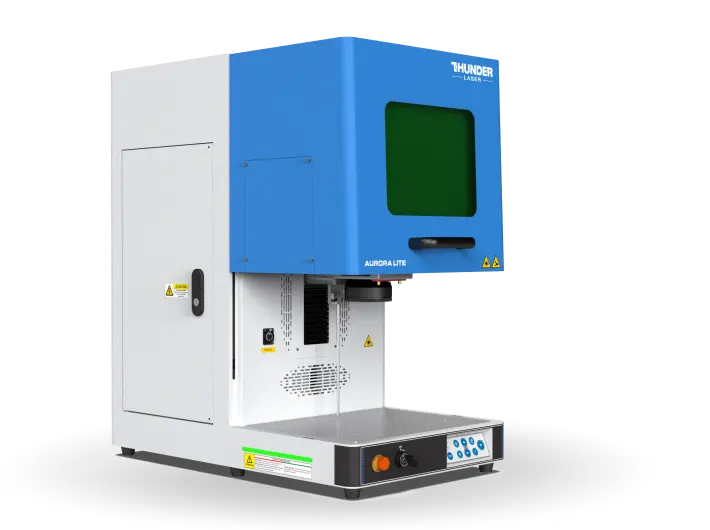
Secondly, the Aurora laser marker stands out as an exceptional desktop 3D fiber laser engraver, particularly adept at creating metal relief and 3D engravings. Despite its compact size, making it perfect for home workshops or small businesses, the Aurora boasts impressive speed and power. This combination allows for precise, high-quality customization on metal surfaces. The Aurora’s ability to produce detailed 3D engravings on metal opens up a world of possibilities for personalized jewelry, industrial marking, and artistic metal sculptures.
- Tags


.png) International
International
 United States
 Brasil
 Canada
 Costa Rica
 Česká
Česká
 Ελλάδα
 Polska
 Ireland
 Portugal
 Lietuva
 Россия
 Deutschland
 Britain
 Україна
 France
 Sverige
 Italia
 Norway
 Denmark
 Romania
 한국
한국
 中国
中国
 ประเทศไทย
 中国香港
中国香港
 Israel
 中國臺灣
中國臺灣
 India
India
 پاکستان
 پශ්රී ලංකා
 ジャパン
ジャパン
 Australia
 New Zealand
 South Africa