Introduction
Let’s make a wooden wifi password sign! In public spaces where guests come over, providing shared wifi can require repeatedly explaining passwords verbally – tedious. A dedicated sign eliminates such hassle neatly. Combining laser cutting and engraving techniques, you can craft a custom sign to showcase your wifi passcode aesthetically. Beyond its functional purpose, it also serves as distinctive decoration.
Machine Used
Bolt Pro 22 30W
Material Needed
- A plywood board
- A tube of glue
- A polishing machine
- A can of paint
Settings
- Cutting Speed:10mm/s
- Cutting Power:80%
- Engraving Speed:1500mm/s
- Engraving Power:60%
- DPI:335DPI
Step 1
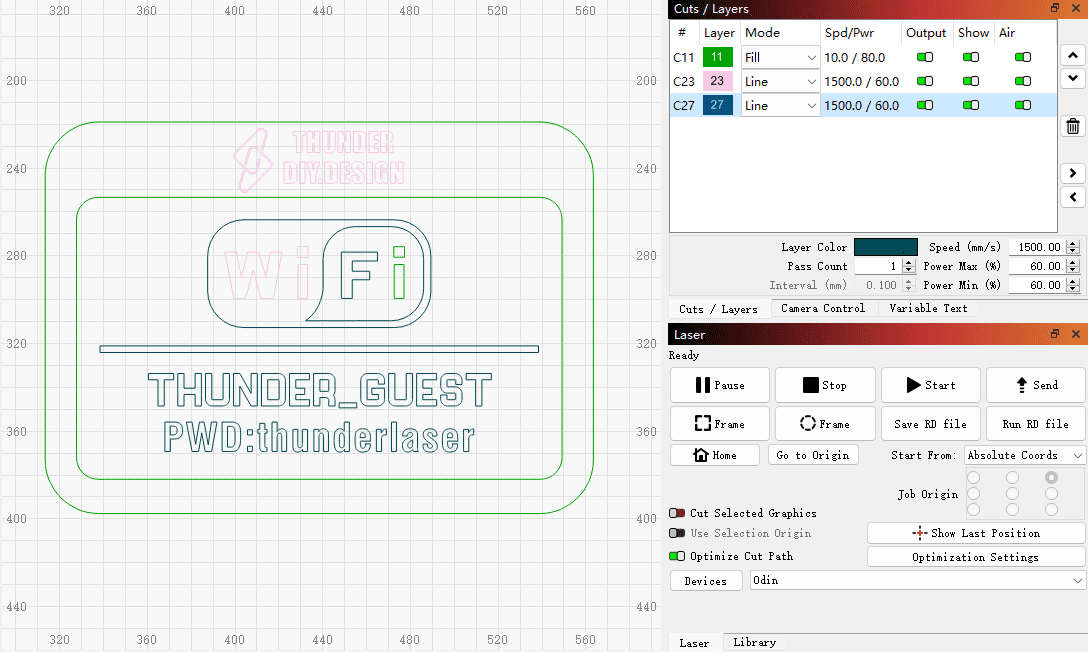
Import the file into LightBurn, adjust the size, position, and settings. Check out to ensure everything is in order.
Step 2
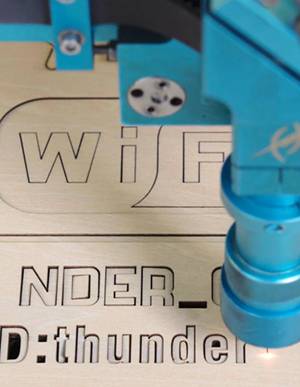
Once everything is set, click ‘Print’ to initiate your laser machine’s operation.
Step 3
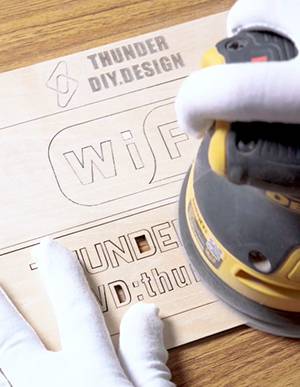
Take out the laser-cut wooden pieces and sand them to smooth and polish the surfaces.
Step 4
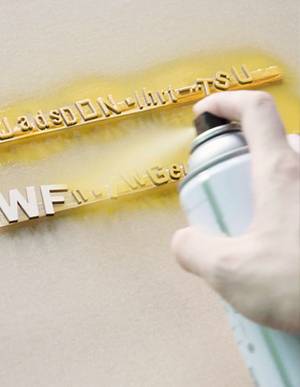
Retrieve the wooden letter blocks and use spray paint to add color to them.
Step 5
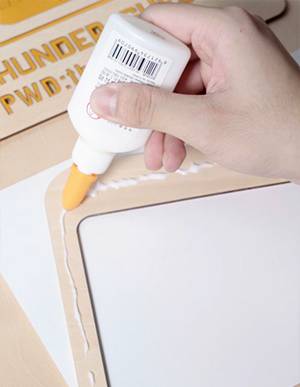
Apply glue to the back of the outer wooden board, affix it to the base, and wait for the glue to dry completely.
Step 6
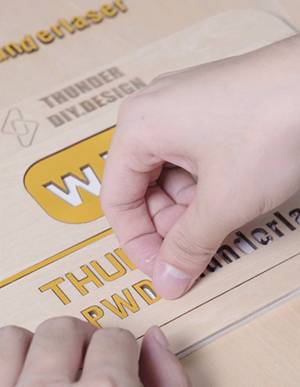
Apply glue to the colored wooden block, press it into place according to the position of the inner wooden board. Once everything is in place, remove the inner wooden board.
Come and Try!
After sanding, painting and assembling, your creation will showcase artisanal flair. Wood’s workability enables boundless innovation during your making process. No more scribbling messy wifi codes on scrap paper! With your custom engraved placard prominently placed, you can focus on gracious hosting while permanently removing wifi access worries.


.png) International
International
 United States
 Brasil
 Canada
 Costa Rica
 Česká
Česká
 Ελλάδα
 Polska
 Ireland
 Portugal
 Lietuva
 Россия
 Deutschland
 Britain
 Україна
 France
 Sverige
 Italia
 Norway
 Denmark
 Romania
 한국
한국
 中国
中国
 ประเทศไทย
 中国香港
中国香港
 Israel
 中國臺灣
中國臺灣
 India
India
 پاکستان
 پශ්රී ලංකා
 Australia
 New Zealand
 South Africa