Step-by-Step: How Students Made the Music Seal
1. Thinking Before Class
1. From our last lesson, how are modern music seals made?
2. What kind of seals can be made other than monosyllabic seals?
3. which numbers represent seven notes in the musical world?
4. Choose a short score of your favorite song and make your own set of music stamps according to the short score!
* Find a short score of your favorite song by yourself, observe the factors in the numbered musical notation, and selectively delete the repetitive words in the lyrics, and finally count the number of lyrics;
* Use a pen to roughly design the shape and size of the seal on paper.
Step #1: Design the Music Seals
(1) Open LaserMaker
(2) According to the size designed in advance on the paper, click the drawing tool “Draw ellipse” or “Draw rectangle” on the left menu bar of the software, draw the stamp on the blank interface and modify the size. (The size shown here is a perfect circle with a diameter of 25mm)
(3) Copy and paste the first seal figure and modify the layer color (the figure is red, the layer color is not filled);
(4) Superimpose the two circles together, click on “Array Copy” in the menu bar above the software, and copy according to the number of lyrics counted in advance.
Step #2: Input the Text
(1) After clicking “Input text” in the menu bar on the left side of the software, double-click in any position of the software interface to bring up the text input dialog box, input the text to be carved and modify its line height and font;
(2) Drag the text to the graph, if the font is too small or too large, double-click the text again to modify the line height;
(3) After the text input is completed, change the layer color of the text (the icon is red, the layer color is not filled). The layer color must be the same as the layer color of the second graph;
(4) Double click “Red Layer” of the layer parameter in the upper right corner of the software to set the engraving parameters. After filling the red layer, the red part is the part that needs to be carved.
Step #3: Mirror Image Processing
(1) Select all the seal design graphics and click “Rotation – horizontal flip” in the menu bar above the software to complete the image processing;
Step #4: Design the Music Seal Handle
(1) Draw a figure as large as the size of the seal (illustrated as a 25mm diameter circle) and draw a rectangle right in the middle of the figure;
(2) Copy and paste the rectangle in the middle of the figure and modify the size of its height (figure 14.85*14.85mm)
(3) Click the tool “Array Copy” in the menu bar above the software and copy according to the number of stamps.
(4) After completing the above design, click “Black Layer” of layer parameters in the upper right corner of the software to set the cutting parameters, and “red layer” to set the engraving parameters. (Pay attention to the order of layers)
(Tip: Pay attention to the choice of material, since a 5mm plywood board is used, the material parameter of 5mm should be selected for the cutting parameter.)
Step #5: Machine Processing
(1) The design files saved in the above demonstration are respectively imported into the laser cutting machine for processing.
(Tip: remember to adjust the focal length before processing to avoid the situation of impenetrable cutting.)
Step #6: Splice Assembly
(1) Take the cut seal to the workbench, and use white latex to glue the seal and handle together.
Step #7: Make Numbered Musical Notation
(1) Use the completed music seal to create a numbered musical notation on the paper.
(Tip: You can choose the general seal, you can also use watercolor, gouache and other pigments instead, use gouache pigment for the illustration)
(2) After the work is completed, the teacher can guide the students to doodle on the simple notation, so that the simple notation will be more vivid and interesting!
1. Through the process of making the music seal, we can know which seven scales of the simple score are?
2. By observing and making the simple score, what other musical elements are there besides the seven scales?
3. Look up the relevant knowledge of the staff on the Internet and understand what is the difference between it and the simple score?
4. Tell me why you choose this song?
5. Make a Comment
Evaluate yourself and your partner.
Evaluation Item | Self-Evaluation | Peer Evaluation |
---|---|---|
Creativity (30 points) | ||
Firm (30 points) | ||
Beauty (20 points) | ||
Attitude (20 points) | ||
Total (100 points) |
ThunderLaser STEAM Education Student
Course (Thematic)
Instructional design for the music seal.
1. Steam Index
* Improve students’ ability of observation, thinking and operation;
* Consolidate and practice the operation of LaserMaker laser editing software;
* Consolidate practice laser cutting machine operation;
* Use the numbered musical notation seal to print out a numbered musical notation.
* Improve students’ hands-on, observation and thinking ability;
* Consolidate the operation of LaserMaker laser editing software;
* Consolidate practice laser cutting machine operation;
* Please prepare relevant consumables, accessories and tools according to the attached table and the actual number of students.
* Ensure that students have the latest version of LaserMaker laser editing software installed on their computers.
* Please prepare the relevant presentation props in advance according to the PowerPoint.
1. Teaching Introduction
Guide the students to review the related knowledge of seals and learn the related knowledge of simple notation by asking questions:
Question 1: According to the last lesson, how are modern seals made?
Answer 1: Most of them are made by machine.
Question 2: What kinds of seals can be made other than one word stamps?
Answer 2: Name seals, idle seals, collection seals, etc.
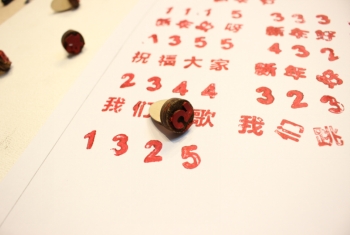
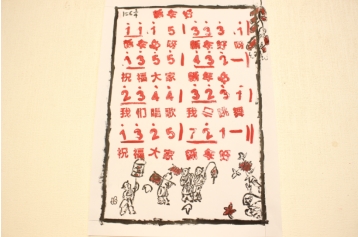
Question 3: In the world of music, which numbers represent seven notes?
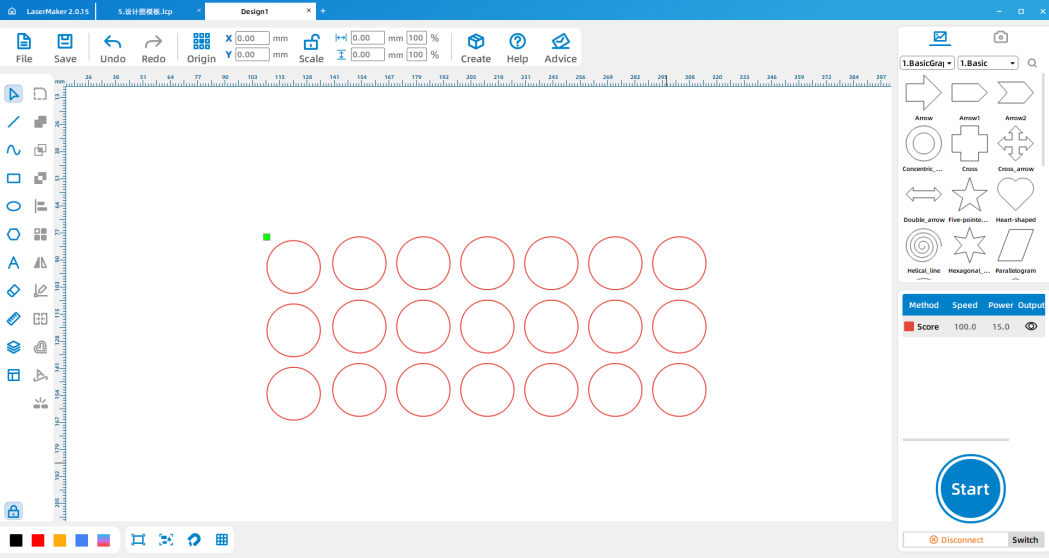
Answer 3: 1, 2, 3, 4, 5, 6, 7 (do re mi fa sol la ti)
Finally, choose a short score of a song you like and make yourself a set of music stamps based on the short score!
Watch the video: After watching the video, do the students find it particularly interesting to make their own music stamps? Let’s experience the fun!
2. Preparation Before Class
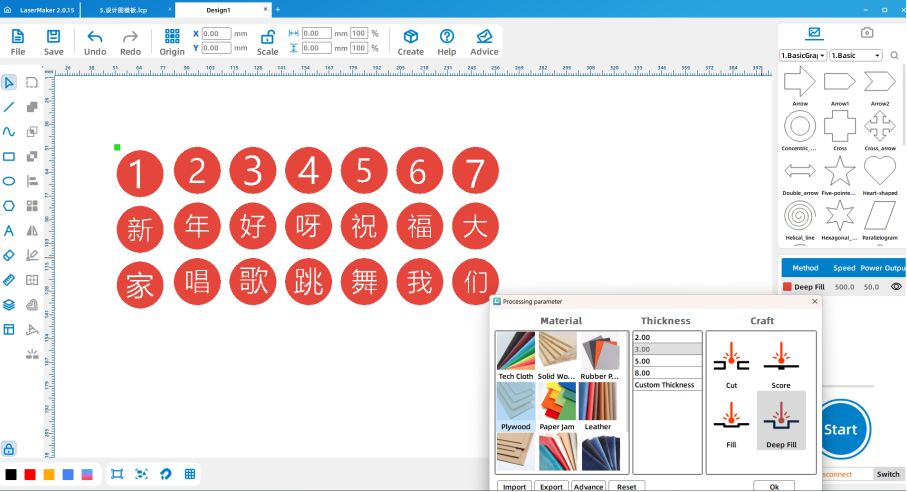
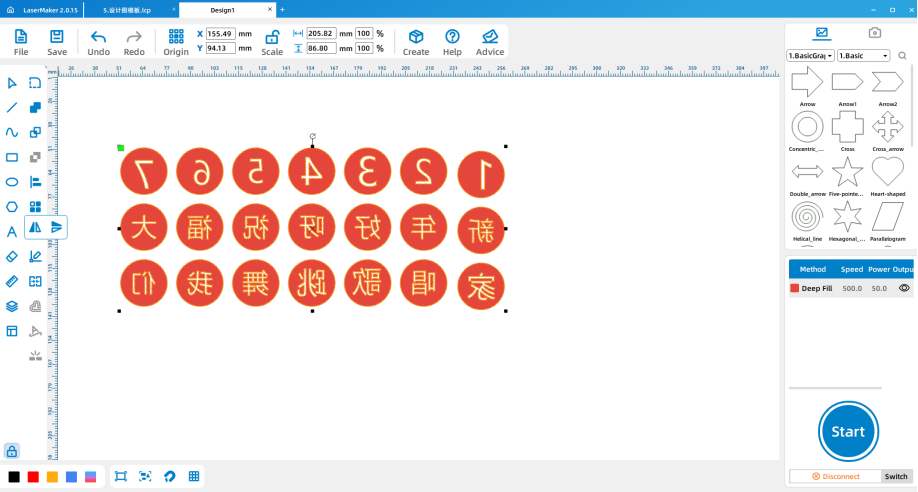
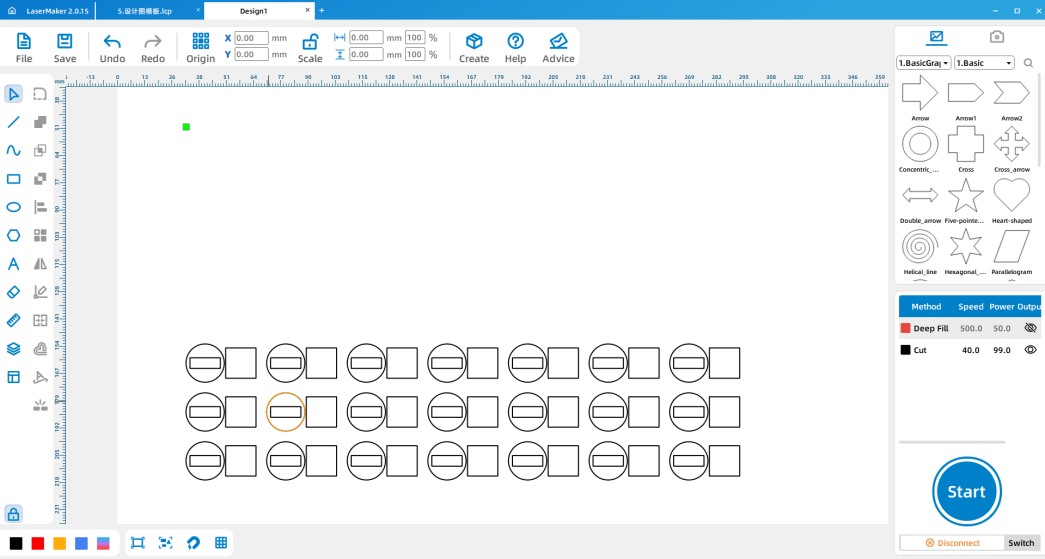
Students search for a short score of a song they like by themselves, observe the factors in the short score, and selectively delete the repetitive words in the lyrics, and finally count the number of lyrics;
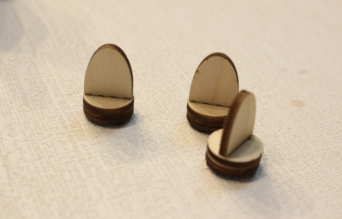
Use a pen to roughly design the shape and size of the music seal on paper.
3. Teaching Demonstration
Step #1: Design Music Seal
(1) Open LaserMaker
(2) According to the size designed in advance on the paper, click the drawing tool “Draw ellipse” or “Draw rectangle” on the left menu bar of the software, draw the stamp on the blank interface and modify the size. (The size shown here is a perfect circle with a diameter of 25mm)
(3) Copy and paste the first stamp figure and modify the layer color (the figure is red, the layer color is not filled);
(4) Superimpose the two circles together, click on “Array Copy” in the menu bar above the software, and copy according to the number of lyrics counted in advance.
Step #2: Input Text
(1) After clicking “Input text” in the menu bar on the left side of the software, double-click in any position of the software interface to bring up the text input dialog box, input the text to be carved and modify its line height and font;
(2) Drag the text to the graph, if the font is too small or too large, double-click the text again to modify the line height;
(3) After the text input is completed, change the layer color of the text (the icon is red, the layer color is not filled). The layer color must be the same as the layer color of the second graph;
(4) Double click “Red Layer” of the layer parameter in the upper right corner of the software to set the engraving parameters. After filling the red layer, the red part is the part that needs to be carved.
Step #3: Mirror Image Processing
(1) Select all the music seal design graphics and click “Rotation – horizontal flip” in the menu bar above the software to complete the image processing;
Step #4: Design the Seal Handle
(1) Draw a figure as large as the size of the seal (illustrated as a 25mm diameter circle) and draw a rectangle right in the middle of the figure;
(2) Copy and paste the rectangle in the middle of the figure and modify the size of its height (figure 14.85*14.85mm)
(3) After the design is completed, use the tool “Array copy” to copy the stamp handle.
(4) After completing the above design, click “Black Layer” of layer parameters in the upper right corner of the software to set the cutting parameters, and “red layer” to set the engraving parameters. (Pay attention to the order of layers)
(Tip: Pay attention to the choice of material, since a 5mm plywood board is used, the material parameter of 5mm should be selected for the cutting parameter.)
Step #5: Design the Seal Handle
(1) The design files saved in the above demonstration are respectively imported into the laser cutting machine for processing.
(Tip: remember to adjust the focal length before processing to avoid the situation of impenetrable cutting.)
Step #6: Splice Assembly
(1) Take the cut seal to the workbench, and use white latex to glue the seal and handle together.
Step #7: Make Numbered Musical Notation
(1) Use the completed music seal to create a numbered musical notation on the paper.
(Tip: You can choose the general seal, you can also use watercolor, gouache and other pigments instead, use gouache pigment for the illustration)
(2) After the work is completed, the teacher can guide the students to doodle on the simple notation, so that the simple notation will be more vivid and interesting!
4. Student Operation
(1) Preparation before class: students collect a short score of their favorite song by themselves, observe what elements are on the short score, count the number of words in the lyrics, and roughly design the shape and size of the seal with a pen on paper.
(2) Software design: Guide the students to complete the design, assist the students to name the design document with name and student number and transfer it to the matching computer of the laser cutting machine;
(3) Machine processing: Guide students to complete machine processing steps according to the order of software design;
(4) Splicing and Assembly: Students complete the assembly of the work by themselves, and use the seal to make a numbered musical notation.
1. Through the process of seal making, we can know which seven scales are in the simple score?
1 2 3 4 5 6 7 (do re mi fa sol la ti )
2. By observing and making a short score, what are the elements of music other than the seven scales?
In addition to the seven scales, there are also notes that mark the notes, such as “.” “To represent the pitch’s height; “–” represents the length of the tone; “#”, “b” represents the change of sound; “0” means the sound has no sound and is called a rest; The 1= C 3/4 in the upper left corner of the simplified notation is called a key sign.
3. Go online to find the staff related knowledge and understand, compared with the simple notation what is the difference?
The most basic difference between a staff and a simple notation is that the staff has five lines and the notes are symbols instead of the notes, while the simple notation has no five lines and the notes are replaced by seven Arabic numerals.
4. Tell me why you choose this song.