1. Teaching introduction
Guide students to the class topic by asking questions:
(1) Recall, what is the source of the music box? How does it work?
Source: Dates back to the Renaissance in medieval Europe. At that time, in order to make the clock tower of the church, the mechanical device of the size of the clock was called “the group of bells that can make a sound”.
Principle: The main part of the music box is composed of power source (spring or crank and other power source), sound cylinder, sound board, damping, bottom plate, transmission mechanism and other parts. The spring drives the drum to rotate, and the solder joint on the drum moves the edge of the chip thin strip, vibrates to make a sound, and turns down to form a movement.
The roller can be regarded as a musical score, and the maker will add solder spots to the roller according to the musical score.
The chip, on the other hand, can be seen as a piano key, which cuts thin strips (frequencies) of different lengths on the same piece of material. The more thin strips on the chip, the higher the number of notes, the richer the timbre and the better the tune.
(2) What kind of music boxes can you make other than heart-shaped music boxes?
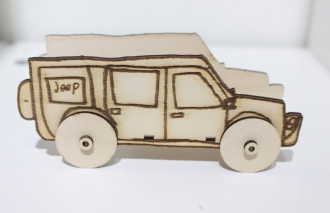
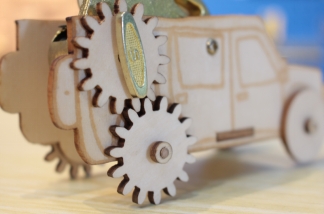
Like a music buggy.
(3) If you were asked to make a music trolley, how would you make it?
Watch the video: After watching the video, are you already eager to make your own music car? Now let’s get into the production process!
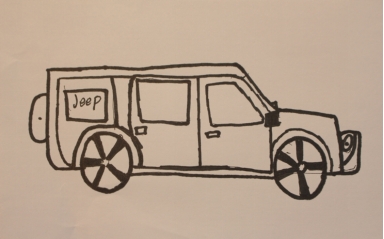
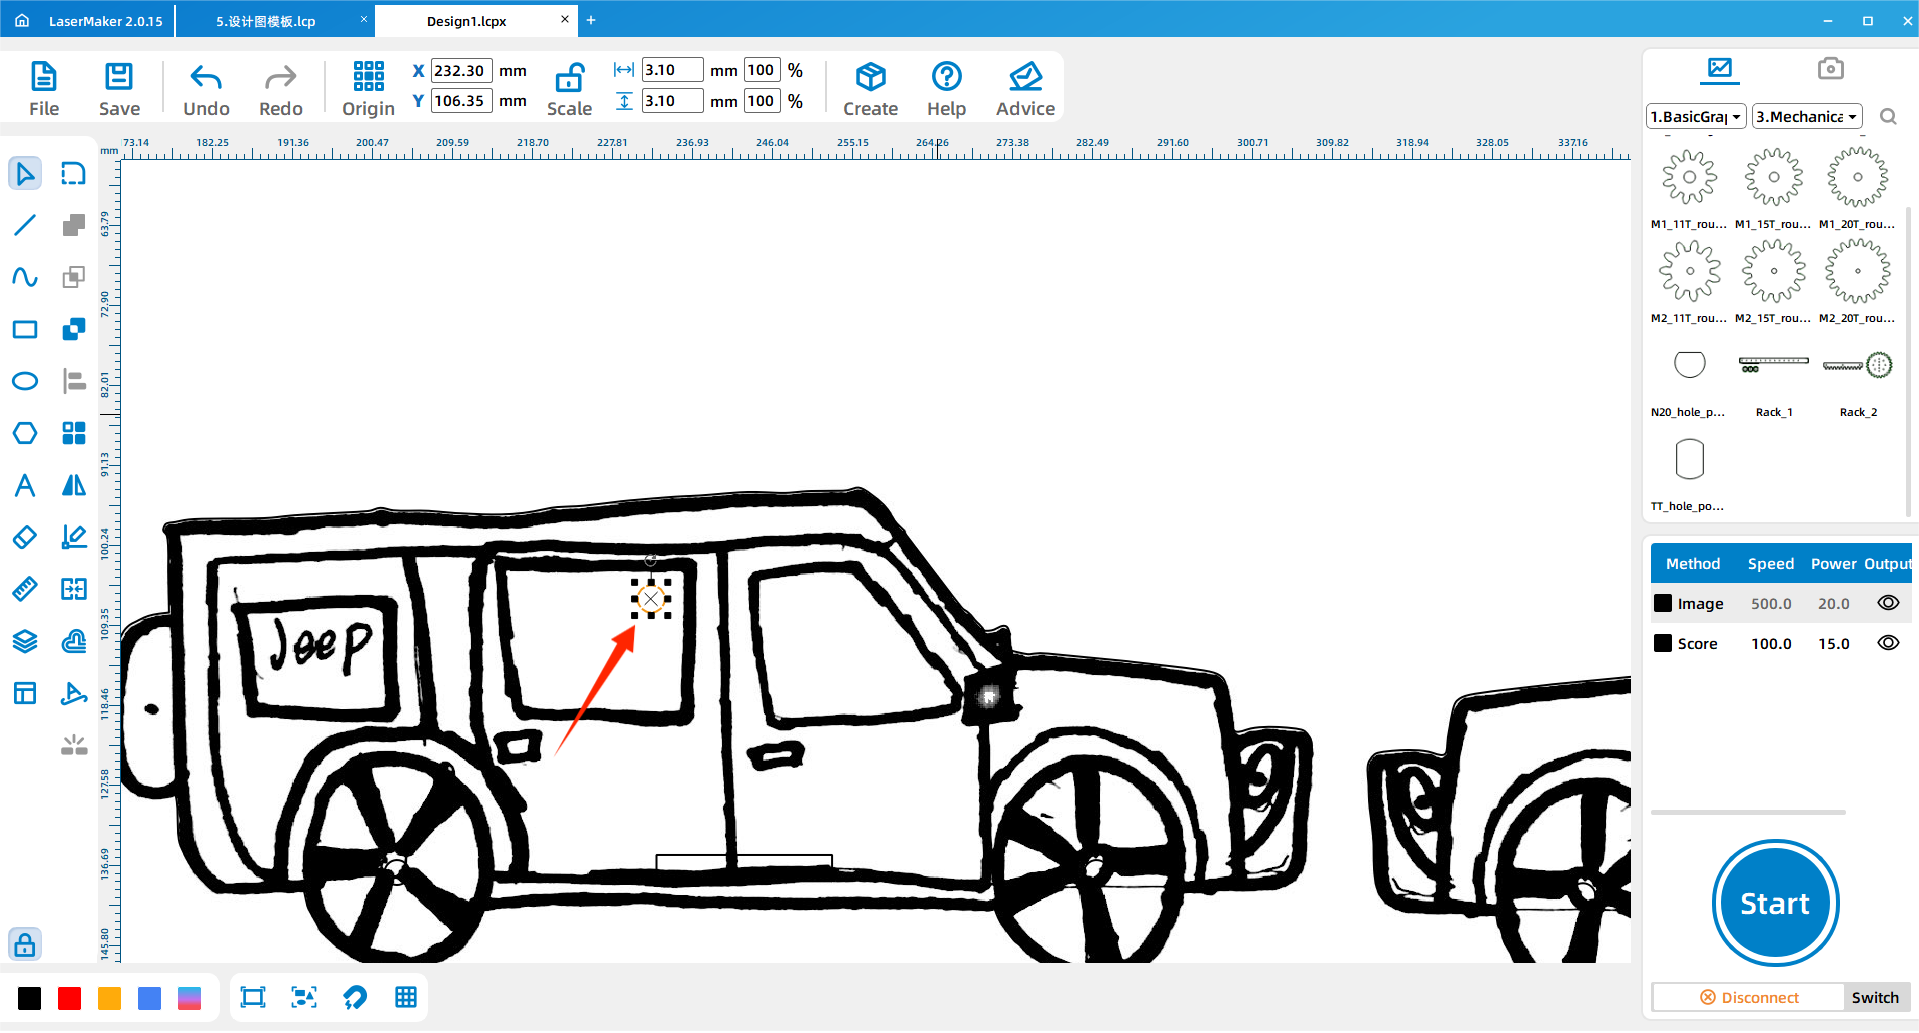
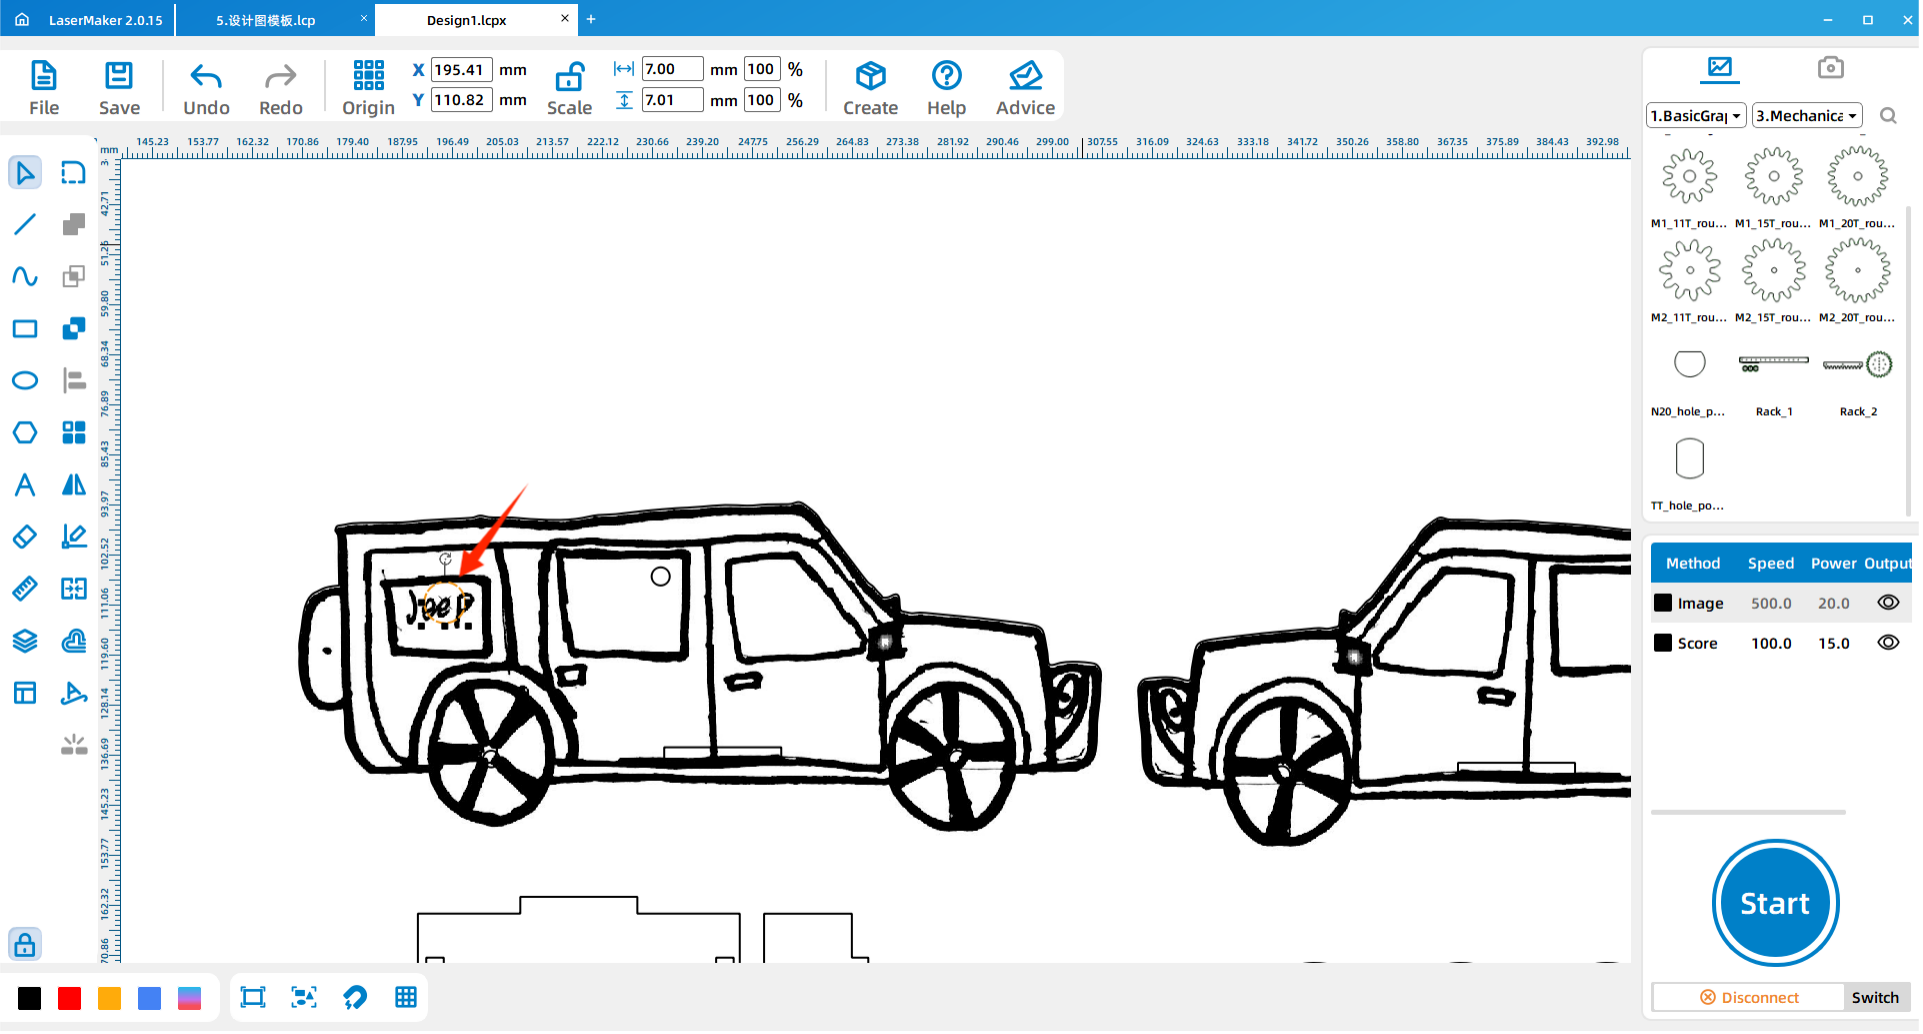
2.Painting
According to Lesson 1.1 of “Magic Brush Ma Liang”, draw the car in your mind on paper with a pen.


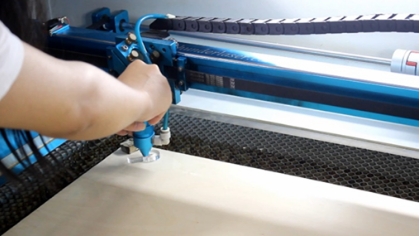


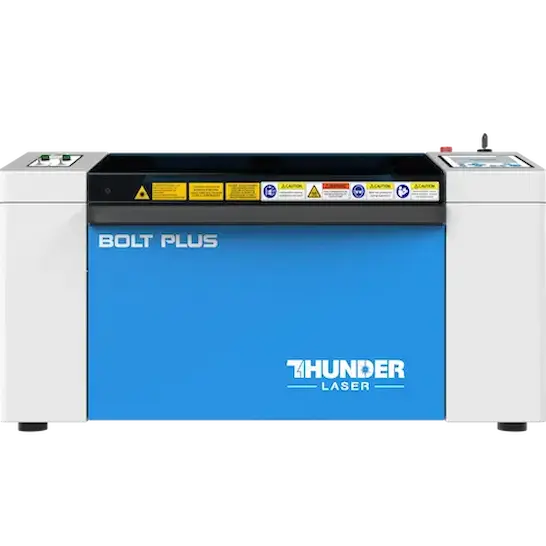

.png "laser cutter Globle")


