fbpx
Search
Close this search box.
Home> Blog> DIY Rubber Stamp Printing

DIY Rubber Stamp Printing

20/08/2024
Share:
In the previous lesson, we followed the Laser Master to learn how to make “Internet-famous road signs”. During this practical process, we learned how to use drawing tools such as “Intaglio” and “Relief” in LaserMaker. Today, the Laser Master will continue to share with you the introductory course of “LaserMaker Laser Creation”: “DIY Rubber Stamp Printing”.

I. Introduction

Stamp printing refers to the act of stamping a seal on an imperial edict or memorial to official. It is similar to today’s term “approval”. Stamp printing is a type of seal, but it is different from a seal. Stamp printing allows for the carving of various patterns on materials, such as portraits, cartoon characters, flowers, trees, and more. By applying ink and pressing gently, one can leave their favorite pattern on paper. In this issue, we will introduce the method of making “DIY Rubber Stamp Printing”!

II. Work Analysis

If rubber bricks are used for stamp printing, due to their soft material, they cannot be directly connected to a handle. In addition, using rubber bricks for stamp printing without modification may result in unsatisfactory prints due to the difficulty in applying force to the soft material. On the other hand, if beechwood is used for stamp printing, it may deform during the deep carving process due to burning.

Therefore, we use rubber bricks as the pattern carrier and beechwood blocks as the intermediate medium. We drill holes in the beechwood blocks to connect the handle with the stamp.

software DIY Rubber Stamp Printing 1
To analyze the desired finished work, we can plan out the basic components of the “DIY Rubber Stamp Printing.” This project consists of three main components: the handle, the beechwood block, and the rubber brick.
software DIY Rubber Stamp Printing 2

III. Materials List

1. Drawing on the Rubber Brick

(1) Click on “File” in the upper “Functional Area,” then click on “Open.” Double-click to open the desired image material and adjust it to a suitable position within the rectangle, as shown in the figure below:
software Internet famous Bamboo Tube 2
software DIY Rubber Stamp Printing 3
(2) Select the image and, using the “Drawing Toolbar” at the top, resize it to a length of 59mm and a width of 59mm. Then move the image to align with the lower left corner of the rectangle, as shown in the figure below:
software DIY Rubber Stamp Printing 4
(3) Select the image and, from the “Drawing Toolbar” on the left, hover the mouse over the “Horizontal Mirror” icon. Left-click on “Horizontal Mirror” to apply the effect, as shown in the figure below:
software DIY Rubber Stamp Printing 5

Tip: As the pattern obtained from stamp printing is mirrored, mirroring the pattern once during the production process will ensure that the desired normal pattern is achieved when using the stamp.

(4) Double-click the black layer in the “Processing Panel” on the lower right and set the material, thickness, and processing technique to “Rubber Brick,” “10mm,” and “Shallow Relief” respectively, as shown in the figure below:

software DIY Rubber Stamp Printing 6

2. Beechwood Block Drawing

(1) Open the LaserMaker software and select the “Rectangle” tool from the “Drawing Toolbar” on the left. Move the mouse to the drawing area, hold down the left mouse button, and drag to create a rectangle with a length of 59.3mm and a width of 59.3mm. Then, select the “Ellipse” tool, move the mouse to the drawing area, and hold down the left mouse button to draw a perfect circle with a diameter of 7.8mm, as shown in the figure below:
software DIY Rubber Stamp Printing 7
software DIY Rubber Stamp Printing 8

Tip: The creation of the perfect circle is intended for drilling a hole to connect the beechwood block with the handle.

(2) Select the rectangle and the perfect circle, and from the “Drawing Toolbar” on the left, hover the mouse over the “Align Left” icon. Multiple alignment options will appear. First, click on “Horizontal Align” with the left mouse button, and then click on “Vertical Align” with the left mouse button, as shown in the figure below:

software DIY Rubber Stamp Printing 9
(3) Click on “File” in the upper “Functional Area,” then click on “Open.” Double-click to open the image that needs to be carved, as shown in the figure below:
software Internet famous Bamboo Tube 2
software DIY Rubber Stamp Printing 10
(4) Select the image and, using the “Drawing Toolbar” at the top, resize it to a length of 45mm and a width of 45mm. Then move the image to align with the lower left corner of the rectangle, as shown in the figure below:
software DIY Rubber Stamp Printing 11
(5) Select the image “Paul Walker 1,” and left-click “Extract Image” in the graphics toolbar. Change the image DPI to 300 to make the image clearer, as shown in the figure below:
software DIY Rubber Stamp Printing 12
software DIY Rubber Stamp Printing 13
(6) Click on “File” in the upper “Functional Area,” then click on “Open.” Double-click to open the desired material image and adjust it to a suitable position within the rectangle, as shown in the figure below:
software Internet famous Bamboo Tube 2
software DIY Rubber Stamp Printing 14

Tip: This material image is not added to the rubber brick, but placed on the beechwood block for decorative effect.

(7) Select the image “Paul Walker 1” and left-click the layer panel on the lower left to change the contour layer to yellow. Select the perfect circle and left-click the layer panel on the lower left to change the contour layer to purple. Select the image material “Paul Walker Car Design Material” and left-click the layer panel on the lower left to change the contour layer to blue, as shown in the figure below:

software DIY Rubber Stamp Printing 15
software DIY Rubber Stamp Printing 16
(8) Double-click the black layer in the “Processing Panel” on the lower right and left-click the eye icon on the right to hide the layer, as shown in the figure below:
software DIY Rubber Stamp Printing 17
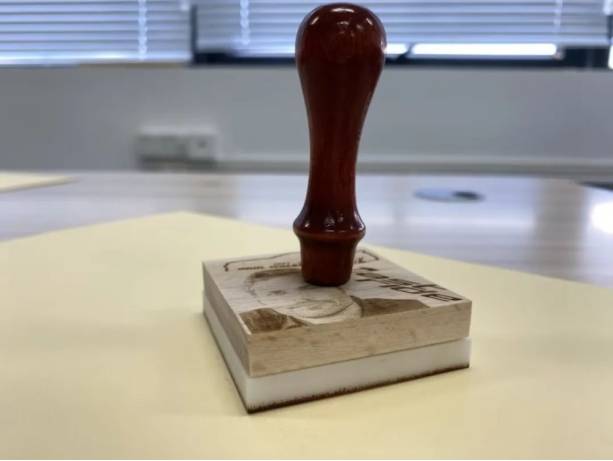
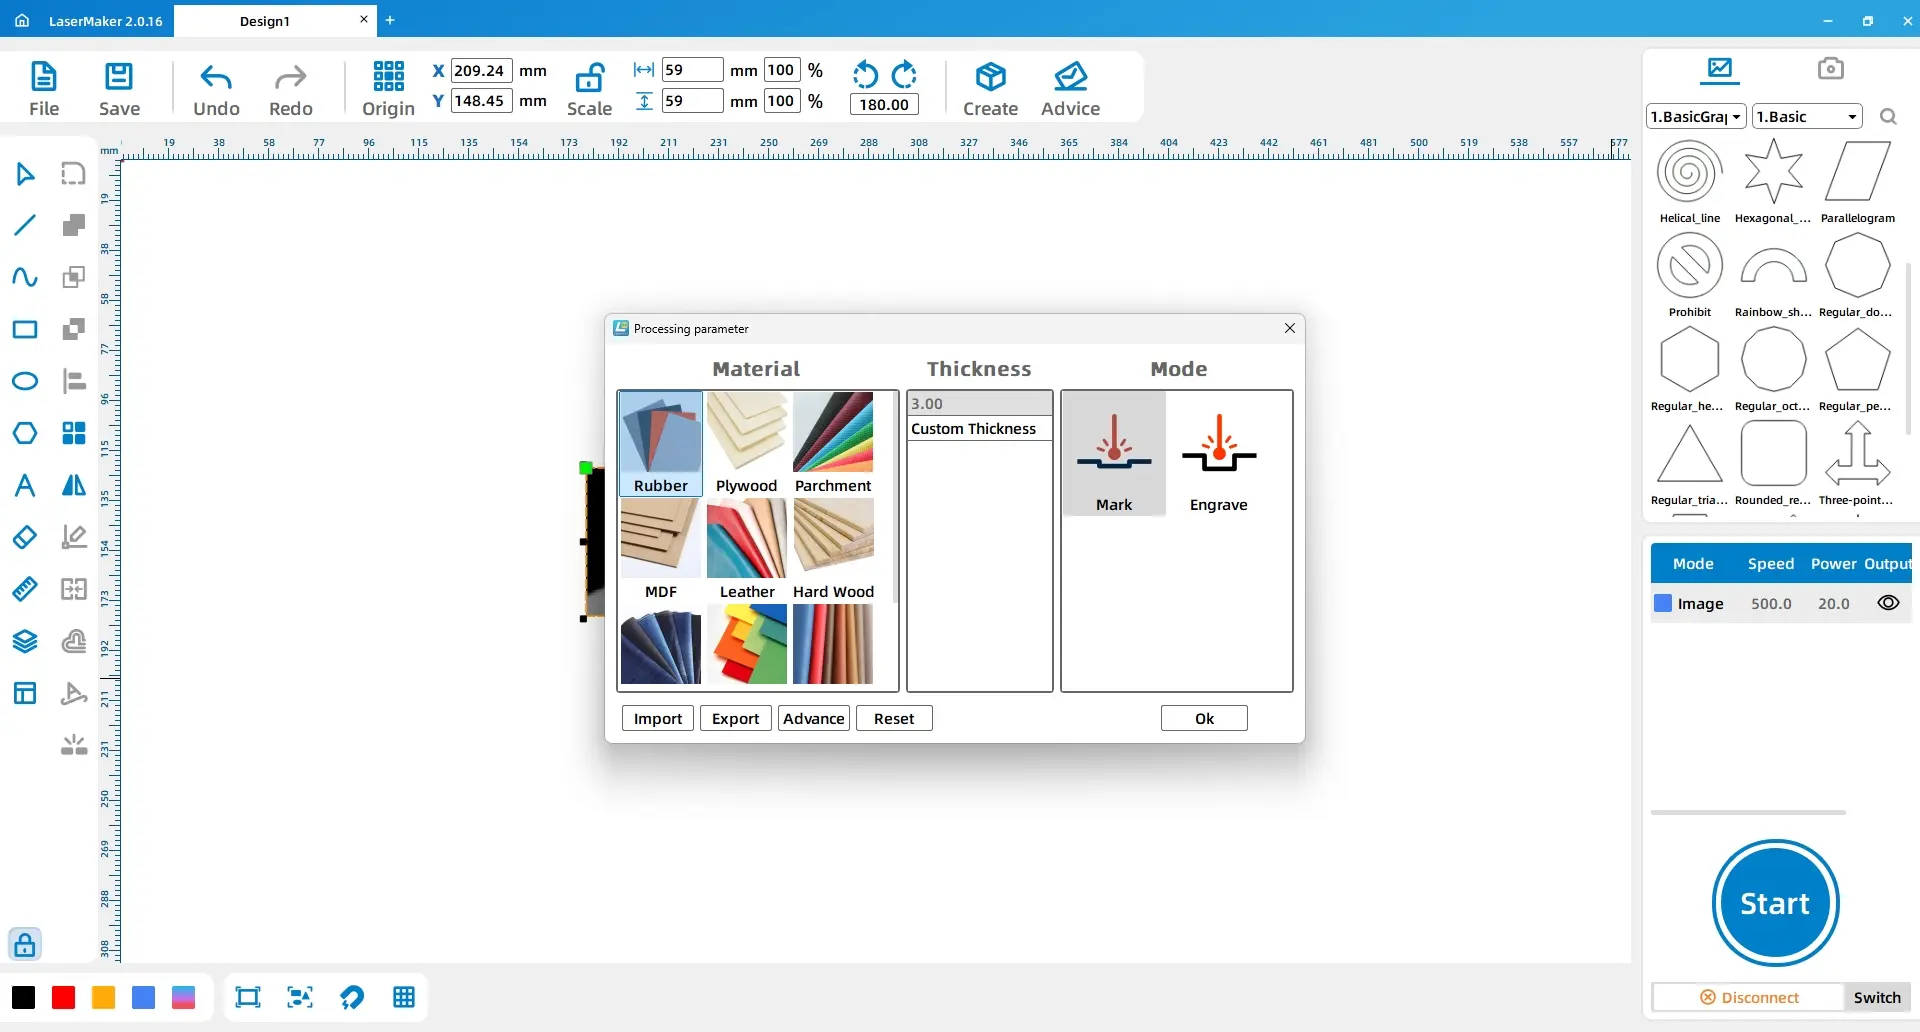
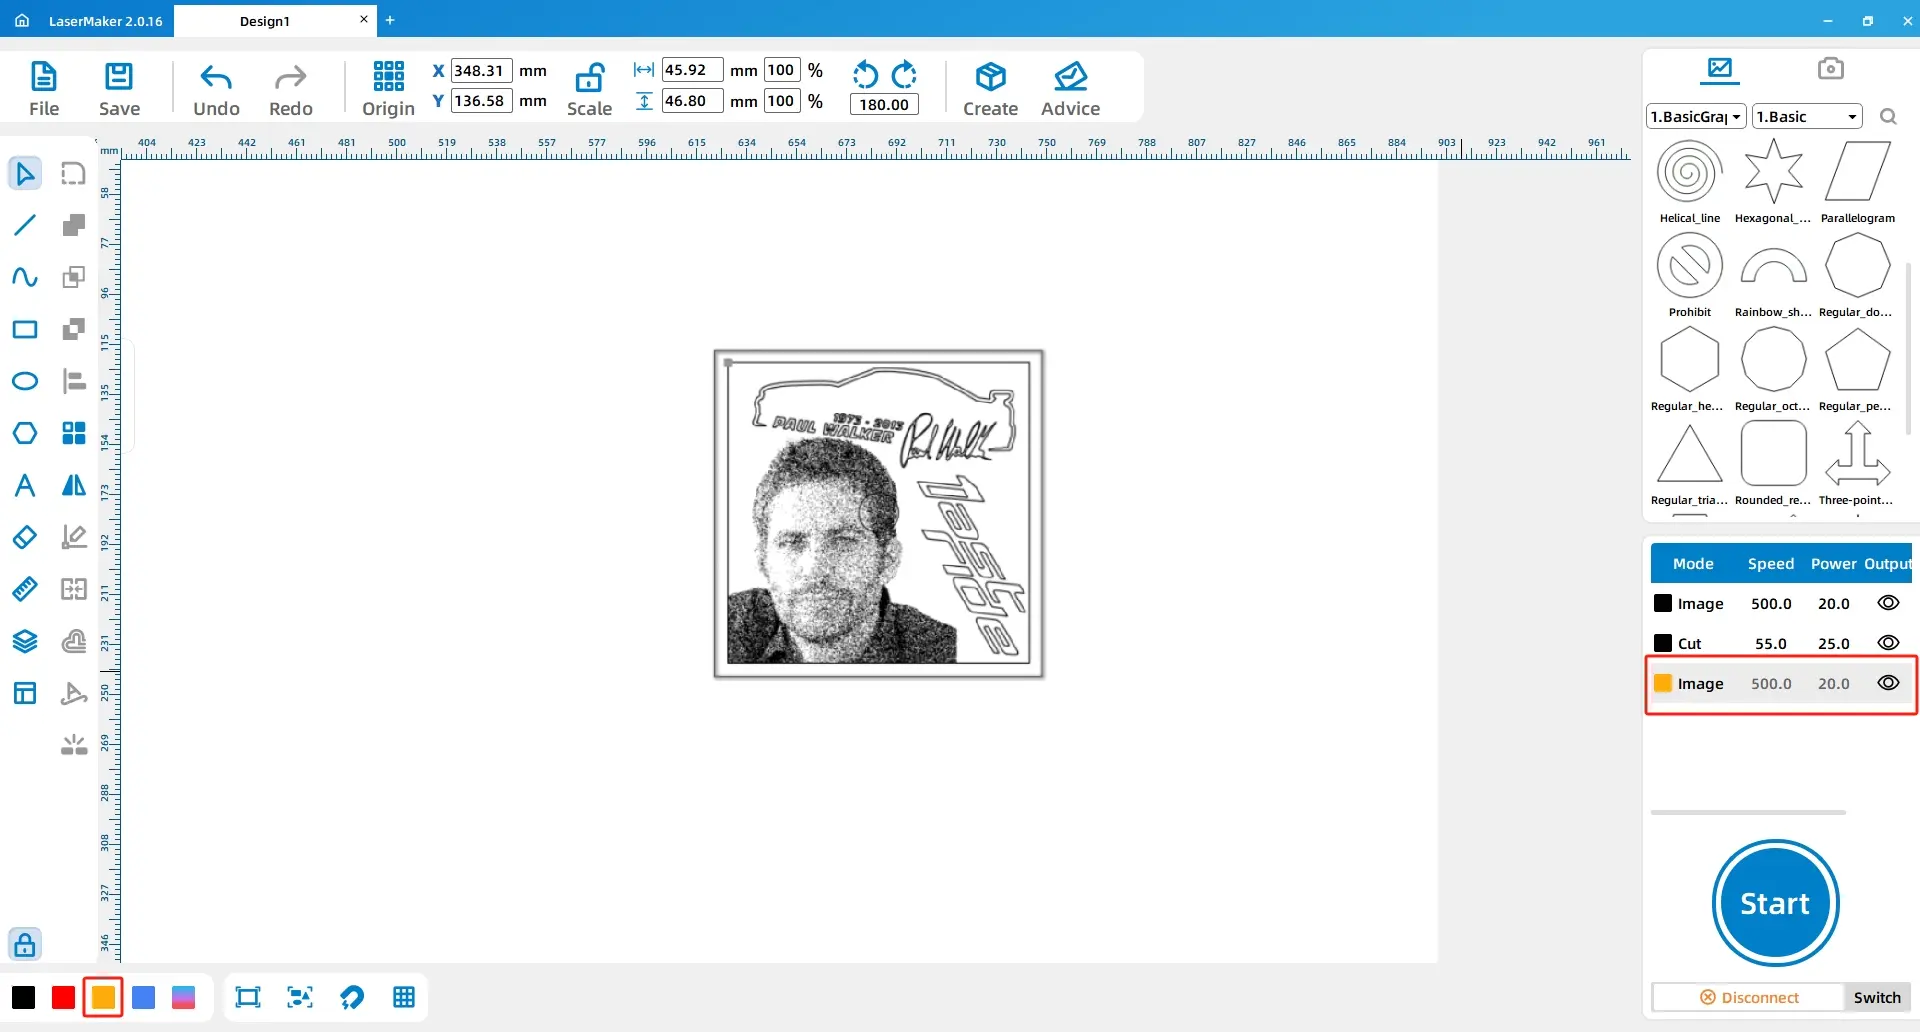
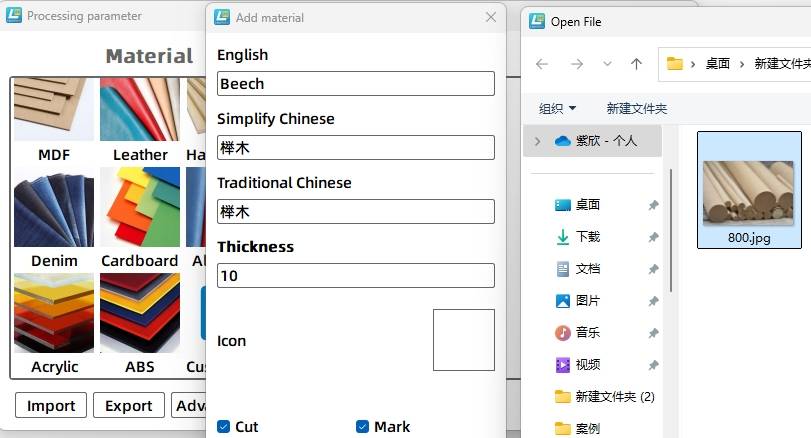
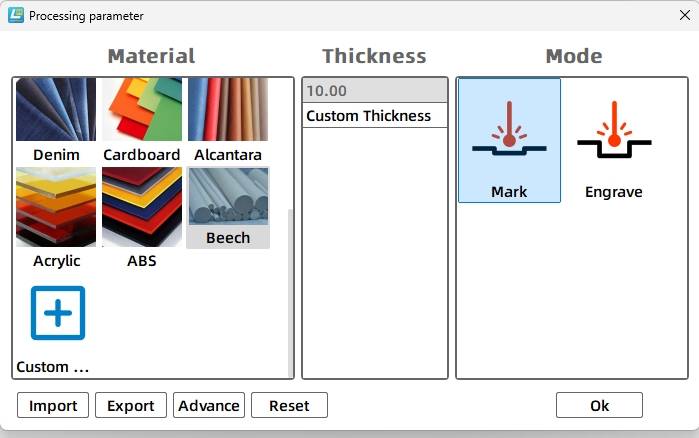
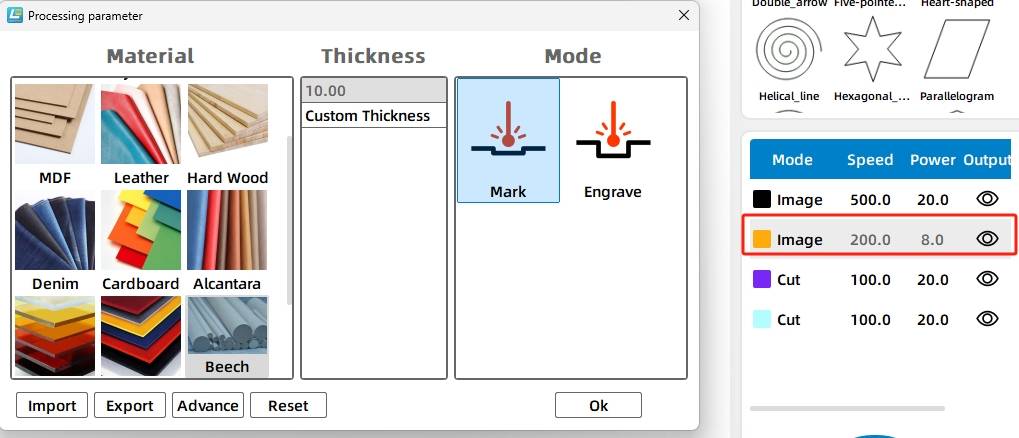
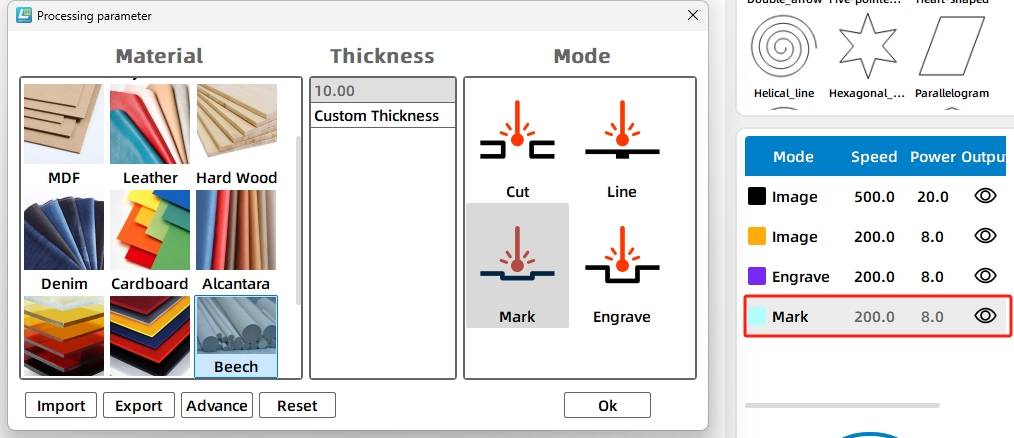
(9) Double-click the yellow layer in the “Processing Panel” on the lower right to add a custom material labeled “Beechwood.” Double-click “Custom” and set the English, Simplified Chinese, and Traditional Chinese names to “beech,” ” Beechwood,” and ” Beechwood ” respectively, with a thickness of 10mm. Double-click the blank icon and select the image material for beechwood. Set the material, thickness, and processing technique to “beechwood,” “10mm,” and “Shallow Relief” respectively, as shown in the figure below:
software DIY Rubber Stamp Printing 17
software DIY Rubber Stamp Printing 18
software DIY Rubber Stamp Printing 19
(10) Double-click the purple layer in the “Processing Panel” on the lower right and set the material, thickness, and processing technique to “beechwood,” “10mm,” and “Deep Relief” respectively. Double-click the blue layer in the “Processing Panel” on the lower right and set the material, thickness, and processing technique to “beechwood,” “10mm,” and “Shallow Relief” respectively. Adjust the position of the layers in the order of “Shallow Relief” and “Deep Relief,” as shown in the figure below:
software DIY Rubber Stamp Printing 20
software DIY Rubber Stamp Printing 21
software DIY Rubber Stamp Printing 22

. Presentation of the Work

software DIY Rubber Stamp Printing 23

. Summary

During the production process of this example, we learned how to use the “Add Custom Material” feature in the LaserMaker software. In completing a three-dimensional project, it is essential to first analyze the composition of the work, create each component individually, and then assemble them together. Modeling and drawing are not difficult tasks, but they require frequent attempts and practice to become a better designer. It is important to keep trying and practicing to improve our skills!

Browse Thunder Laser 
Bolt >

Thunder laser Bolt Plus 2

Recent Blog

    America

    Europe

    Aisa

    Oceanica

    Africa