fbpx
Search
Close this search box.
Home> Blog> Postcard Stamp Collecting

Postcard Stamp Collecting

22/08/2024
Share:

I. Introduction to the Scenario

Postcard stamp collecting refers to stamping a unique seal of a post office or tourist attraction on a postcard to commemorate the experience of traveling or sending the postcard. Collecting stamps involves gathering multiple different seals on the same postcard.

This is a traditional cultural experience where one can learn more about the cultural background and historical stories from local residents and tourists during the stamping process. Simultaneously, postcard stamp collecting is also a form of collecting. This method of collecting not only has ornamental value but also allows people to feel the charm and emotional connection across time and space.

II. Analysis of the Work

software building Postcard Stamp Collecting 1
Postcard stamp collecting primarily consists of three components: the base, the handle, and the rubber stamp.
software building Postcard Stamp Collecting 2

III. Materials List

Number

Name

Quantity

1

3mm Acrylic

1

2

3mm Basswood Panel

1

3

2mm Rubber

1

4

Glue

1

5

Postcard

1

6

Springs

2

7

Ink Pad

7

IV. Laser Modeling

1. Rubber Stamp Production

(1) Enter the keyword “City Illustration Dongguan” in Baidu Images, select a picture you like, and save it. Click “File” in the toolbar above, then click “Open” and double-click to open the saved Dongguan illustration image, as shown in the figure below:
software building Postcard Stamp Collecting 3
software building Internet famous Bamboo Tube 2
(2) Left-click the image and select “Contour Tracing” to obtain the line drawing of the Dongguan city illustration, as shown in the figure below:
software building Postcard Stamp Collecting 4
(3) Left-click the “Eraser Tool” in the left toolbar and use the “Eraser” function to separate the connected buildings in the Dongguan city illustration into individual structures based on different architectural features, as shown in the figure below:
software building Postcard Stamp Collecting 5
software building Postcard Stamp Collecting 6

2. Base Production

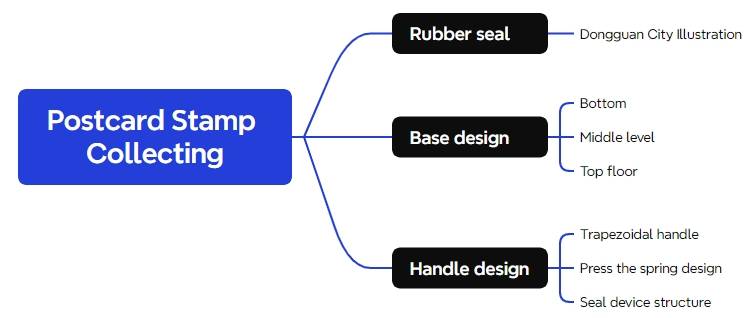
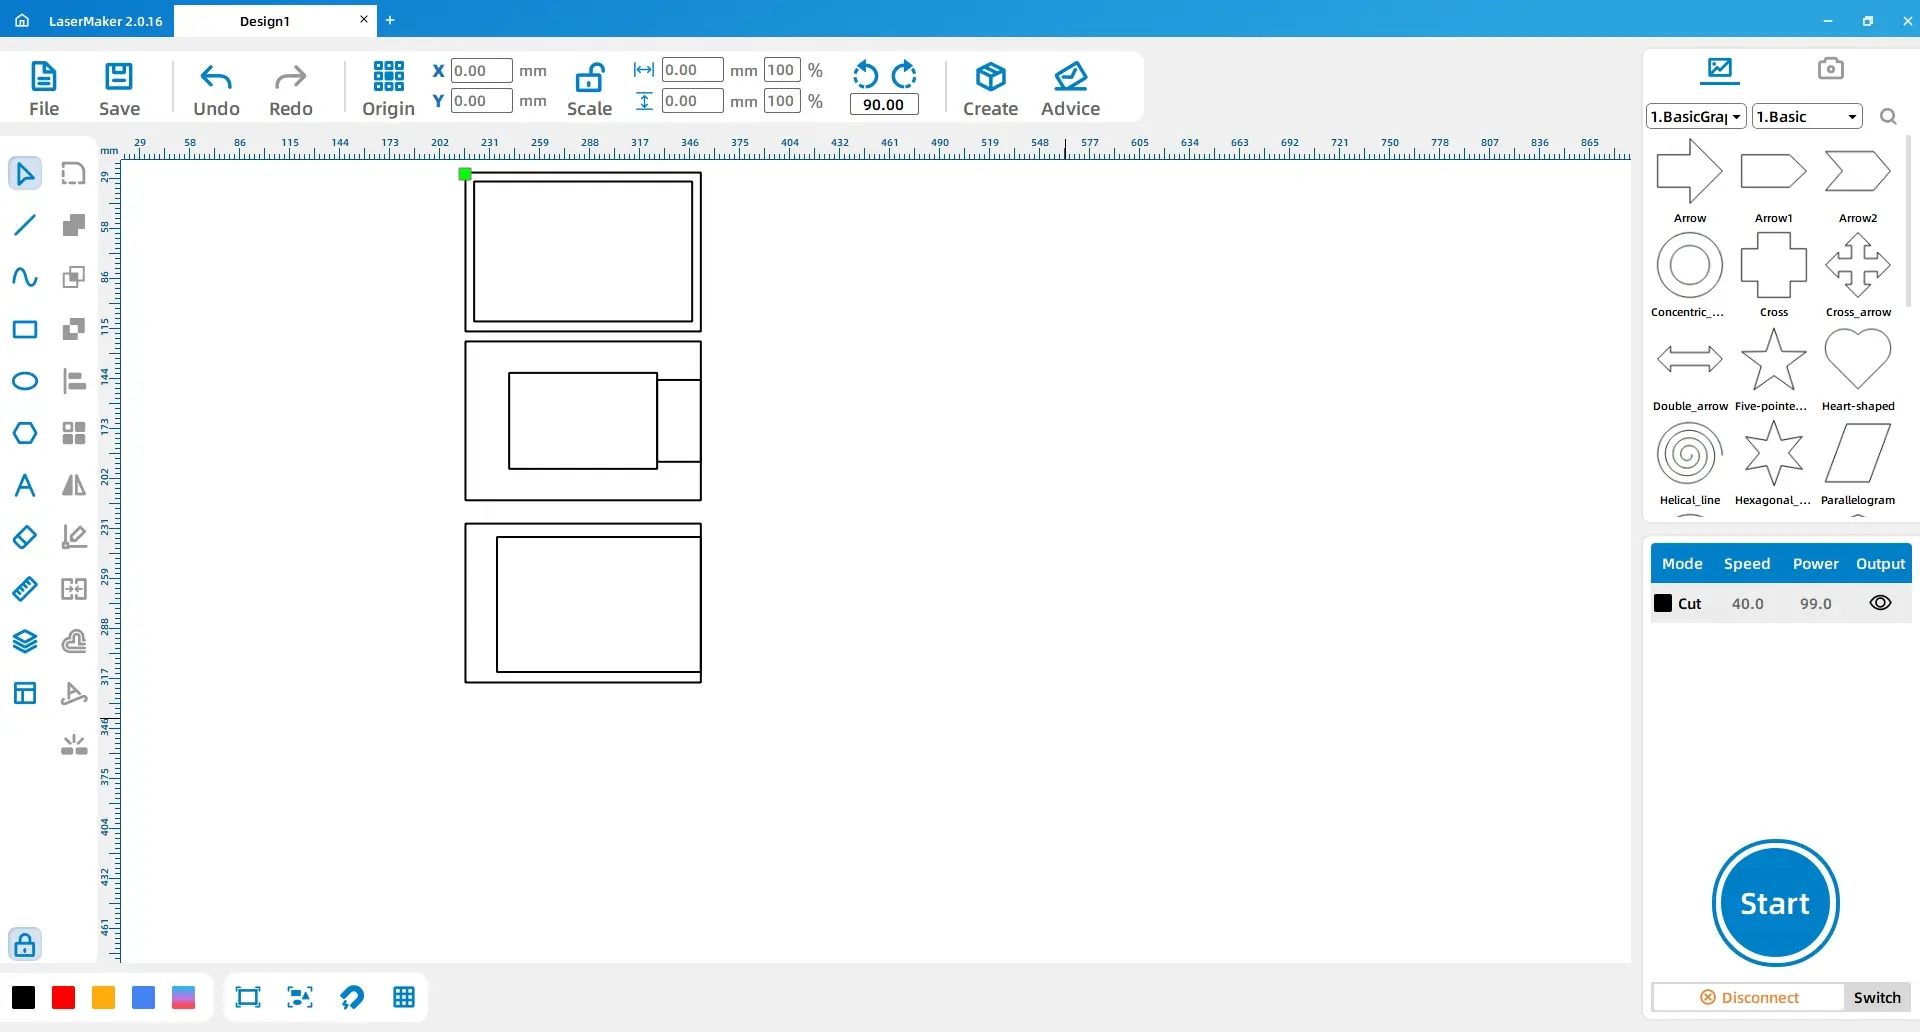
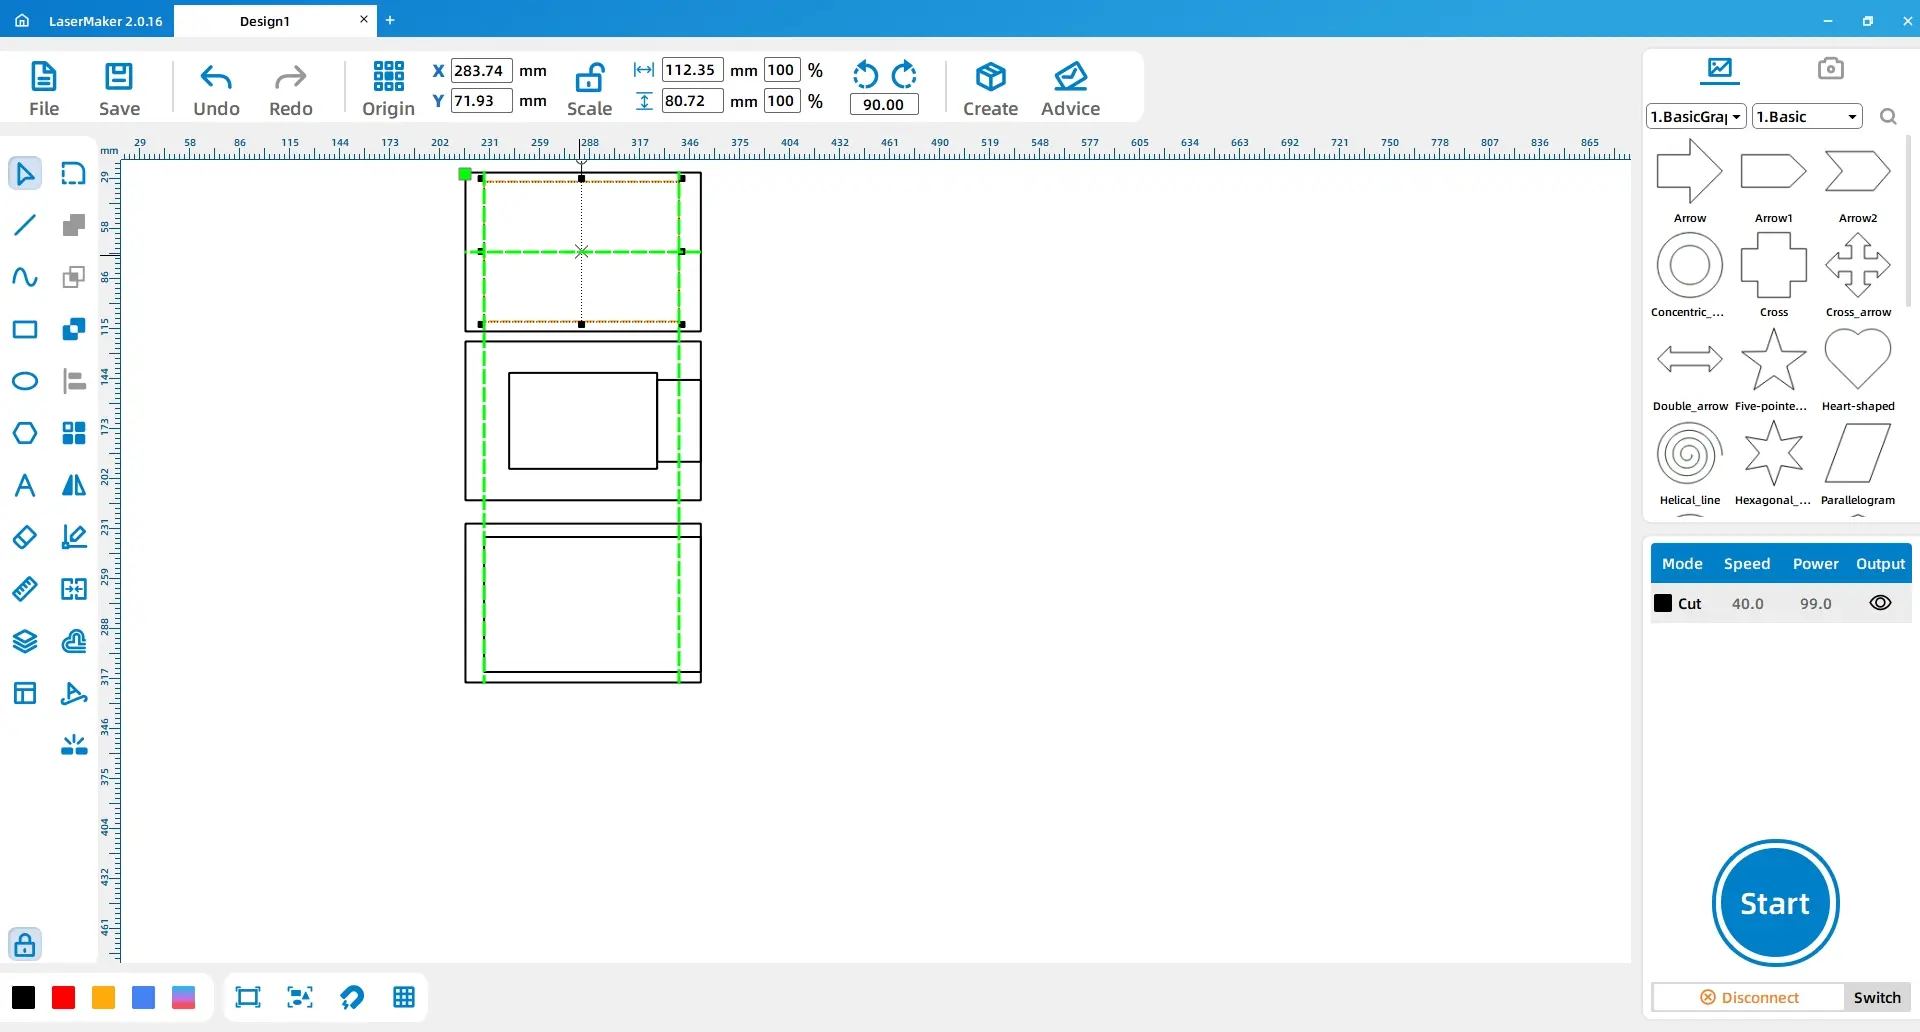
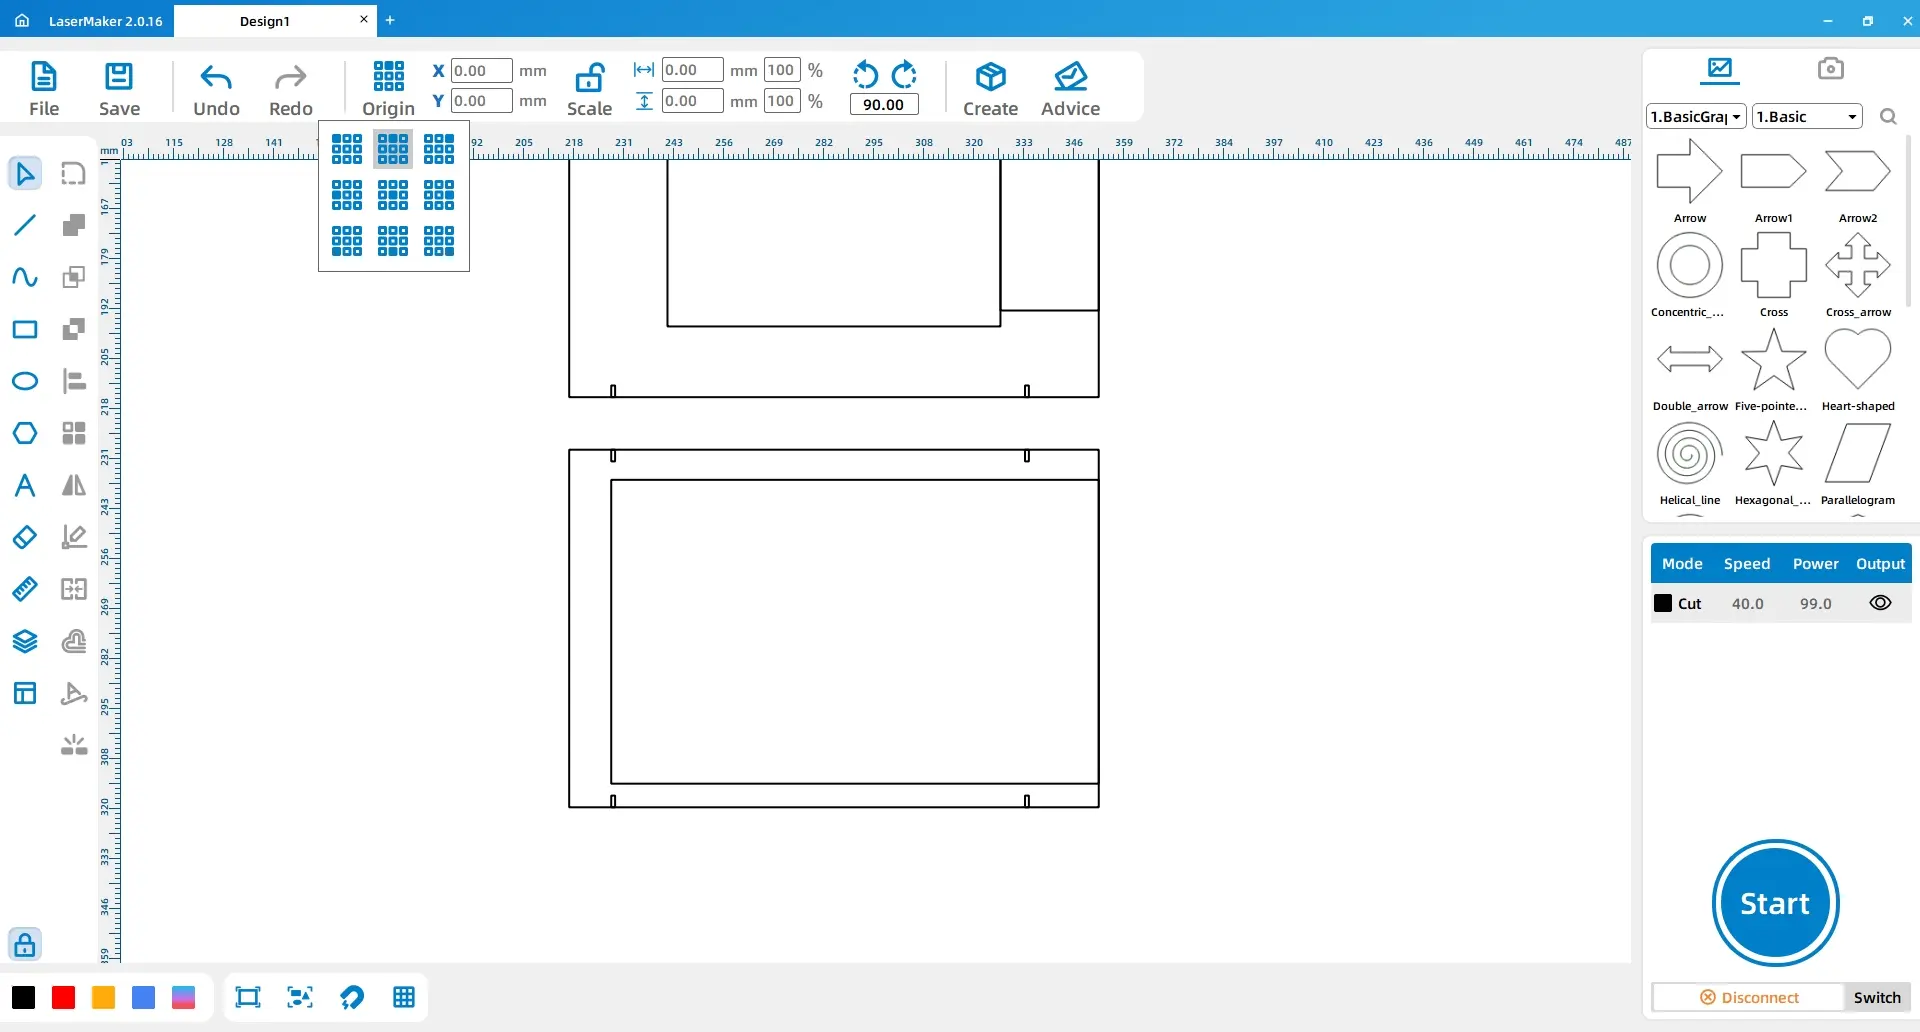
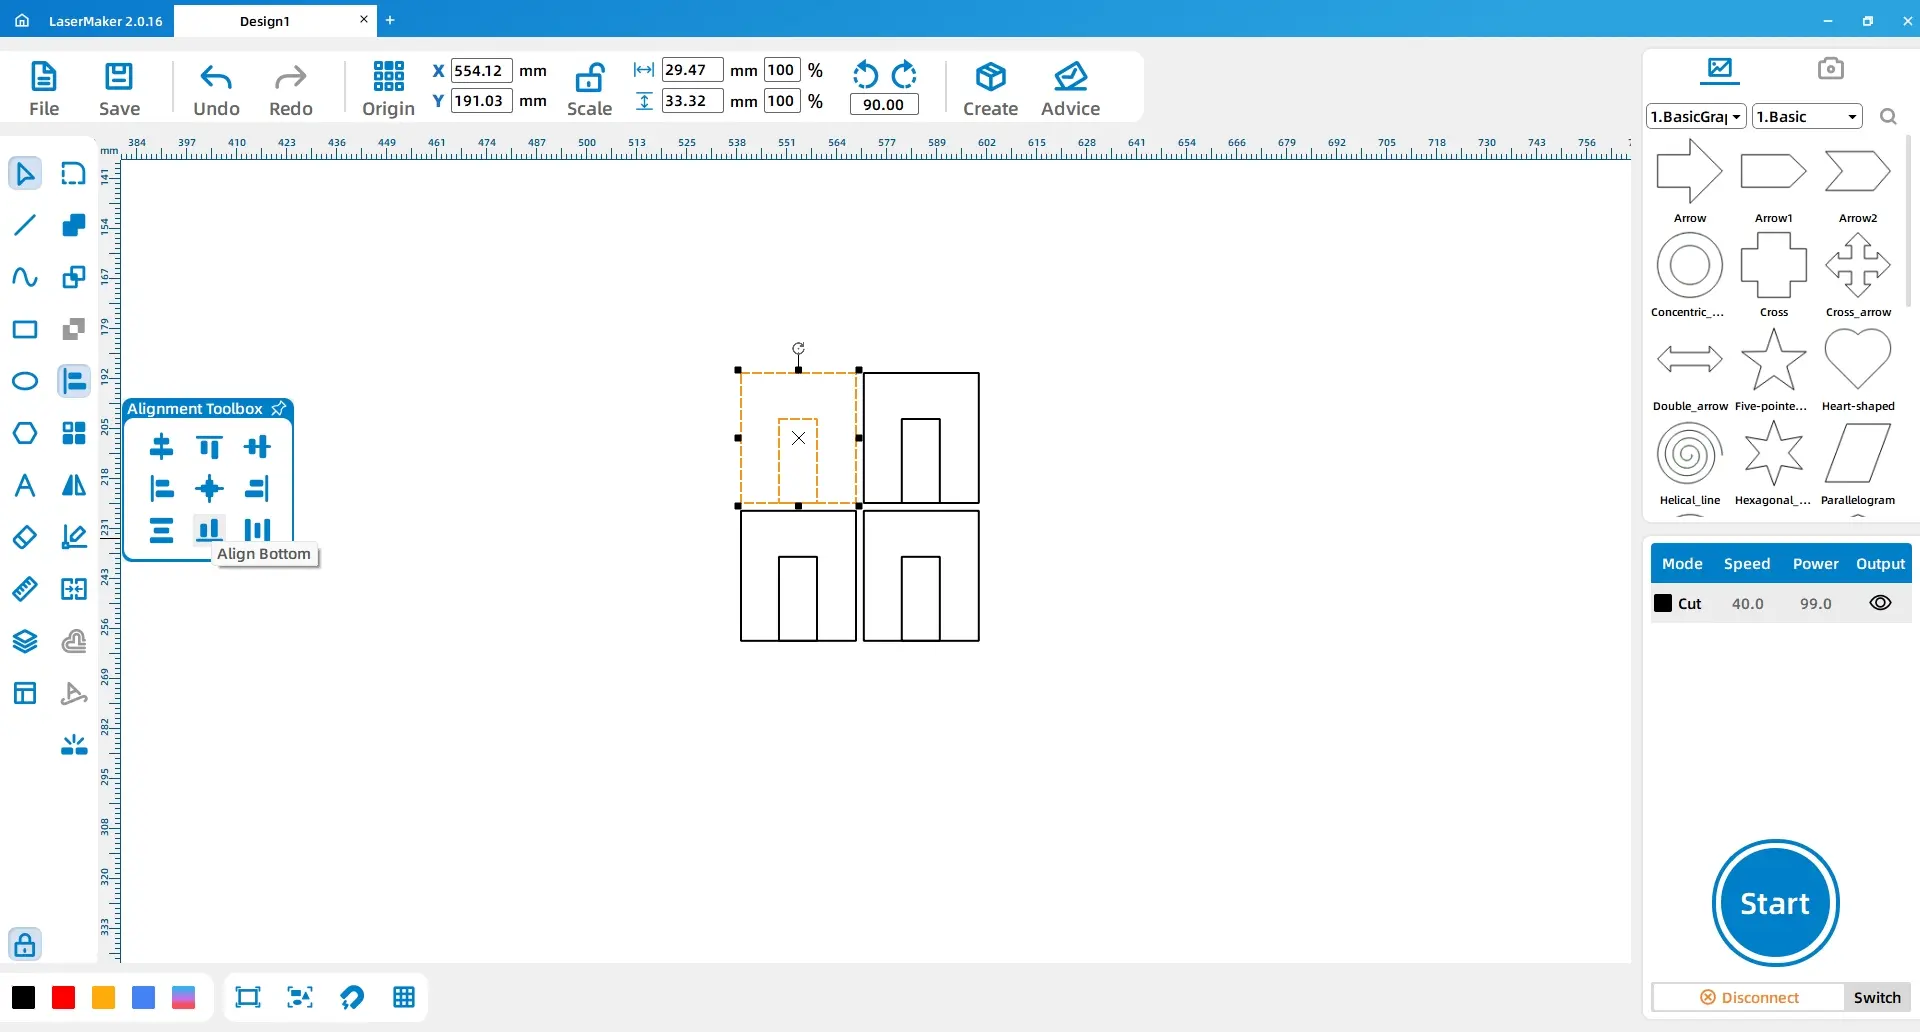
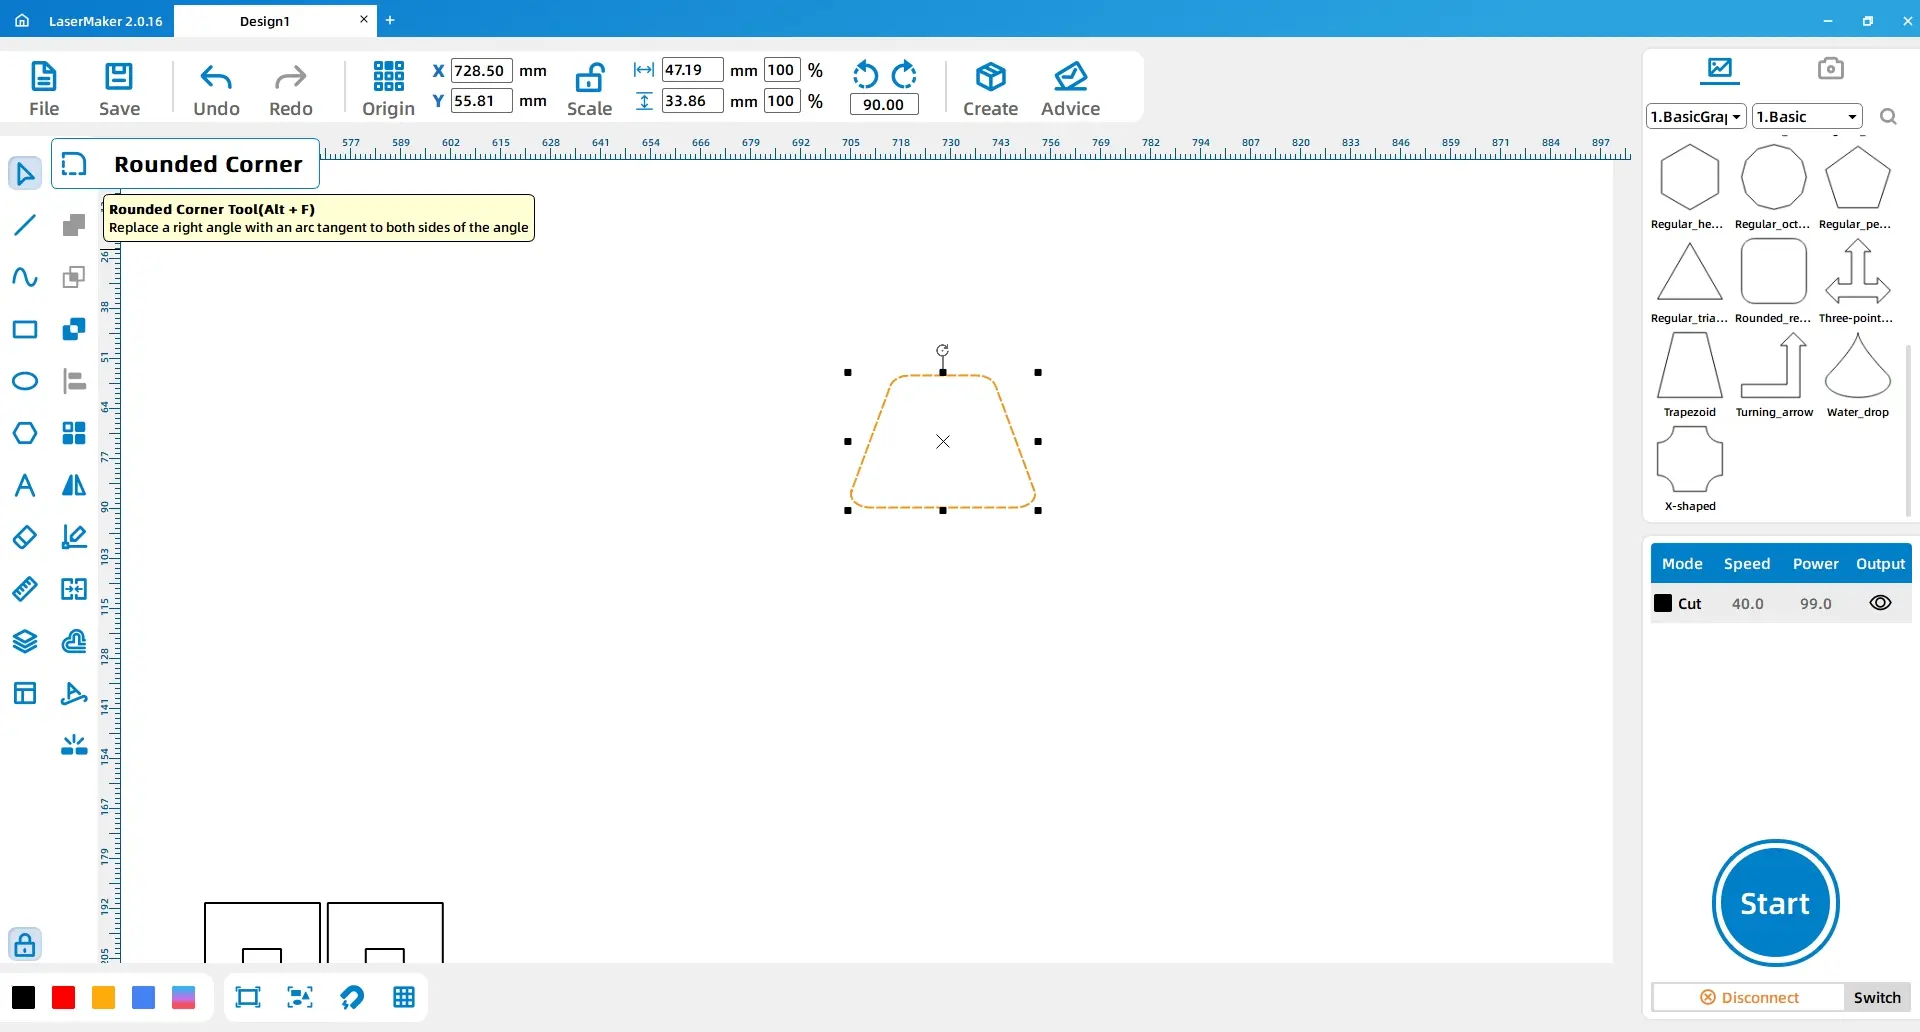
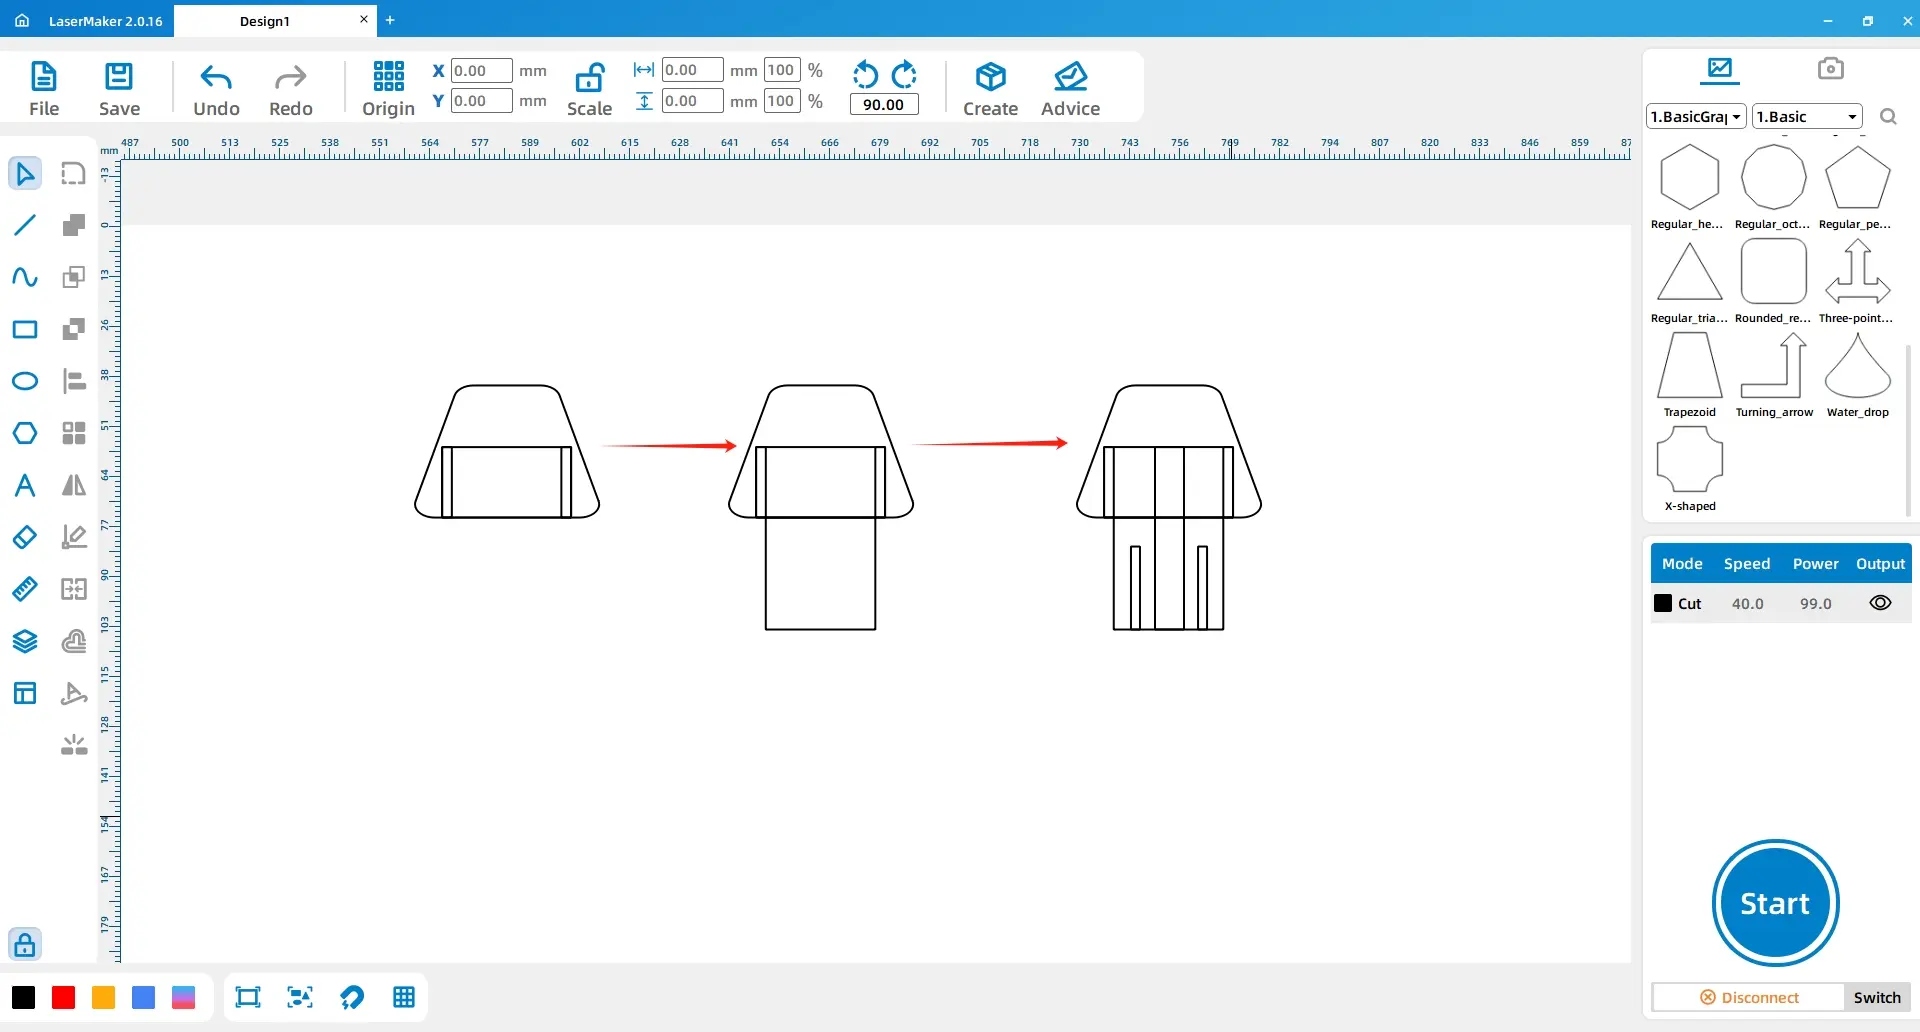
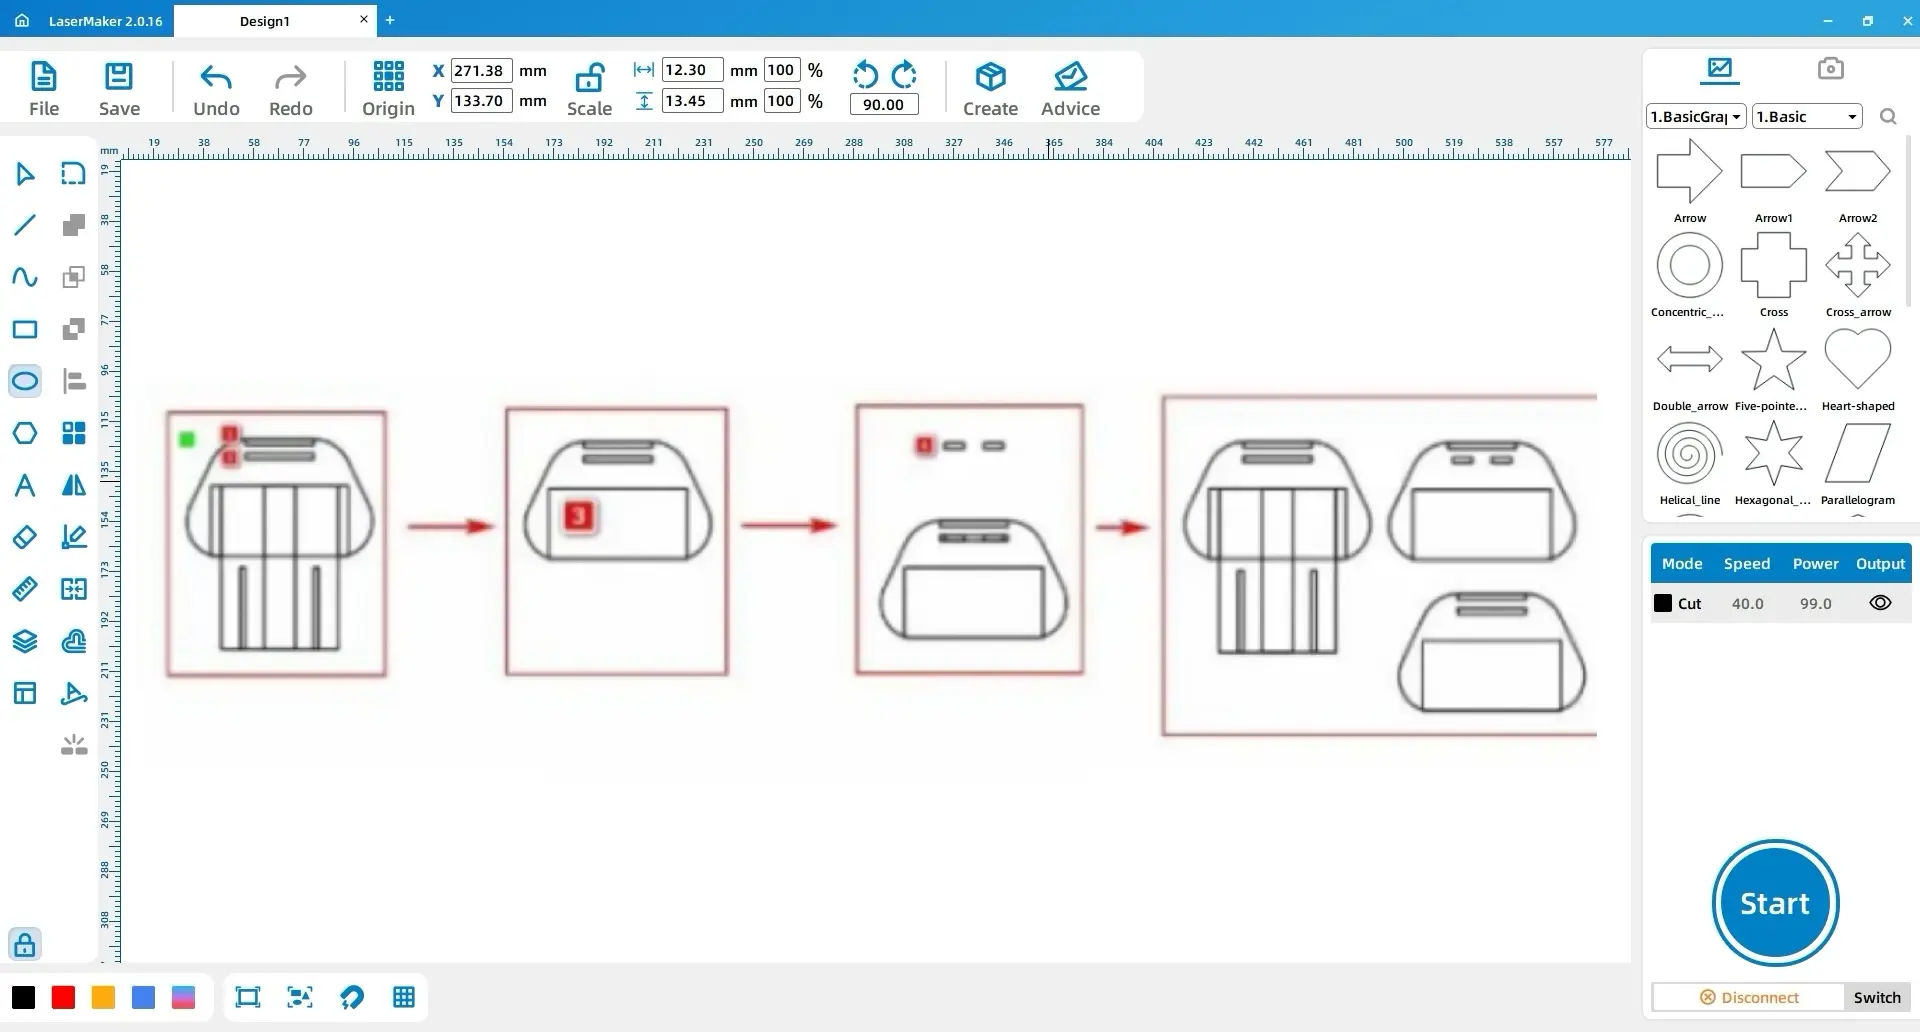
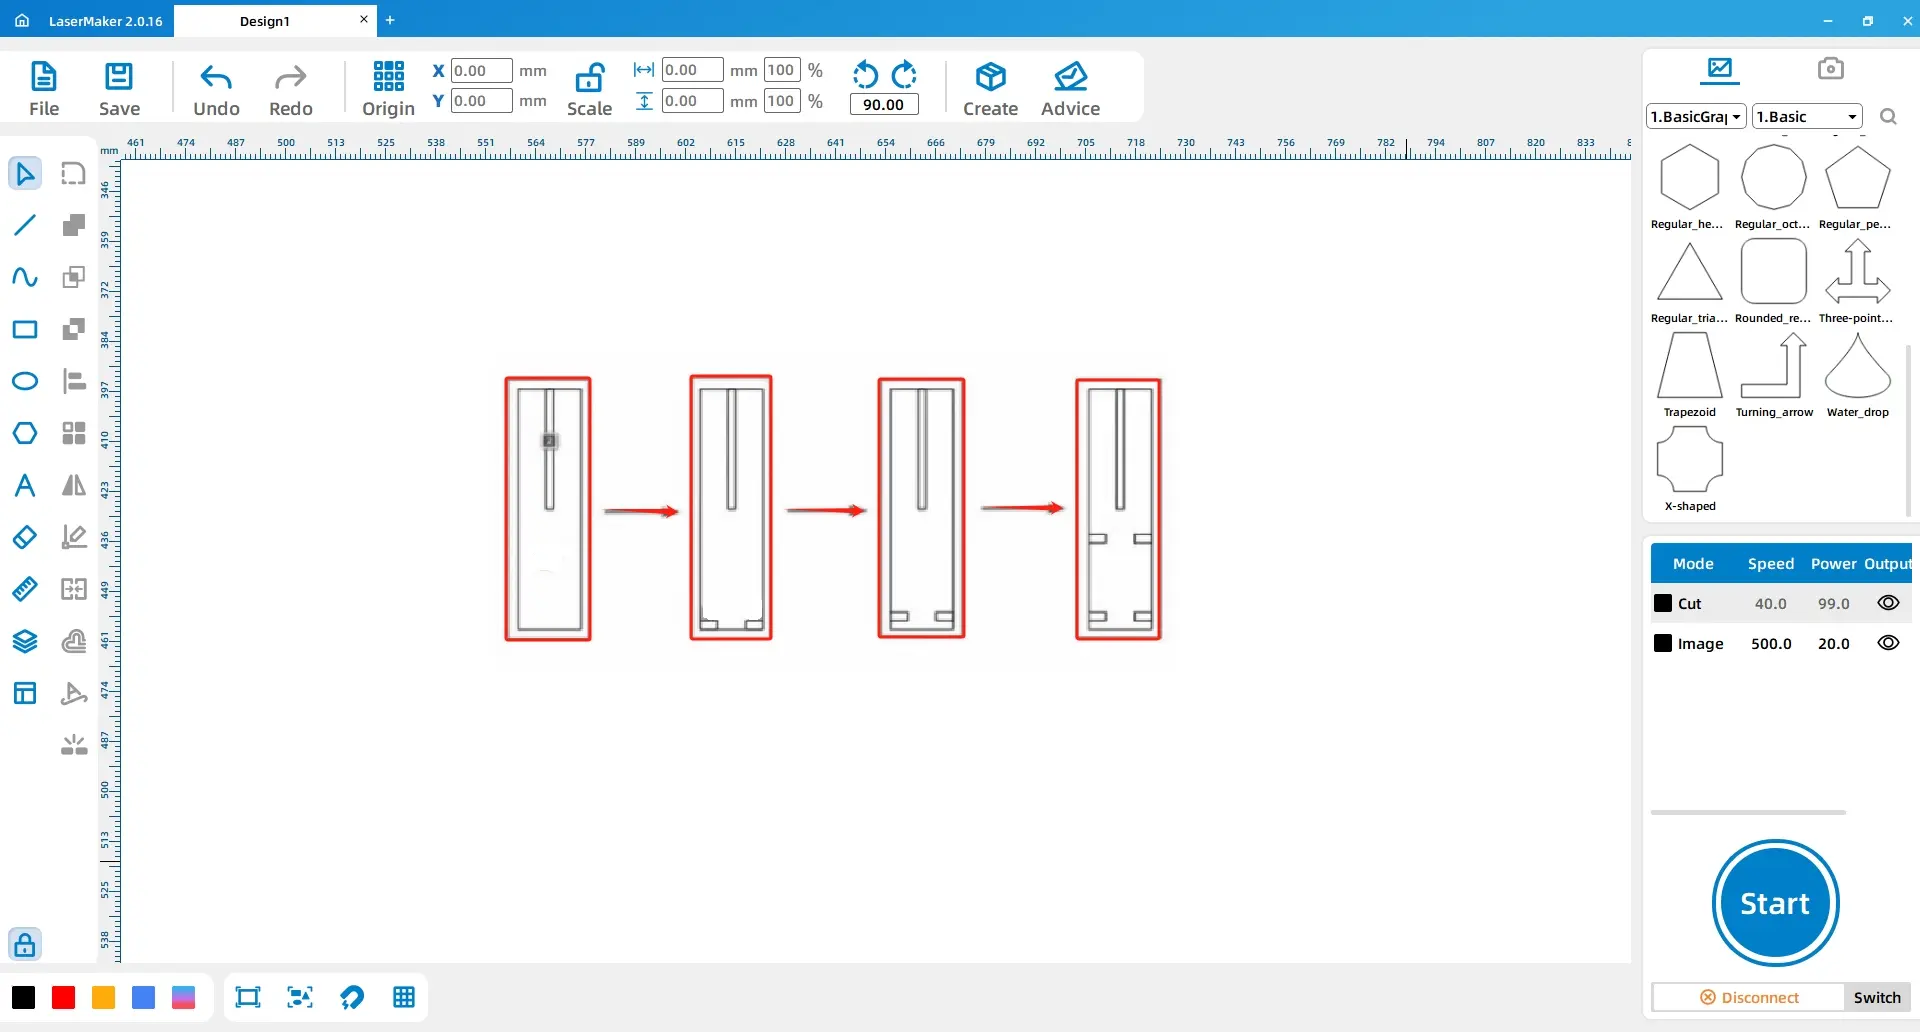
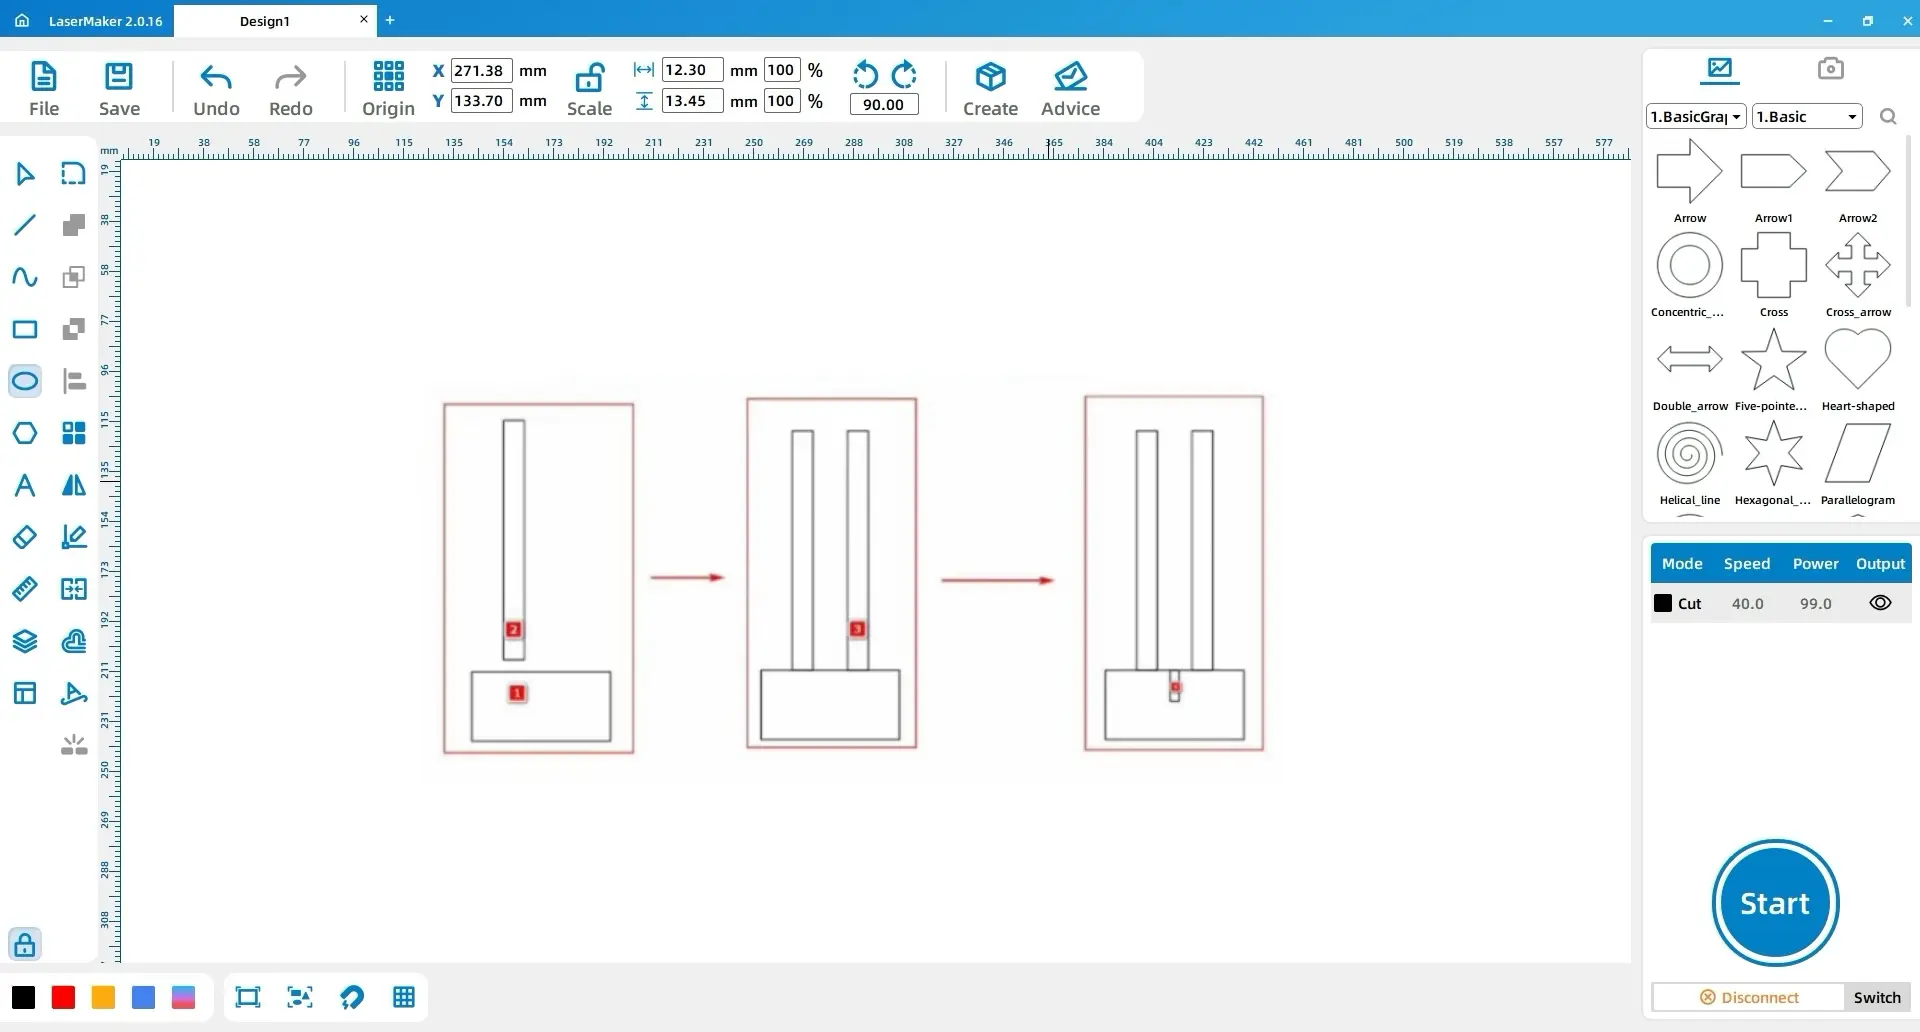
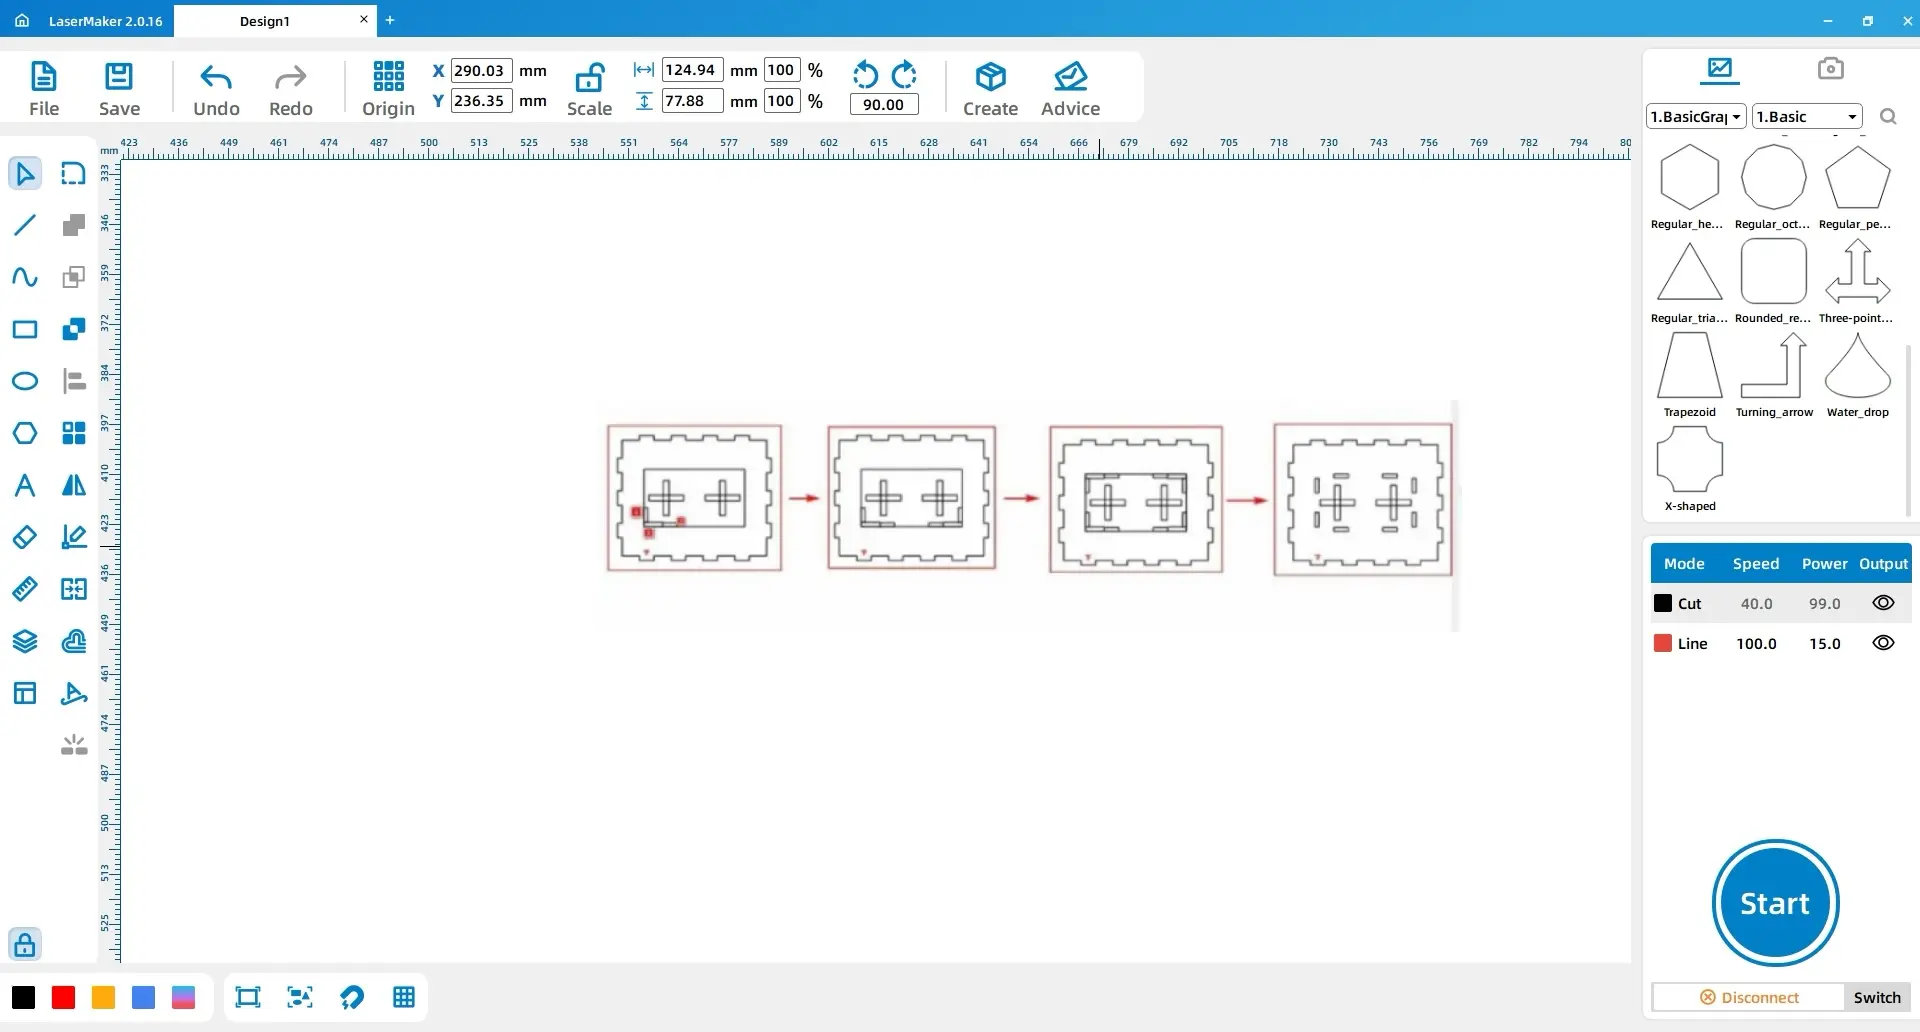
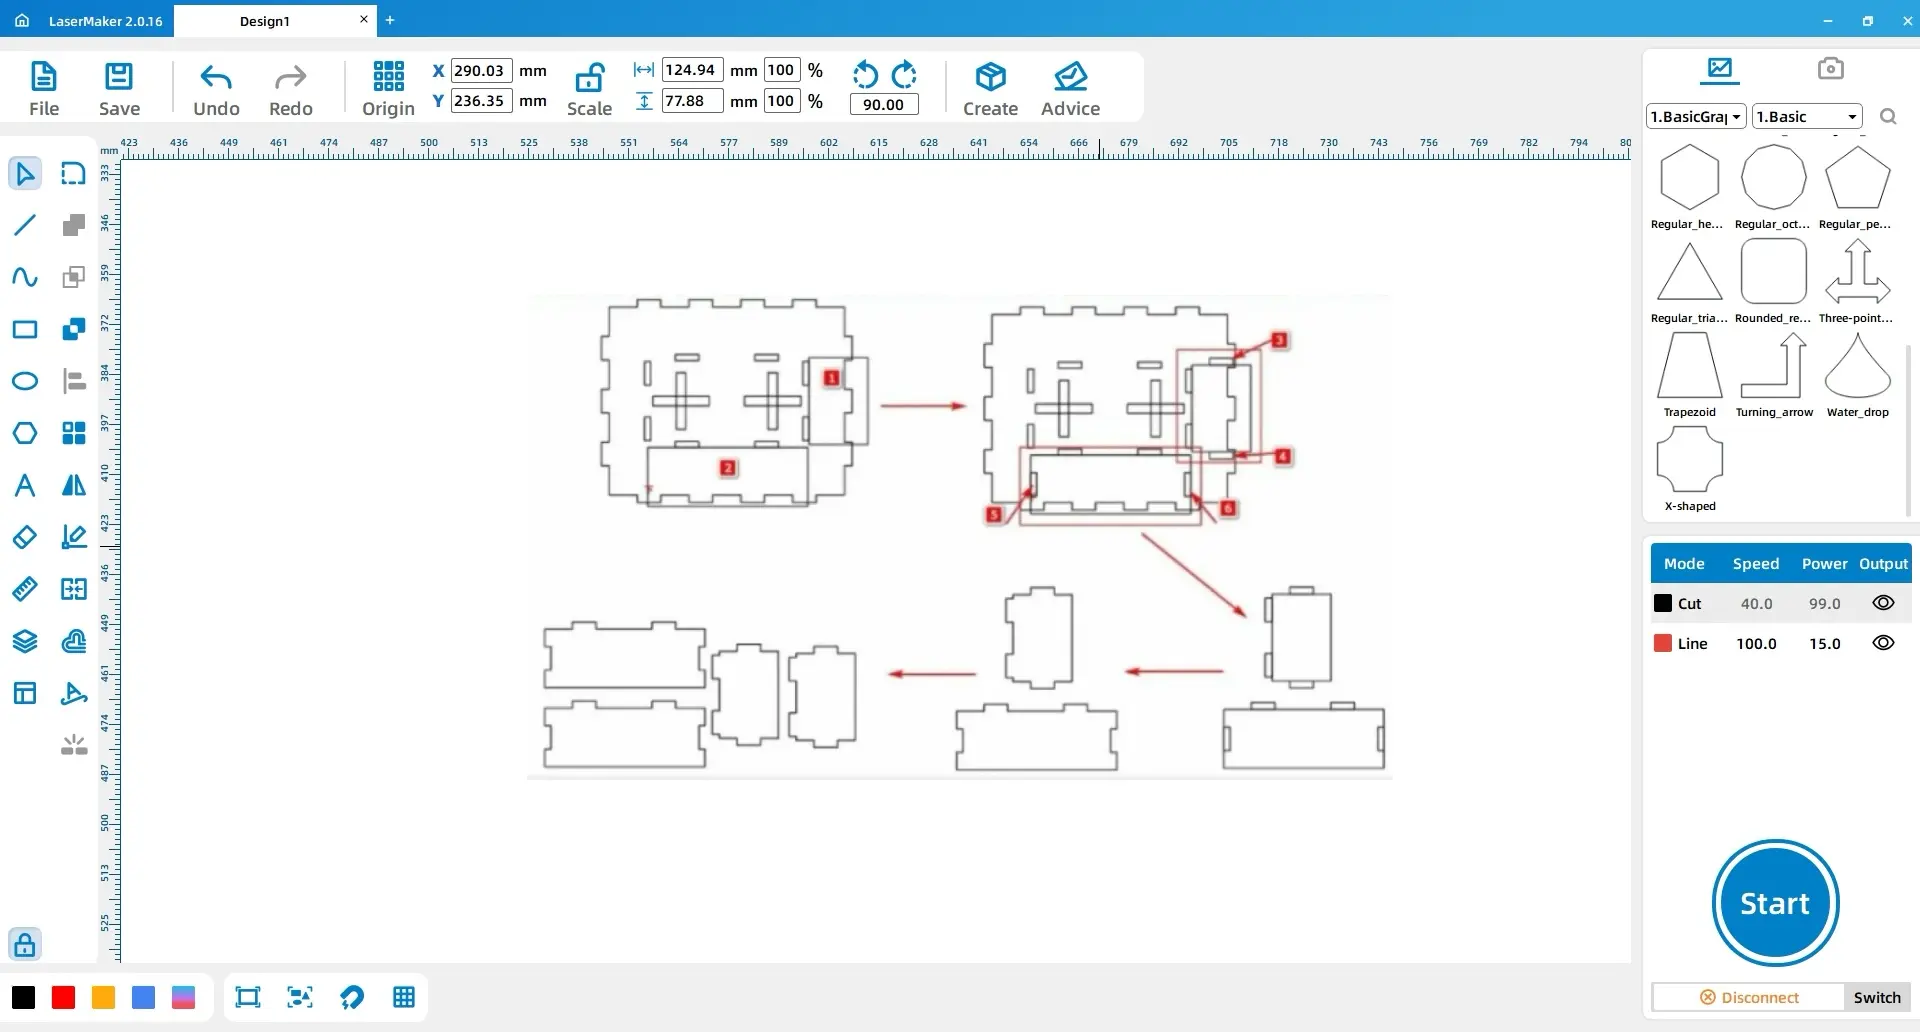
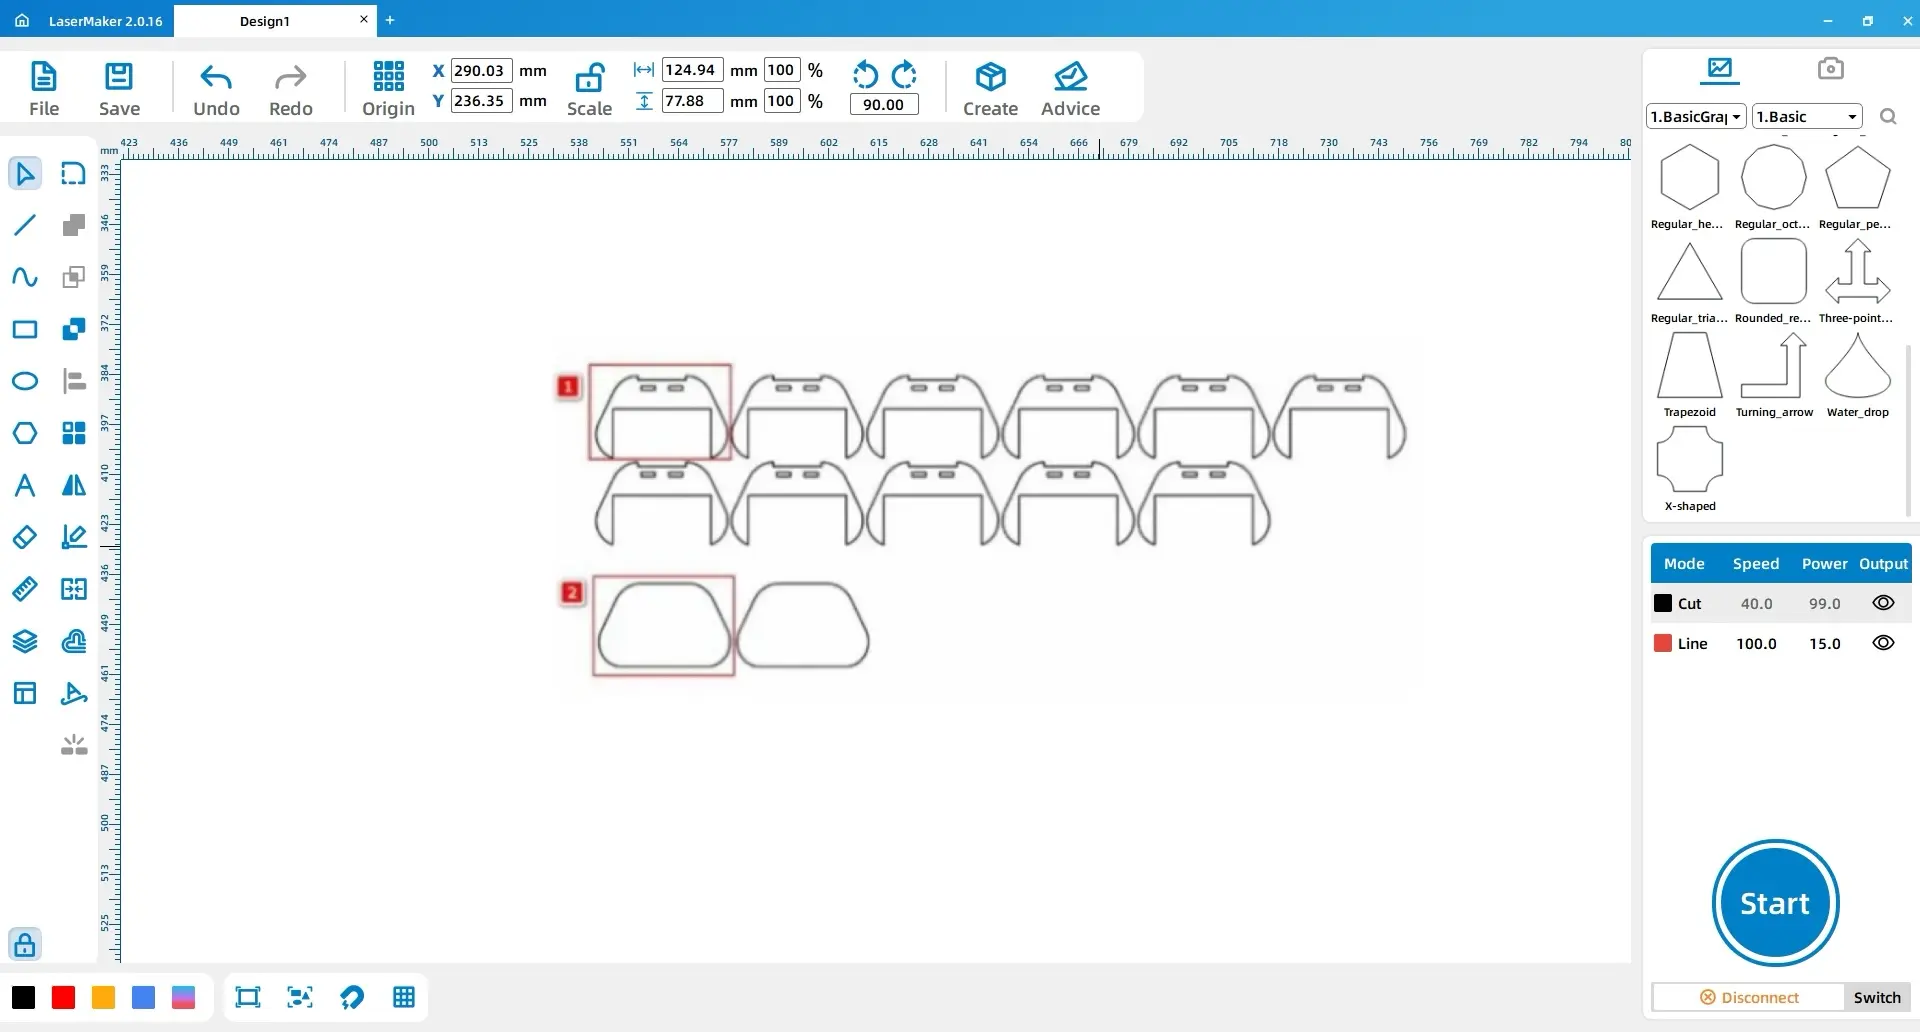
(1) Using the “Rectangle Tool” in the left toolbar, draw two rectangles. Rectangle 1 has dimensions of “Width 180, Height 130,” and Rectangle 2 has dimensions of “Width 150, Height 100.” Duplicate these two rectangles twice to obtain Rectangles 3, 4, 5, and 6. Adjust Rectangle 4 to dimensions of “Width 107, Height 87,” and Rectangle 6 to dimensions of “Width 102, Height 165.” Insert Rectangle 7 between Rectangles 3 and 4 with dimensions of “Width 36.5, Height 70,” as shown in the figure below:
software building Postcard Stamp Collecting 7

Tips: Rectangle 1 serves as the bottom layer of the base, Rectangle 3 is the middle layer, and Rectangle 5 is the top layer.

(2) Using the “Rectangle Tool” in the left toolbar, draw Notch 1 with dimensions of “Width 2.6, Height 10.” Copy and paste this notch three times to create Notch Group 1 and place them in appropriate positions within Rectangle 1. Duplicate Notch Group 1 twice, with Notch Group 2 placed in Rectangle 3 and Notch Group 3 placed in Rectangle 5, as shown in the figure below:

software building Postcard Stamp Collecting 8
(3) Click on the “Origin” button in the top toolbar and select “Middle-Top” as the origin point. Modify the top two notches in Notch Group 3 to have a height of 3. Then, select “Middle-Bottom” as the origin point and modify the bottom two notches in Notch Group 3 to also have a height of 3, as shown in the figure below:
software building Postcard Stamp Collecting 9
(4) Click on the “Rectangle” tool in the left toolbar and draw Card Slot 1 with dimensions of “Width 9, Height 10.” Then, draw Card Slot 2 with dimensions of “Width 2.6, Height 7.” Using the “Align” tool, select “Horizontal Align” and “Bottom Align” to align the two card slots. Duplicate the pair of card slots three times, as shown in the figure below:
software building Postcard Stamp Collecting 10

3. Handle Production

(1) Select “Trapezoid” from the 【Basic Shapes】 section in the top right corner, click on the shape, and choose the 【Rounding】 tool from the left toolbar to round the four corners of the trapezoid. Adjust the size of the trapezoid to “Width: 95, Height: 60” as shown in the following figure:
software building Postcard Stamp Collecting 11

(2) Using the “Rectangle Tool” in the left toolbar, create two rectangles. Rectangle 1 should be “Width: 60, Height: 36”, and Rectangle 2 should be “Width: 5.1, Height: 36”. Duplicate Rectangle 2 once.

First, center-align Rectangle 1 with the trapezoid and then align them to the bottom. Place the other two rectangles on the left and right sides of Rectangle 1, respectively.
Click on “Origin” in the top toolbar and select “Middle-Top as Origin”. Modify Rectangle 1 to “Height: 84”.

Draw Rectangle 3 with dimensions “Width: 16, Height: 84” and center-align it with Rectangle 1. Draw Rectangle 4 with dimensions “Width: 2.6, Height: 42” and duplicate it once. Position both rectangles as shown in the figure below:

software building Postcard Stamp Collecting 12

(3) Using the “Rectangle Tool” in the left toolbar, create two rectangles. Rectangle 1 should be “Width: 35, Height: 3”. Duplicate Rectangle 1 and apply a vertical array with a count of 2 and a spacing of 4.35 to obtain Rectangle 2.

Select the trapezoid, Rectangle 1, and Rectangle 2 using the left mouse button and duplicate them to get Trapezoid 1 and Rectangles 1.1 and 2.2.

Draw Rectangle 3 with dimensions “Width: 71, Height: 36” and align it both horizontally and vertically centered with Trapezoid 1.

Duplicate the combination of Trapezoid 1, Rectangles 1.1 and 2.2, and Rectangle 3 to create two identical patterns.

Draw Rectangle 4 with dimensions “Width: 10, Height: 3” and apply a horizontal array with a count of 2 and a spacing of 10. Group the two rectangles together, horizontally center-align them with Rectangle 2.2, and then delete Rectangle 2.2. The result should look like the following image:

software building Postcard Stamp Collecting 13

(4) Using the “Rectangle Tool” in the left toolbar, create two rectangles. Rectangle 1 should be “Width: 22, Height: 84”, and Rectangle 2 should be “Width: 2.6, Height: 42”. Center-align and top-align the two rectangles.

Draw Rectangle 3 with dimensions “Width: 6, Height: 3” and duplicate it to create Rectangle 4. Place Rectangles 3 and 4 in the lower-left and lower-right corners of Rectangle 1, respectively.

Move Rectangles 3 and 4 up by 3mm. Then, apply a vertical array to Rectangles 3 and 4 with a count of 2 and a spacing of -30.2mm. The result should look like the following image:

software building Postcard Stamp Collecting 14
(5) Using the “Rectangle Tool” in the left toolbar, create two rectangles. Rectangle 1 should be “Width: 40, Height: 20”, and Rectangle 2 should be “Width: 6, Height: 69”. Apply a horizontal array to Rectangle 2 once with a spacing of 10 to obtain Rectangle 3. Group Rectangles 2 and 3 together to create Group 1. Center-align Group 1 with Rectangle 1. Draw Rectangle 4 with dimensions “Width: 2.6, Height: 9” and horizontally and top-align it with Rectangle 1. The result should look like the following image:
software building Postcard Stamp Collecting 15

(6) Using the “Rectangle Tool” in the left toolbar, create two rectangles. Rectangle 1 should be “Width: 36, Height: 10”, and Rectangle 2 should be “Width: 3, Height: 35”. Horizontally align the two rectangles so that the right side of Rectangle 1 is connected to the left side of Rectangle 2.

Duplicate Rectangle 1 twice to obtain Rectangles 3 and 4. Move Rectangle 3 to the top of Rectangle 1 so that they are connected, and move Rectangle 4 to the bottom of Rectangle 1 for the same connection. Finally, delete Rectangle 1. The result should look like the following image:

software building Postcard Stamp Collecting 16
(7) Using the “Create” feature in the top toolbar, select the “Rectangular Box” option. Configure the box with the following parameters: “Length: 100, Width: 80, Height: 40”, and make sure to set it as “No Top Cover”. The result should be a rectangular box with an open top.
software building Postcard Stamp Collecting 17

(8) Using the “Rectangle Tool” in the left toolbar, create three rectangles. Rectangle 1 should be “Width: 69.8, Height: 39.6”. Horizontally and vertically align Rectangle 1 with the bottom cover of the rectangular box.

Rectangle 2 should be “Width: 14.9, Height: 9”, and Rectangle 3 should be “Width: 4, Height: 24”. Duplicate Rectangle 3 to create Rectangle 4. Rotate Rectangle 4 by 90° and then horizontally and vertically center Rectangles 3 and 4. Group them together to create Group 1.

Align Rectangle 2 with Rectangle 1. Place Group 1 to the left of Rectangle 2 and connect it to Rectangle 2. Duplicate Group 1 to create Group 2 and place Group 2 to the right of Rectangle 2, connecting it as well.

Finally, delete Rectangle 2. The result should look like the following image:

software building Postcard Stamp Collecting 19

(9) Using the “Rectangle Tool” in the left toolbar, create three rectangles. Rectangle 1 should be “Width: 2.6, Height: 10”, Rectangle 2 should be “Width: 13, Height: 3”, and Rectangle 3 should be “Width: 10, Height: 2.6”. Position them as indicated in the image.
Group Rectangles 1, 2, and 3 together to create Group 1. Duplicate Group 1 to create Group 2 and apply a horizontal mirror effect to Group 2. Position Group 2 as indicated in the image.

Duplicate both Group 1 and Group 2 together to create Group 3. Apply a vertical mirror effect to Group 3 and position it as indicated in the image.

Keep Rectangle 1 and Rectangle 3 from each group along with any cross shapes (assuming they are part of the design) and delete the other rectangles from the image.

The result should look like the following:

software building Postcard Stamp Collecting 20

(10) Using the “Rectangle Tool” in the left toolbar, create three rectangles. Rectangle 1 should be “Width: 25, Height: 37”, and Rectangle 2 should be “Width: 68, Height: 25”.
Draw Rectangles 3 and 4 above and below Rectangle 1, both with dimensions of “Width: 10, Height: 3”. Similarly, draw Rectangles 5 and 6 above and below Rectangle 2.

Select the area indicated in Step 3 and move it outside the lower cover of the box. Modify the width of the two rectangles on the left side of Rectangle 1 to 3, and adjust the height of the two rectangles above Rectangle 2 to 3.

Merge Rectangle 1 with Rectangles 3, 4, and the two rectangles on the left side of Rectangle 1 to create Pattern 1. Merge Rectangle 2 with Rectangles 5, 6, and the two rectangles above Rectangle 2 to create Pattern 2.

Duplicate Pattern 1 and Pattern 2, and position them as shown in the image below.

software building Postcard Stamp Collecting 21
(11) Using the “Rectangle Tool” in the left toolbar, create a rectangle with dimensions of “Width: 36.4, Height: 35.4”.Next, select the “Text Tool” from the left toolbar and input the text “雷宇激光”. Set the font size to “One Size Larger” to make it slightly bigger than the default size. Arrange the text as desired within the rectangle or nearby, depending on your design requirements.
software building Postcard Stamp Collecting 22

(12) Locate the two rectangles within the red area of the right-side pattern and duplicate them. Move the duplicated rectangles into the second rectangle within the red area on the left side. Once the rectangles are in place, delete the second rectangle from the left-side pattern to maintain the desired layout.

Next, select the outer contour of the right-side pattern and duplicate it. Position the duplicated contour as needed to match the desired design or as indicated in the image you have provided.

software building Postcard Stamp Collecting 23

(13) Begin by locating the two rectangles within the red area of the right-side pattern. Duplicate these rectangles by copying and pasting them.

After duplicating, move the rectangles into the second rectangle within the red area on the left side. Once the rectangles are placed correctly, delete the second rectangle from the left-side pattern to ensure the desired layout is achieved.

Next, select the outer contour of the right-side pattern. Duplicate this contour by copying and pasting it. Position the duplicated contour as needed to align with the design or as per the image you have provided.

software building Postcard Stamp Collecting 24
(14) To create multiple instances of Pattern 1 and Pattern 2, use the array function or a similar duplication method. Arrange Pattern 1 in an array to obtain a total of 11 identical patterns, spacing them evenly as per your design requirements. Similarly, arrange Pattern 2 in an array to get a total of 2 patterns.
software building Postcard Stamp Collecting 25
After following these steps, we have obtained the design drawing for the handle.
software building Postcard Stamp Collecting 26

4. Laser Processing

(1) Setting the Process Parameters for Rubber Stamp:

Double-click the blue layer on the lower right corner of the “Processing Panel” to add a custom material “Rubber”. Double-click “Custom” and set the English, Simplified Chinese, and Traditional Chinese names to “rubber”, “橡胶”, and “橡胶” respectively. Set the thickness to 2mm. Double-click the blank icon to select the rubber material image. Set the material, thickness, and process to Rubber, 2mm, and Shallow Engraving, as shown in the figure below.

software building Postcard Stamp Collecting 27

(2) Setting the Process Parameters for the Base:

Select “Rectangle 1” and left-click the layer panel on the lower left to change the layer color to red.

Double-click the red layer with the left mouse button and set the material, thickness, and process to Acrylic, 3mm, and Outlining respectively. Double-click the black layer with the left mouse button and set the material, thickness, and process to Acrylic, 3mm, and Cutting respectively, as shown in the figure below.

software building Postcard Stamp Collecting 28

(3) Setting the Process Parameters for the Handle:

Select the text “雷宇激光” and left-click the layer panel on the lower left to change the layer color to yellow.

Double-click the yellow layer with the left mouse button and set the material, thickness, and process to Acrylic, 3mm, and Shallow Engraving respectively. Double-click the black layer with the left mouse button and set the material, thickness, and process to Acrylic, 3mm, and Cutting respectively, as shown in the figure below.

software building Postcard Stamp Collecting 29

. Works Exhibition

software building Postcard Stamp Collecting 1

. Conclusion

This course is the first advanced-level course brought to us by the Laser Expert. Compared to previous beginner-level cases, this course is more complex, requiring even more thought and consideration.

Firstly, we need to think about the structure of the work and break it down to understand its components, so as to complete the design drawings. During this process, it’s important to incorporate laser compensation design into the drawings. This involves making adjustments to the hole positions by increasing or decreasing their sizes by 1-2mm, which will make it easier to assemble the final work.

Please note that this case can be quite challenging, so little designers need to have sufficient patience to complete it!

Browse Thunder Laser 
Bolt >

Thunder laser Bolt Plus 2 5 150x150

Recent Blog

    America

    Europe

    Aisa

    Oceanica

    Africa