Have been using your laser engraver regularly but haven’t cleaned the exhaust fan in a couple of months? It’s time to take action! Keeping your laser engraver exhaust fan clean will not only improve it’s performance but also help it last longer. Here’s a simple guide to help you to clean!
What to Do Before Cleaning the Laser Exhaust Fan?
Always start by turning off your laser engraver and unplugging the exhaust fan. Ignoring this step could be dangerous—never clean while it’s still plugged in.
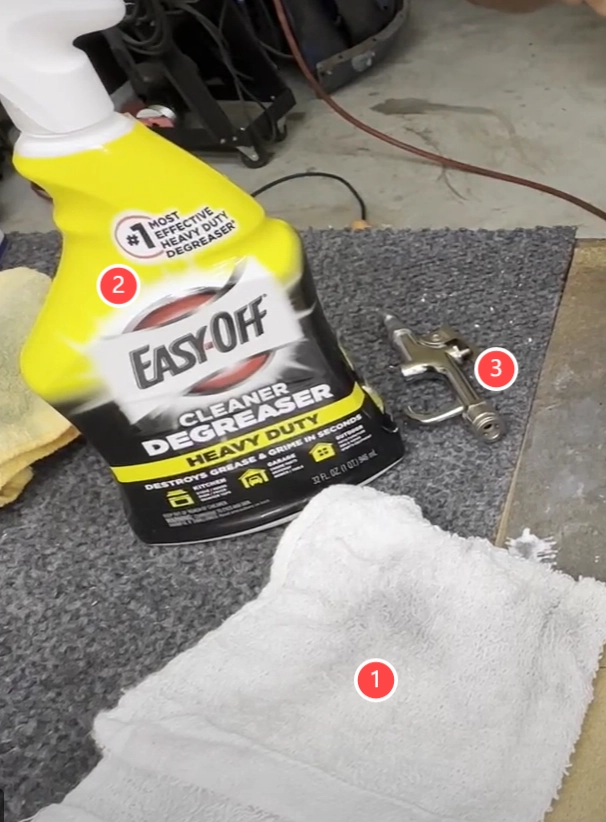
And here are tools that we’ll need: towels, some cleaning solution, a brush and an air gun. Don’t forget to wear a mask to keep the dust out of your lungs.
Warning: Never submerge the exhaust fan in water or any other solution.
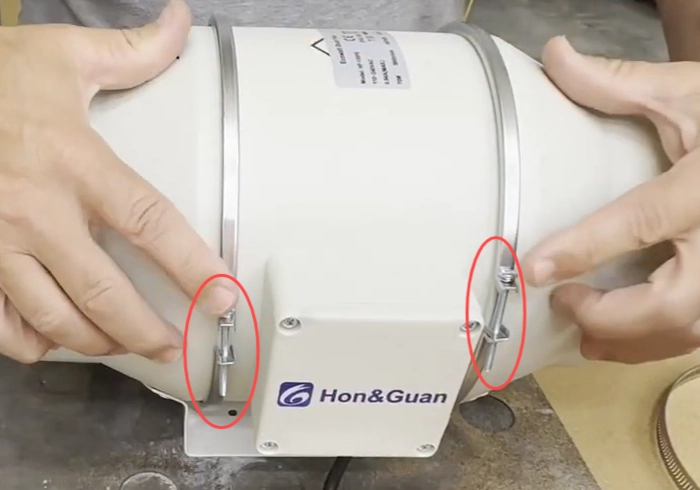
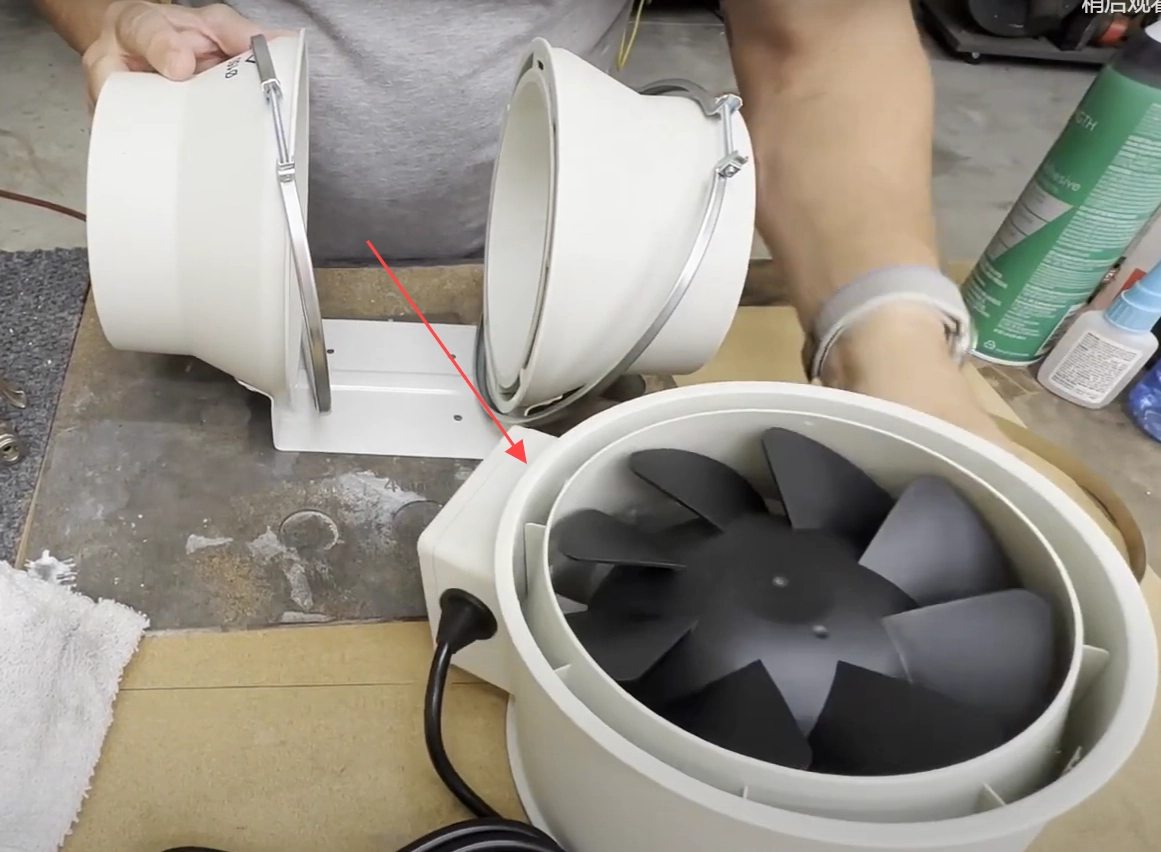
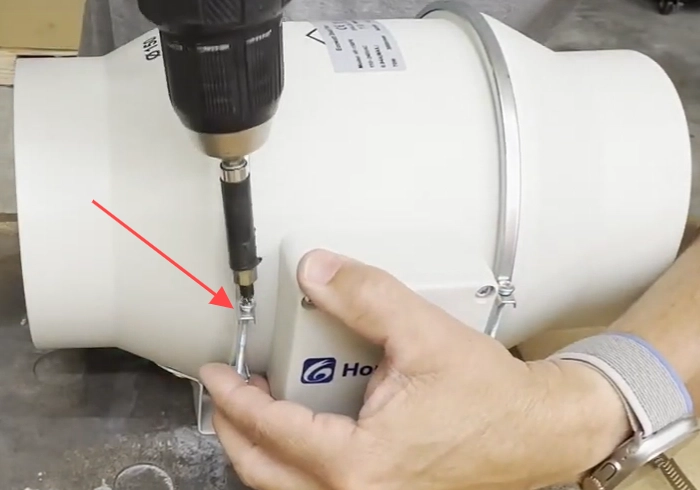
Step 1. Loosen the Band Clamp
Find the screws on the band clamps. You don’t need to fully remove them—just loosen them a bit, and you’ll be able to take the laser engraver exhaust fan apart easily.
Attention: The band clamps are not metal hoop ties that hold the hoses.
Step 2. Clean the Inside of the Laser Exhaust Fan
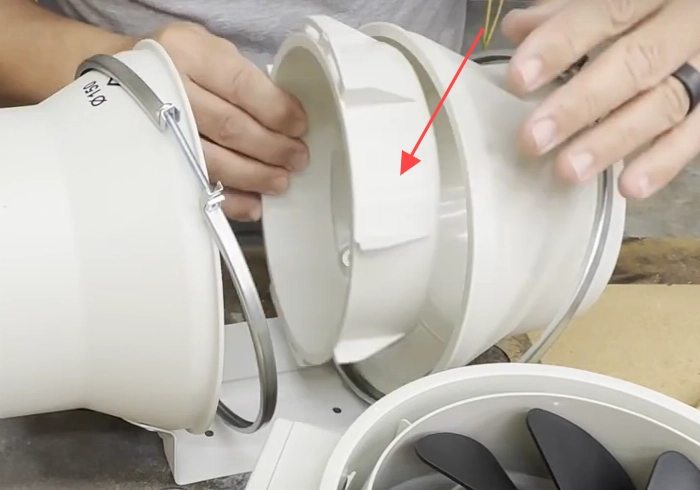
1. Get the Fan out
With the band clamps loosened, gently remove the core of the laser engraver exhaust fan. Hold one side with one hand, and gently push the center part out with the other hand. Then you can leave the laser exhaust fan frame and attached hoses in place and only remove the center part of the fan.
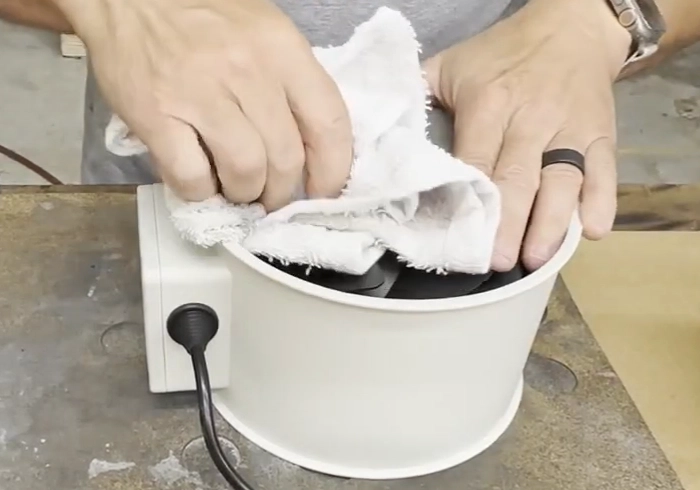
2. Wipe the Fan with a Towel
Take your towel with some cleaner solution, and give the fan a good wipe. Remind to spray the solution on towels instead of the fan. If you notice any debris stuck in the fan, pick it up as you clean.
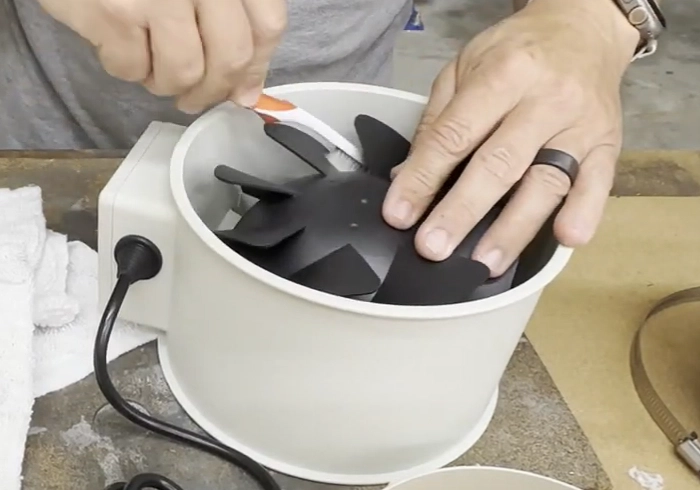
3. Clean the Fan with a Brush
Use your brush to get between the laser engraver exhaust fan blades. This step is essential for reaching those tight spots where dust can gather.
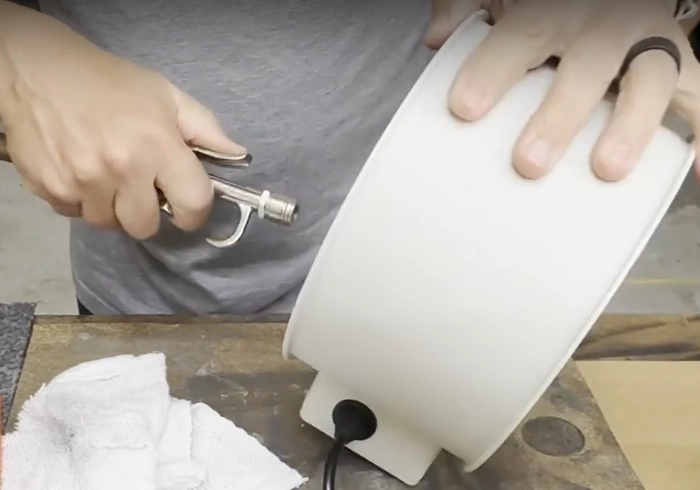
4. Blow off the Dust with an Air-gun
Grab your air gun and blow away any remaining dust. Turn the fan over and repeat to make sure it’s clean from all angles.
Step 3. Cleaning the Remain Parts
The parts around the fan core can also gather dust. Use your towel to wipe down the diffusers and the housing to keep everything dust-free.
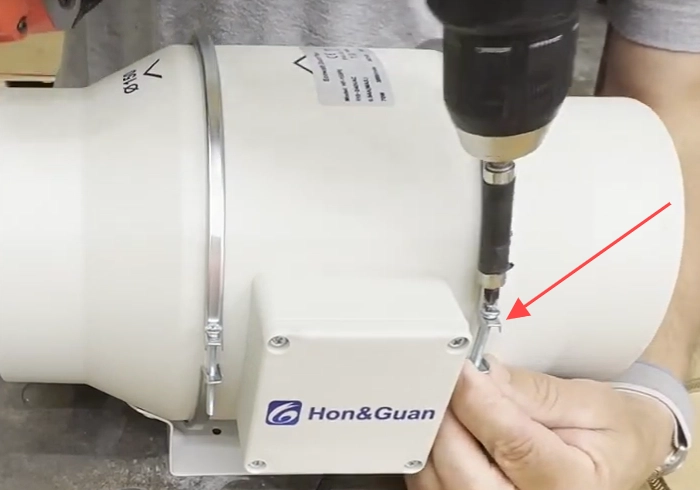
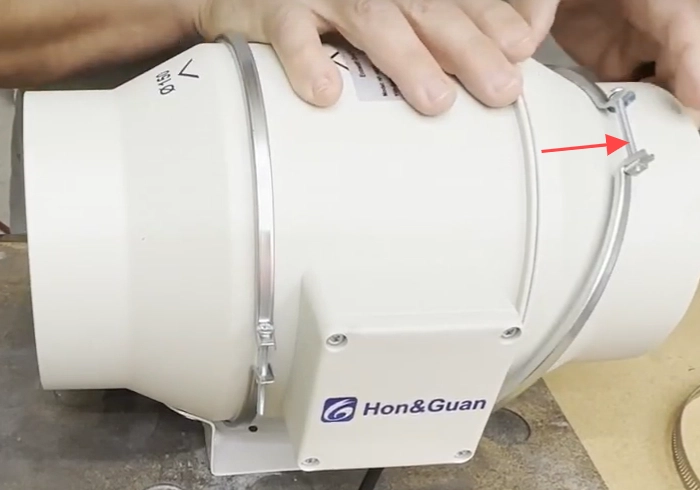
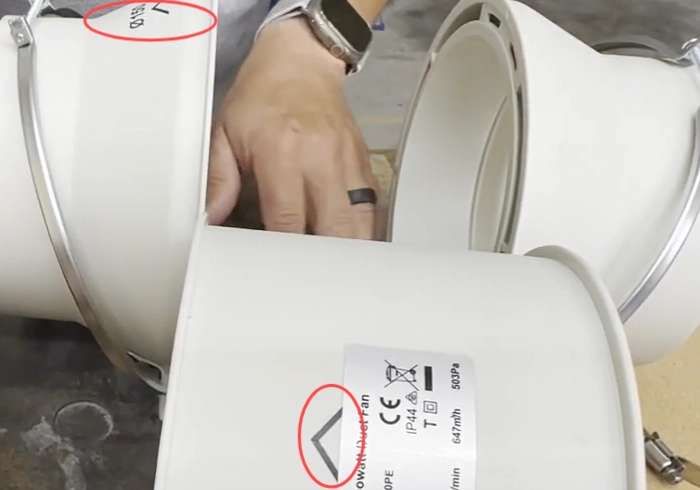
Step 4. Reassembly the Laser Exhaust Fan
Now, put the fan back. Make sure the arrows on the center section line up with the arrows on the sides—this is important for the fan to work correctly. Once everything’s in place, tighten the screws on the band clamps.
By following these simple steps, you’ll keep your laser engraver exhaust fan in great shape. Regular cleaning ensures better performance and helps your machine last longer, saving you time and money in the long run.


.png "laser cutter Globle")


