Introduction
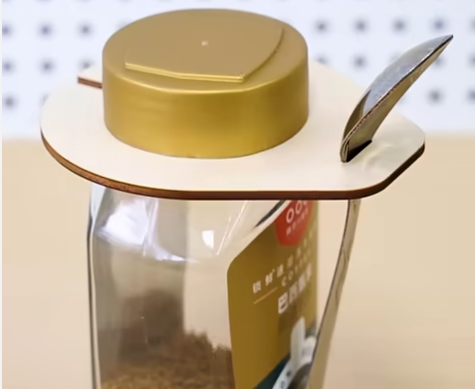
Let’s create a laser cutting spoon holder for the kitchen! This practical tool is designed to securely hold spoons on the sides of bottles and jars, making it easy to keep your cookware within reach while cooking.
Whether you’re scooping spices, flour, or coffee, this holder ensures your spoons are always attached to the container, reducing mess and saving counter space, enhancing both functionality and style in your kitchen.
Read this post and have a homely laser cutting time!
Machine Used
Thunder Bolt 30W
Material Needed
3mm Plywood
Settings
- Cutting
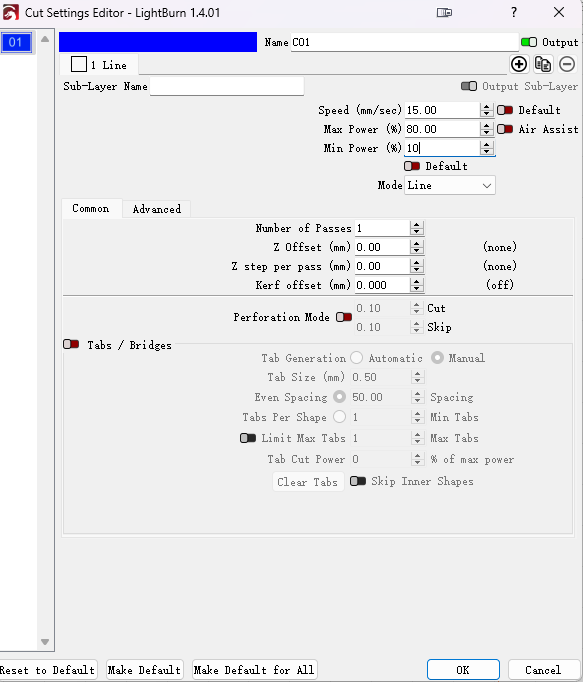
- Speed: 15 mm/s
- Max Power: 80%
- Min Power: 10%
Before your work begins
Start by ensuring the laser lens is clean—any dirt can lead to reduced cutting accuracy or damage. Then check the exhaust fan is fully operational to prevent the smoke and fumes during the cutting process. Lastly, confirm the air assist is switched on.
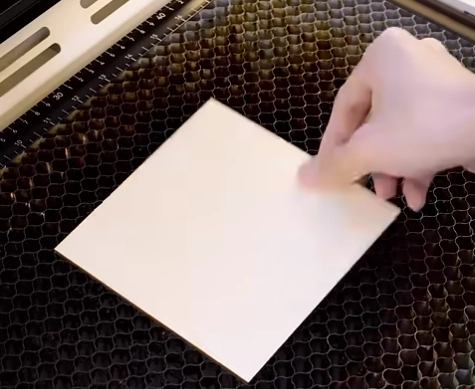
Step 1: Level Your Plywood for Laser Cutting
Plywood tends to warp, and any unevenness can harm your laser cutting project. If the surface of the plywood is not flat, the laser will not be able to maintain a consistent focus, leading to bad results.
To solve this, you can flatten the plywood using tools like magnets or pins to hold the material securely in place. This ensures that the laser can move over the surface with precision, cutting evenly across the entire piece.
Step 2: Load Your Spoon Holder Design
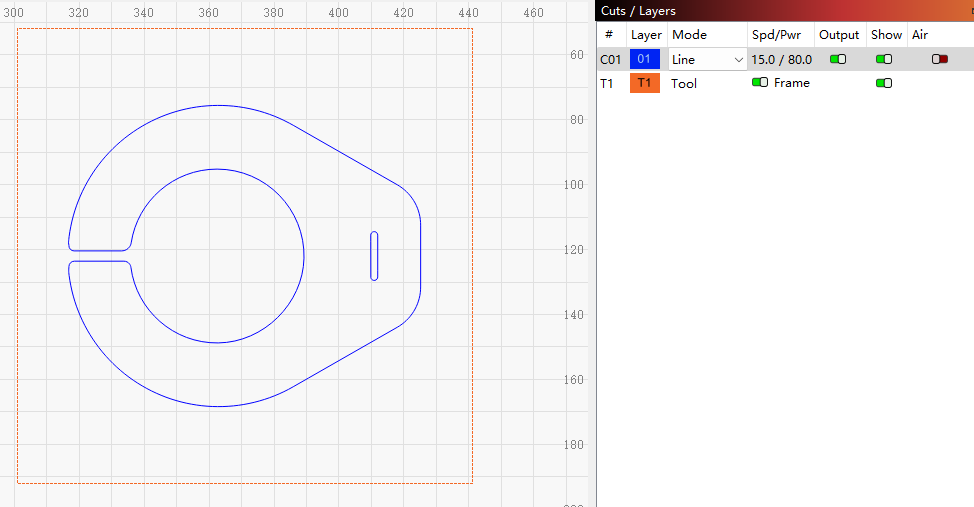
With the plywood prepped, it’s time to load your spoon holder design into LightBurn or your preferred software. Import the file and double-check if your design match the size of the material you’re using.
Pay particular attention to the size of the circle in the middle of the holder to get it to snap just right into the opening of your bottle, which you can confirm using a measuring tool. Also make sure the slot for the spoon is the right size.
Step 3: Check the Laser Spoon Holder Settings
Confirm that all the parameters are adjusted to suit the material. If the laser cutting min power is set too low, there is a risk of weak cuts, leaving rough edges or incomplete cuts. Conversely, a too-high power can overcut, leaving burnt edges or jagged corners. A good setting help achievie a smooth, flawless edge.
Step 4: Achieve Perfect Focus on the plywood
Focusing ensures the laser beam correctly cut through the material with precision.
- Auto Focus: On Thunder Bolt, simply hit the “AF” button to let the machine handle the focusing automatically. It’s quick, effortless, and reliable.
- Manual Focus: If you prefer a hands-on approach, adjust the z-axis manually until the focal stick lightly touches the plywood surface.
With focusing, you can gain sharp cuts and reduce errors during the laser cutting .
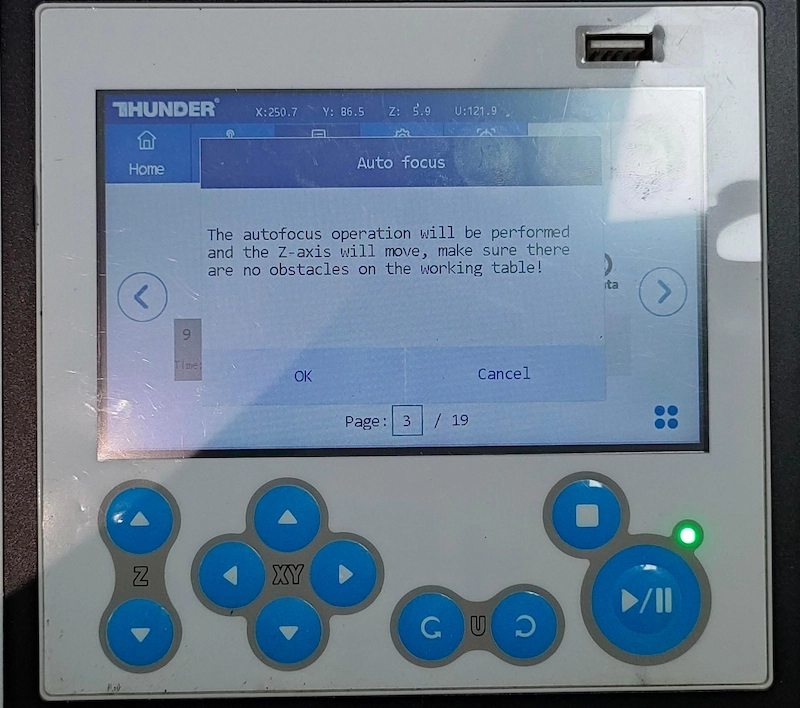
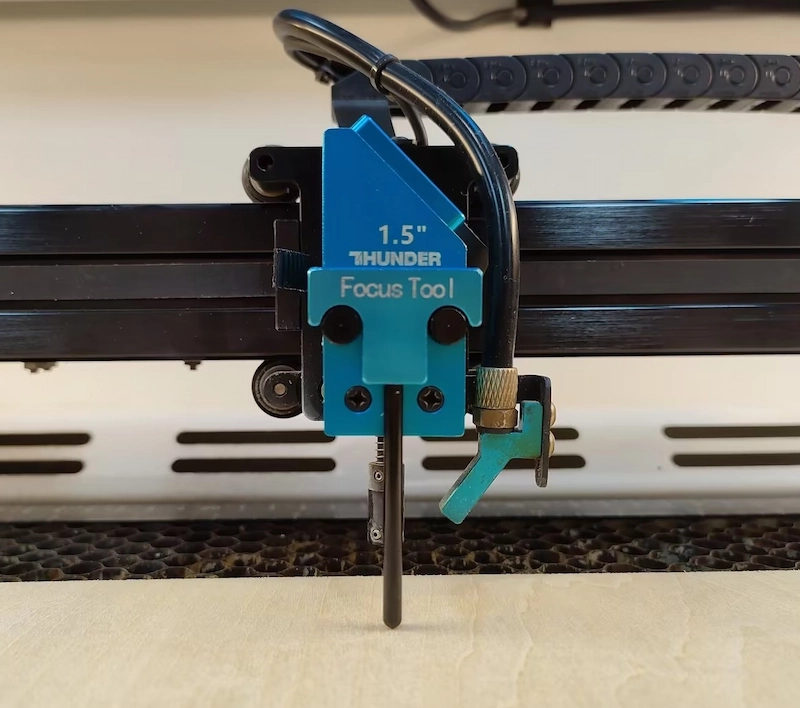
Auto focus
Manual focus
Step 5: Frame and Align the Design
Before you hit “Start”, use the frame function to visually verify the laser cutting area. You’ll see a safe red point, showing you exactly where the cuts will occur on the plywood.
When everything is in place, press “Start” to initiate the laser cutting process. Now, sit back and watch Thunder Bolt brings your spoon holder design to life!
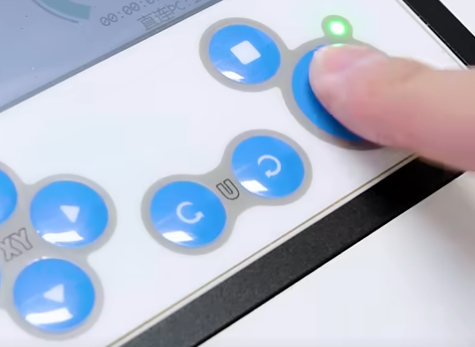
Step 6: Monitor the Holder Cutting Process
It’s always wise to keep an eye on things while the laser is working. Listen for any unusual noises or alarms, and visually inspect the progress to ensure everything is running smoothly.
While monitoring, be sure to avoid directly looking at the laser beam during operation, even with the door closed. The energy of laser cutting can be harmful to the eyes, so always care yourself .
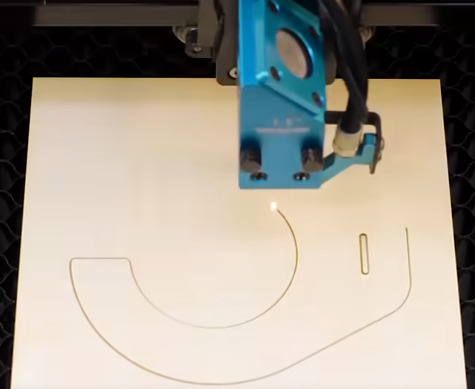
Step 7: Done the Spoon Holder
Once the cutting process is complete, carefully open the laser door and get the spoon holder. Give it a gentle wipe to clear away any leftover dust or particles.
If you’re cutting materials like basswood, residue can build up on the surface, especially after prolonged use. To ensure you laser stays in top shape, take a few moments after longtime job to clean the lens and the autofocus sensor.
Come and Try!
Laser cutting spoon holder is a practical and creative kitchen tool. Beyond its utility, the spoon holder can add more personal style to your kitchen. Our basic spoon holder design is a great starting point, you can add personal factors like names, adding color on it to your needs.


.png) International
International
 United States
 Brasil
 Canada
 Costa Rica
 Česká
Česká
 Ελλάδα
 Polska
 Ireland
 Portugal
 Lietuva
 Россия
 Deutschland
 Britain
 Україна
 France
 Sverige
 Italia
 Norway
 Denmark
 Romania
 한국
한국
 中国
中国
 ประเทศไทย
 中国香港
中国香港
 Israel
 中國臺灣
中國臺灣
 India
India
 پاکستان
 پශ්රී ලංකා
 ジャパン
ジャパン
 Australia
 New Zealand
 South Africa