Revolutionizing the Stamp Industry with Laser
- Home
- >
- Choose by Industries
- >
- Revolutionizing the Stamp with Laser

Traditional Methods of Stamp Making
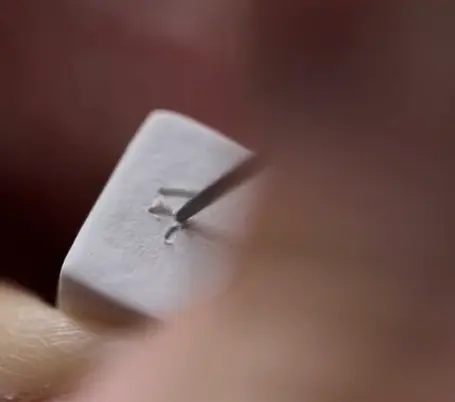
Hand Carving
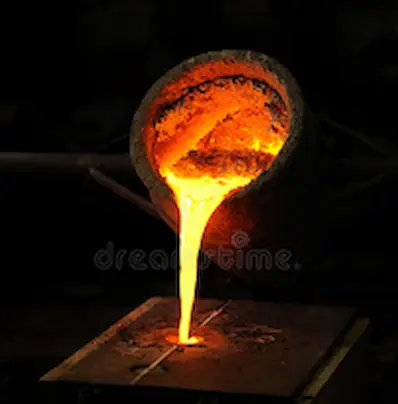
Metal Engraving
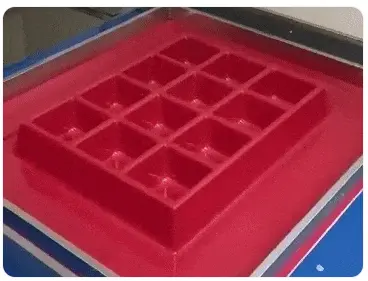
Vulcanization
Hot pressing molding
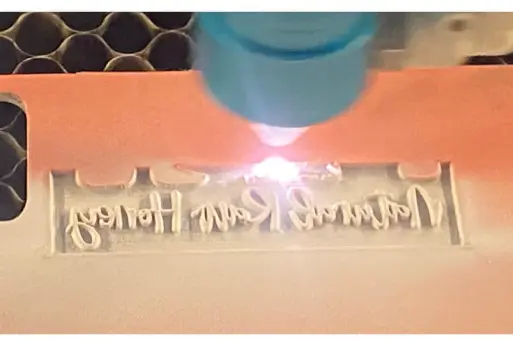
The Innovation Brought by Laser Machines to the Stamp Industry
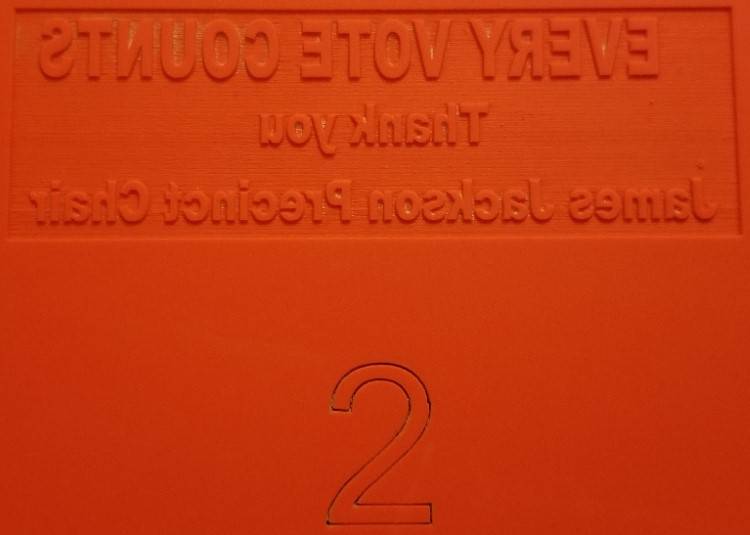
Materials Used by Laser Machines for Making Stamps
- Rubber: Special laser engravable rubber is commonly used for making custom made rubber stamps. It engraves cleanly and produces clear impressions.
- Polymer: Photopolymer plates can be used for creating stamps, especially in a digital workflow.
- Wood: Hardwood or MDF can be engraved to create a stamp, though it may not be as durable as rubber.
- Acrylic: While not as common, acrylic can be used to make durable stamps.
- Leather: Engraved leather can be used for custom stamps, particularly for crafts and artistic purposes.
Advantages of Using Laser Machines in Stamp Making
1. High Precision
2. Efficiency
3. Customization
4. Anti-counterfeiting
5. Durability
Types of Stamps You Can Make with a Laser Machine
• Rubber Stamps
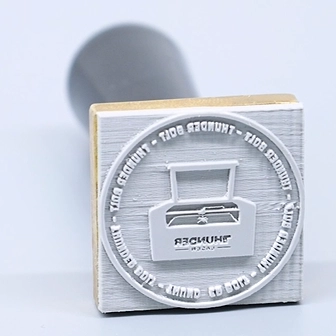
• POM Stamps
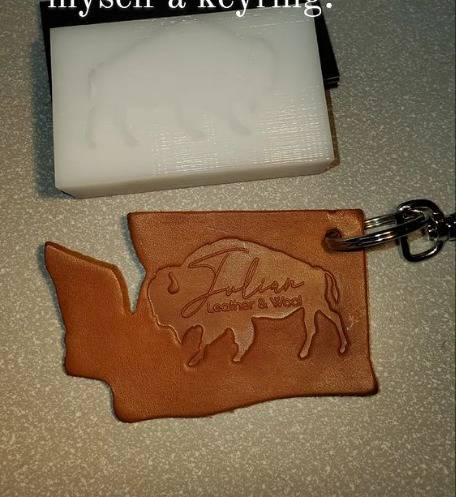
Special etching methods create complex, leather stamp pattern.
• Metal Stamps
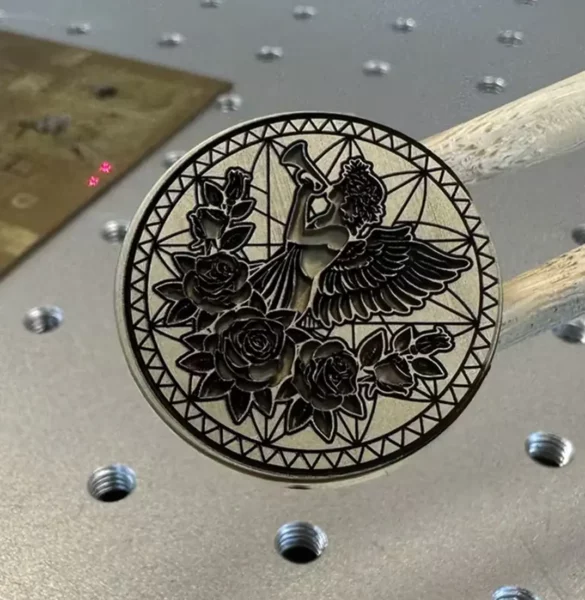
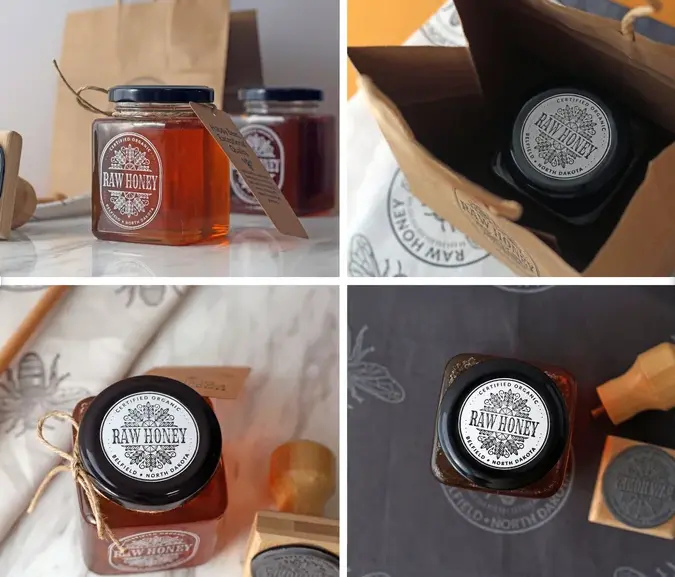
• Personalized Stamps
How to Make Your Own Rubber Stamp
1. Create Your Stamp Design
2. Select Appropriate Parameters
o Confirm parameters to achieve the desired effect.
o Group and mirror the design file, with the blue layer representing the illuminated part.
o Choose single or bidirectional filling, noting that one-way filling yields better results.
o Set DPI to 300 for deeper carving.
3. Send the File to the Machine
4. Place the Rubber Stamp Board and Select the File
5. Focus Properly and Start Carving
For more details, you can refer to this guide on how to make your own rubber stamp using a laser engraver for rubber stamps.
Where to buy the materials of laser engraving stamp?
- • Johnson Plastics Plus: https://www.jpplus.com/
- • JDS Industries: https://browse.jdsindustries.com/
- • Amazon: https://www.amazon.com/ref=nav_logo
Conclusion
Call us at 86 181 0304 3363 to speak to one of our professionals, or email us at [email protected] / [email protected].
We stand ready to help you find the system that works for you !


.png) International
International
 United States
 Brasil
 Canada
 Costa Rica
 Česká
Česká
 Ελλάδα
 Polska
 Ireland
 Portugal
 Lietuva
 Россия
 Deutschland
 Britain
 Україна
 France
 Sverige
 Italia
 Norway
 Denmark
 Romania
 한국
한국
 中国
中国
 ประเทศไทย
 中国香港
中国香港
 Israel
 中國臺灣
中國臺灣
 India
India
 پاکستان
 پශ්රී ලංකා
 ジャパン
ジャパン
 Australia
 New Zealand
 South Africa