How to Clean the Honeycomb Laser Bed without Disassembly?
9月 20, 2024
After completing laser cutting, dust, stains, and material debris often remain on the honeycomb laser bed. Failing to clean the interior makes the laser bed dirty and also affects productions performance. If combustible debris gathers, it can even cause fire during process due to the heat of laser.
Therefore, we recommend cleaning the whole laser cutter once a week. Here are some handy tools and cleaning tips to help you clean the honeycomb laser bed, without the need for disassembly. Let’s have a try!
How to Clean the Whole Honeycomb Laser Bed ?
We’ve found 5 methods for quick cleaning of the whole honeycomb laser bed, choose one or more of them and start sweeping!
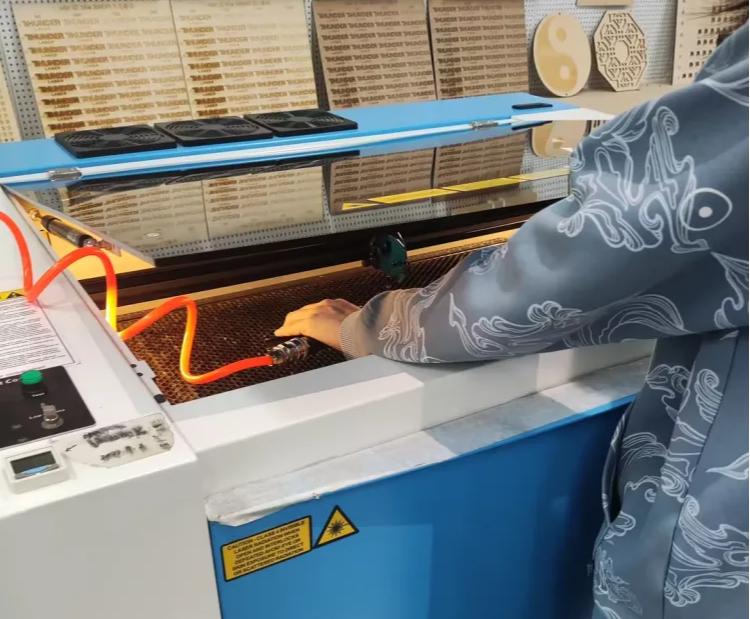
Definitely, before we start, move the laser head into position and adjust the honeycomb bed to a proper height for cleaning. Then turn off the laser to ensure safety.
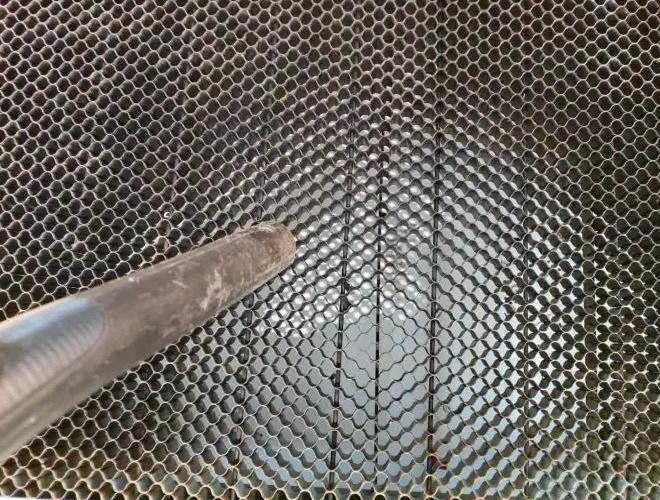
Method 1. By Using a Vacuum Cleaner
Vacuum cleaner is not only great for household chores, it’s also a powerful cleaner for the honeycomb laser bed.
If you have a vacuum cleaner on hand, you can quickly and efficiently remove all types of small debris and dirt by vacuuming the honeycomb table.
Method 2. By Using the Desk Brush
Cutting hard materials often leaves shaped debris on the honeycomb laser bed, especially when cutting complex patterns. It may be too big for a vacuum cleaner, and picking these pieces out by hand is time-consuming and risky, as sharp edges can cause injuries.
A desk brush is a convenient tool for quickly and safely sweeping away debris. If you don’t have a desk brush, a big brush can serve the same purpose. It’s especially useful for cleaning soft fabric scraps.
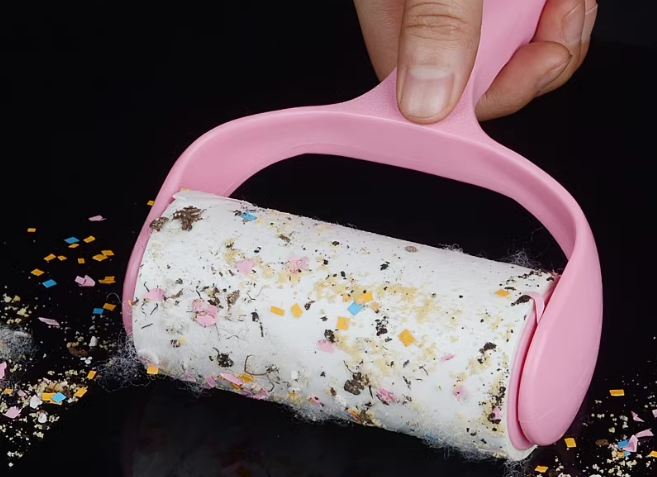
Method 3. By Using a Roller
When cutting paper or fabric, thin and soft debris often remains on the honeycomb table. A roller for tables or clothes cleaning provides the solution.
Use a lint roller or dust roller can quickly to pick up small, lightweight debris. Roll it over the honeycomb laser bed to collect light material scraps, making the cleaning faster and safer.
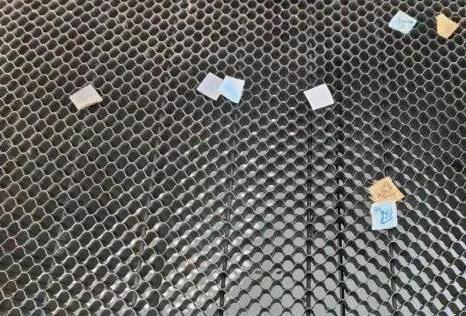
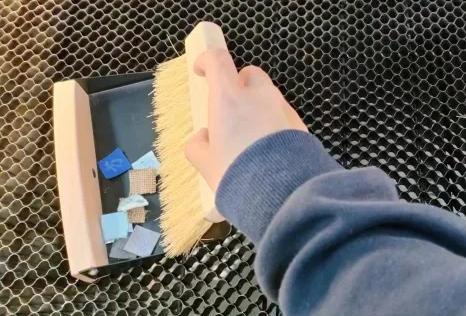
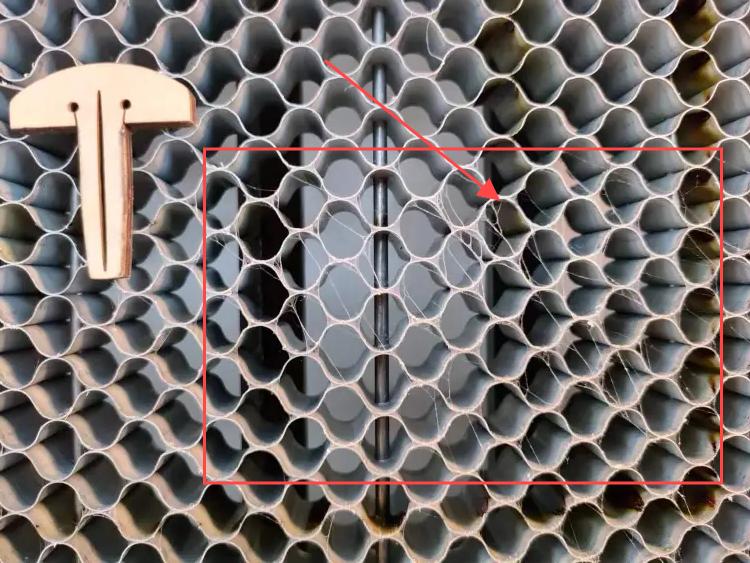
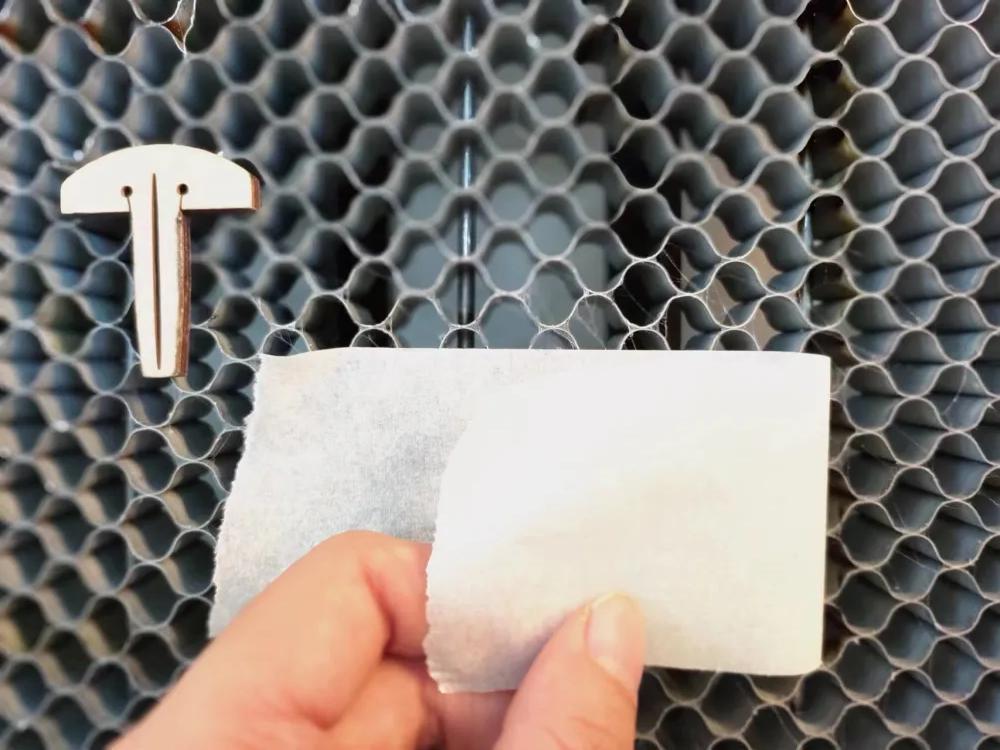
Method 4. By Using the Masking Tape
Masking tape is easy to use without leaving behind glue residue. You can press a piece of tape onto light debris, and tear out for a quick and easy cleaning.
This method is also effective for removing stubborn dirt, such as spiderweb-like residue left on the honeycomb laser bed after cutting and engraving a batch of acrylic.
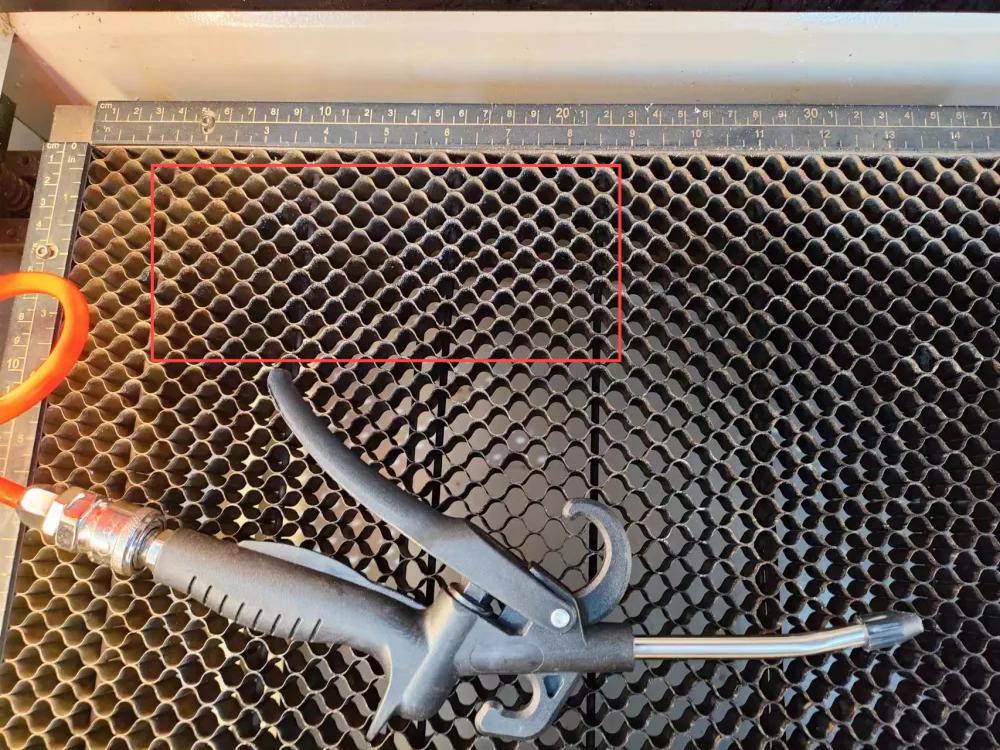
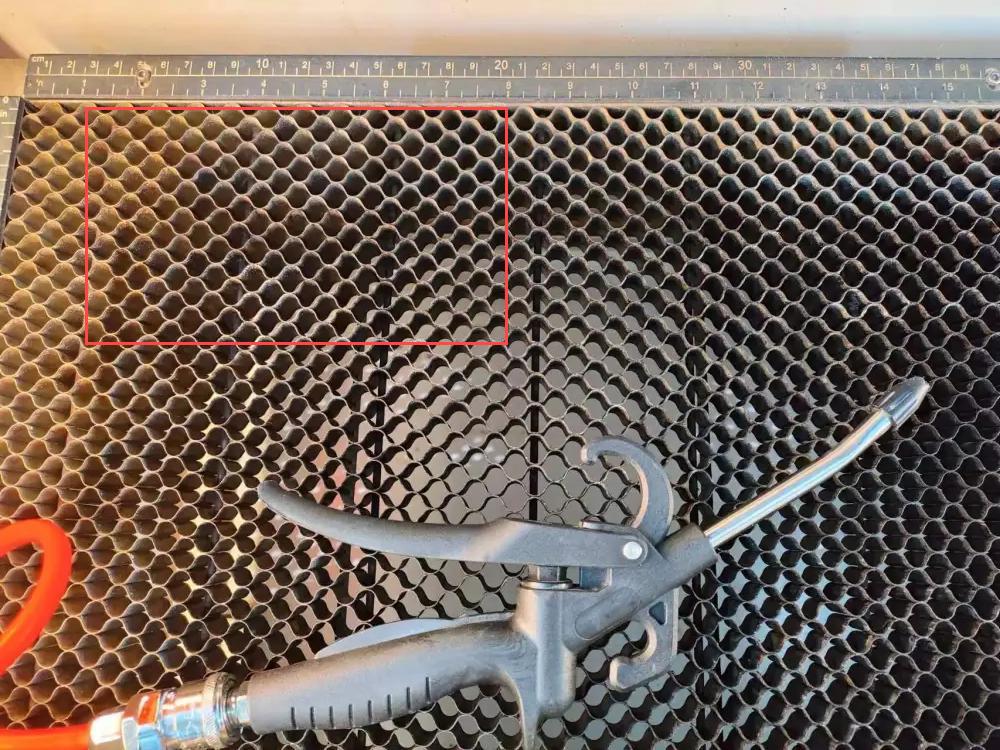
Method 5. By Using the Air Gun
Materials like acrylic and ABS often leave powder and dust after laser processing that cling to the honeycomb cells.
You can use an air gun to blow away this dirt with a stream of high-speed and dry air, effectively cleaning the honeycomb table.
Before cleaning
After cleaning
Tips:
1. When using an air gun, dirt will be blown into the air and elsewhere. So use air gun to clean the honeycomb laser bed first, then clean other parts of the laser cutter.
2. Hold the door cap of laser machine partially closed with another hand to prevent dirt from blowing onto everywhere.
3. Always wear a mask for health when cleaning.
How to Clean Individual Honeycomb Cells?
The methods above are great for cleaning large areas. While only a few honeycomb cells need clean, try the next 3 tools!
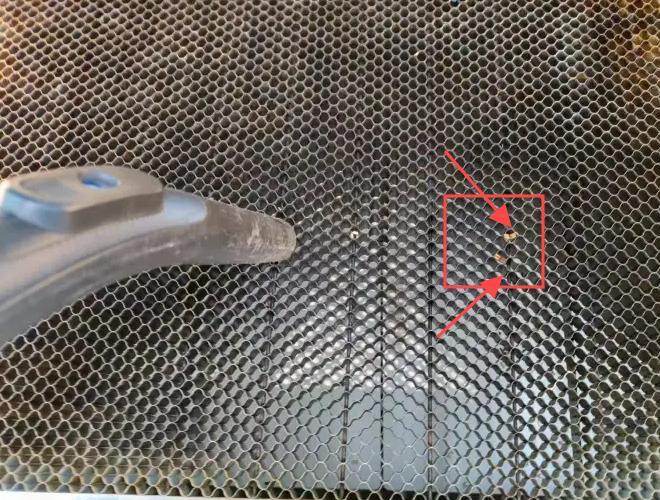
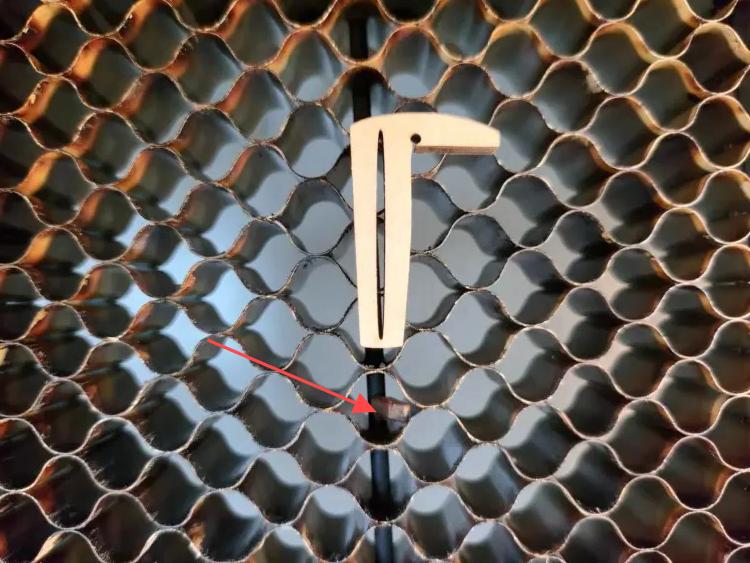
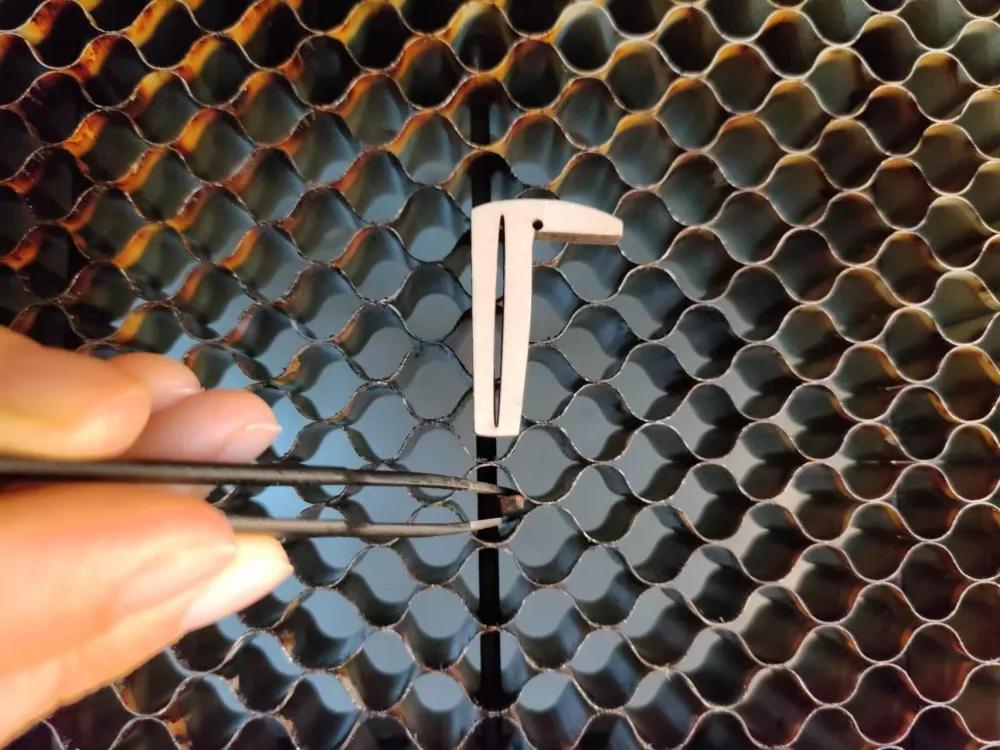
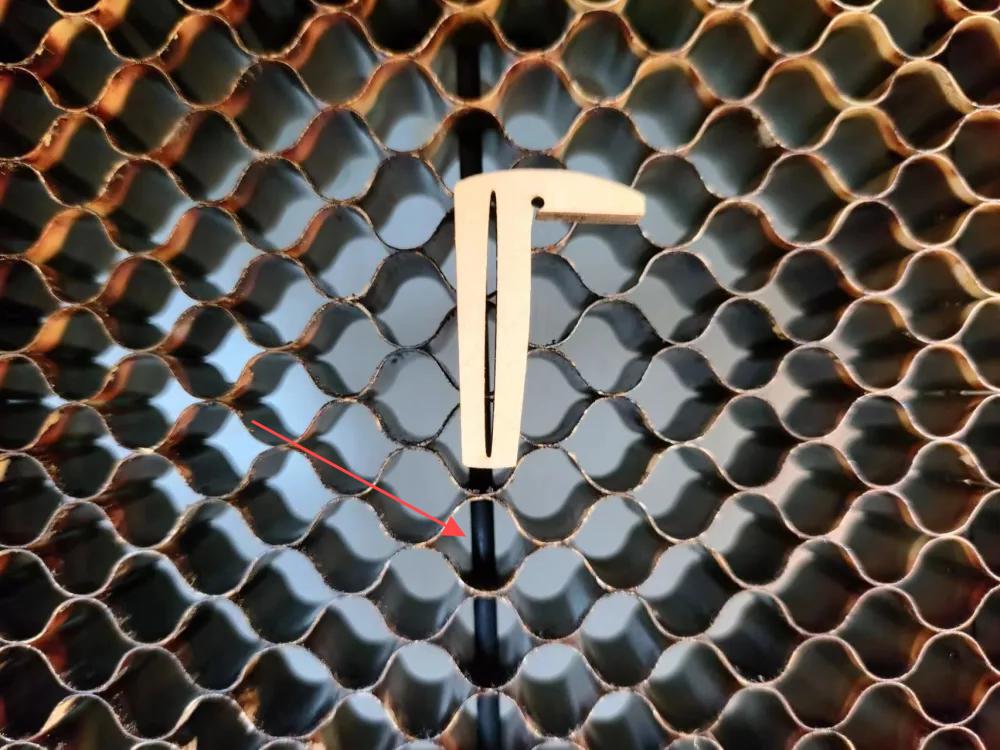
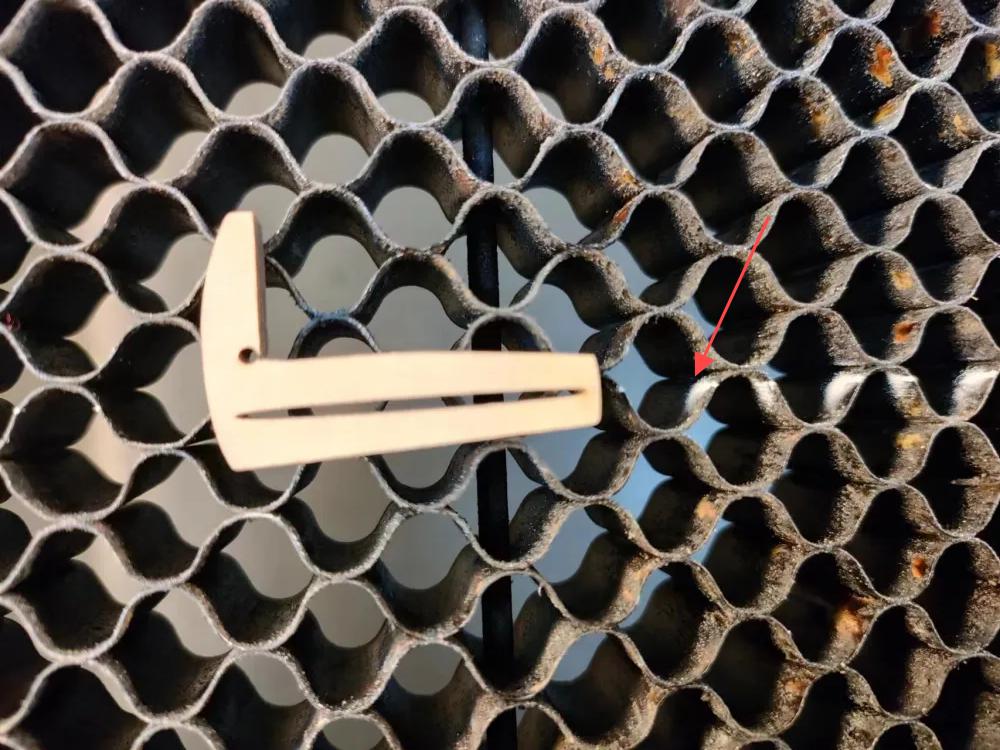
Tool 1. Tweezer
Cutting complex patterns can leave small pieces of debris stuck in the honeycomb cells. Tweezers can easily remove stuck debris from hard-to-reach spots.
If metal tweezers are too risky, you can switch to plastic-tipped or child-safe tweezers.
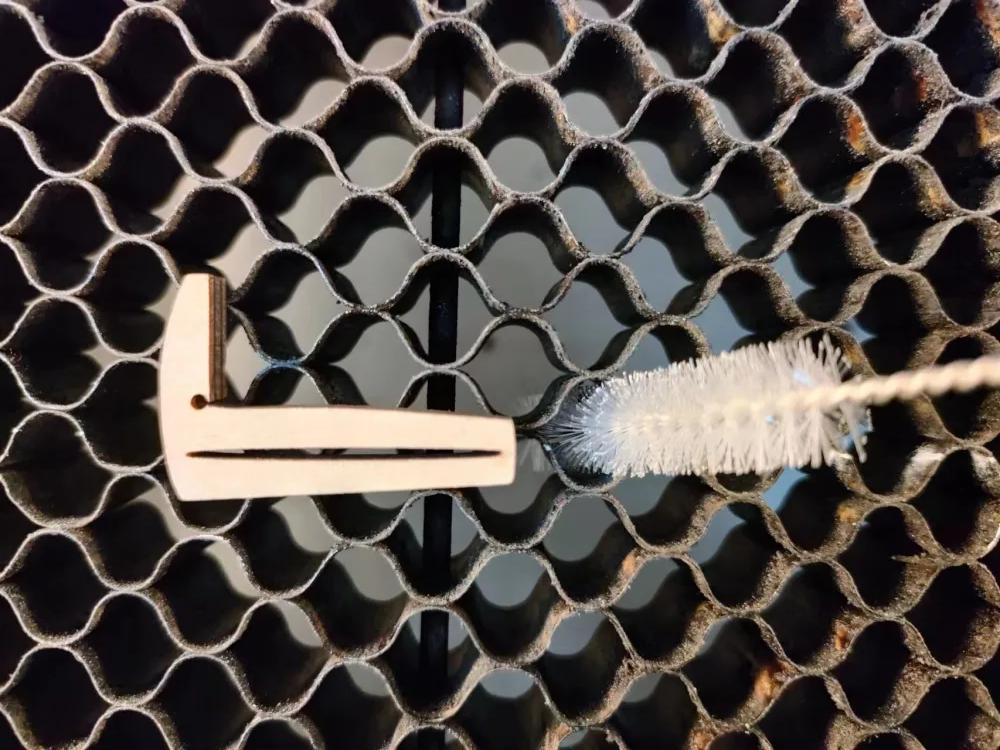
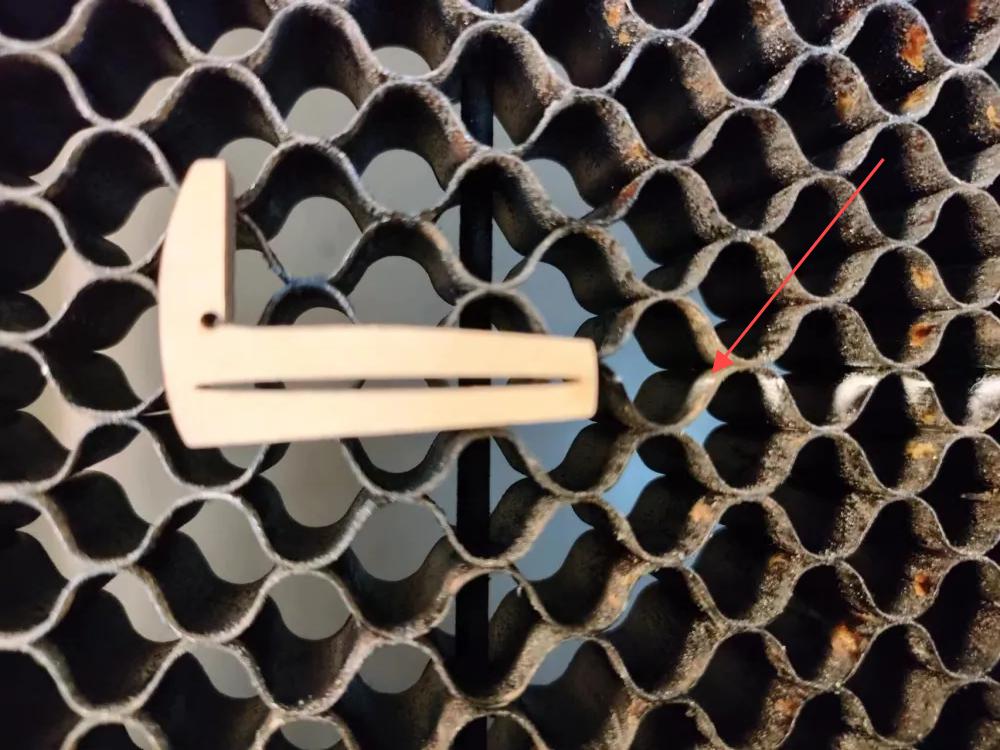
Tool 2. Straw Brush
For honeycomb laser bed cells that are particularly dirty, a straw or small test tube brush can be inserted into the cells and rotated to remove dirt.
You can use a dry straw brush, or dip the brush in water or detergent when you need a stronger and more thorough cleaning.
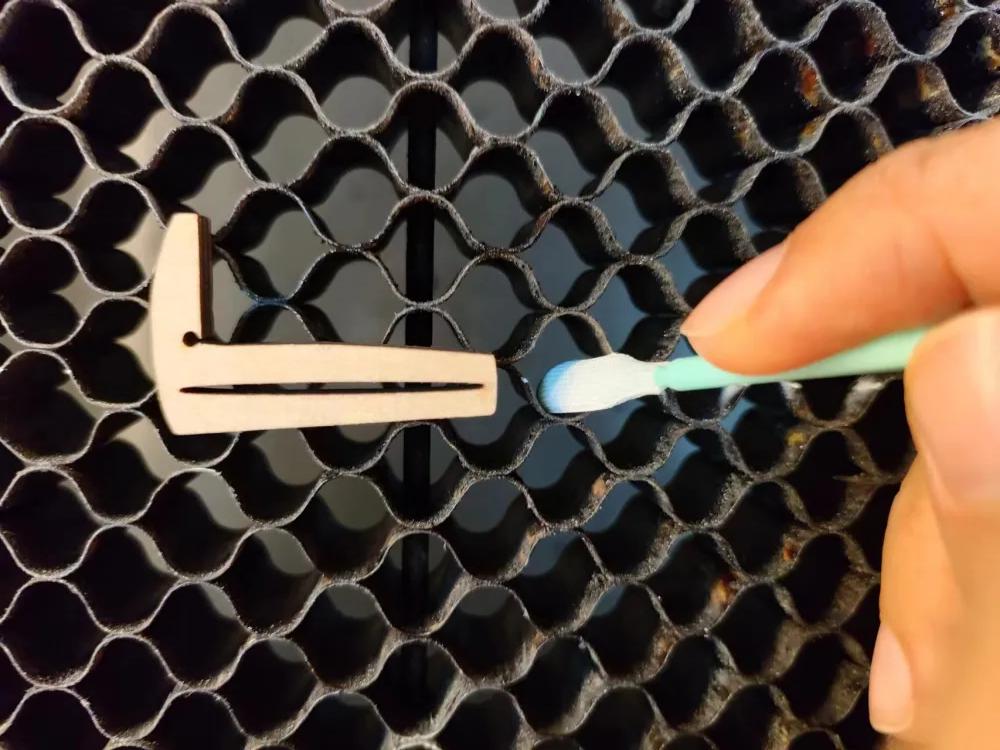
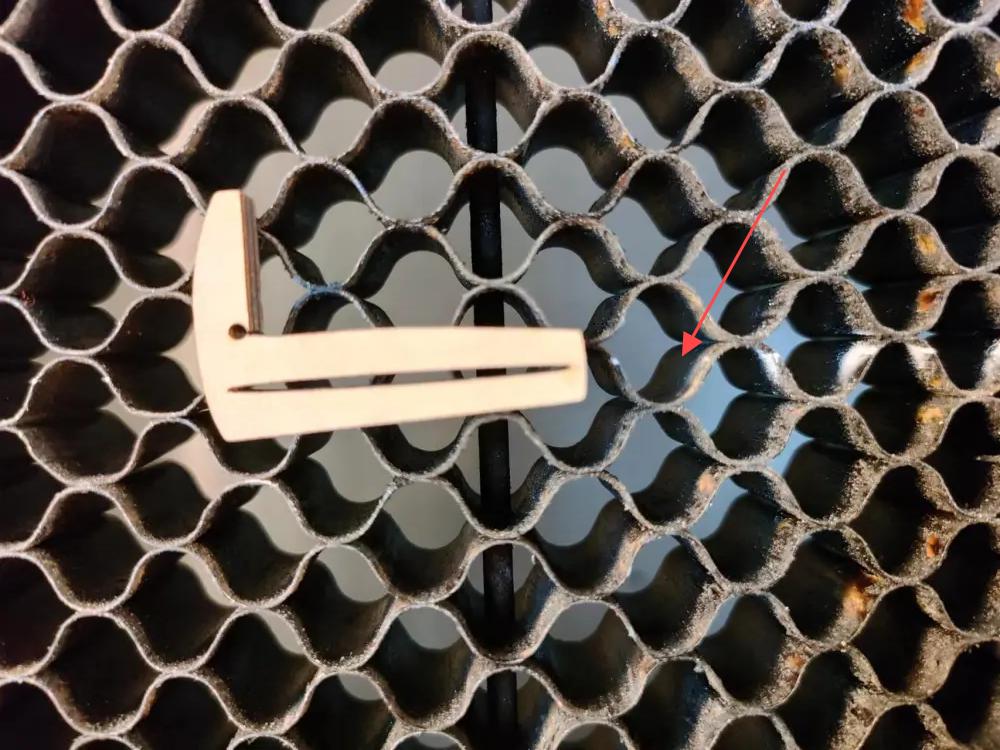
Tool 3. Cotton Swab
For stubborn debris that tweezers or brushes can’t reach, cotton swabs can be used. Dip the swab in water or detergent for better results, and scrub vigorously.
However, it is important to note that cleaning with cotton swabs is time-consuming, so this method is only suited for spot cleaning.
Related Articles & Videos
If you want to know how to remove the honeycomb laser bed for cleaning, click on :


.png "laser cutter Globle") International
International
 United States
 Brasil
 Canada
 Costa Rica
 Mexico
 Česká
Česká
 Romania
 Polska
 Ireland
 Portugal
 Lietuva
 Россия
 Deutschland
 Britain
 Україна
 France
 Sverige
 Italia
 Norway
 Denmark
 Ελλάδα
 한국
한국
 中国
中国
 ประเทศไทย
 中国香港
中国香港
 Israel
 中國臺灣
中國臺灣
 India
India
 پاکستان
 پශ්රී ලංකා
 ジャパン
ジャパン
 Australia
 New Zealand
 South Africa