- Author: Cathy
Is it hard to learn to use a laser engraver?
It’s actually not as hard as you might think to learn a laser engraver! Many modern engravers, especially those designed with beginners and hobbyists in mind, come packed with user-friendly software, ready-made presets, and easy-to-use interfaces that make getting started a breeze.
While the complexity of the machine and familiarity with design software can play a role, most engravers today are built to be accessible, even for complete beginners.
Let’s have a look at what inspiring effects can laser engraver create first!
What Do You Need to Operate a Laser Engraver?
Laser Engraver: The machine itself, suited to the materials you’ll be working with (e.g., CO₂ for wood and glass, fiber for metals).
Computer and Design Software: A computer with design software, like Adobe Illustrator, CorelDRAW, or LightBurn, where you can create or modify your designs.
Proper Ventilation: Laser engraving can release fumes, so a well-ventilated workspace, often with an exhaust fan or filter, is essential.
Protective Gear: Safety glasses for the specific laser type and gloves if handling materials or residue.
Material: The item or material you plan to engrave, ensuring it’s laser-compatible.
How to Set Up a Laser Engraver
Basic Steps
1. Unbox and place your machine
2. Connect and install software
3. Turn on and focus the laser
4. Configure the software
5. Check exhaust and safety
6. Load design and start engraving
Sample Video
How to Connect a Laser Engraver to a Computer
To connect your laser engraver to your computer, start by checking the type of connection your laser engraver supports—most commonly, USB, Ethernet, or Wi-Fi. For USB, use the supplied cable to connect the laser engraver directly to your computer’s USB port.
Install the laser software provided by the manufacturer, which will usually include drivers and a design interface. For Ethernet, connect the engraver to your network and access it through the IP address assigned to the device. Some engravers also support Wi-Fi connections, allowing you to connect via the engraver’s app or software.
Step-by-Step: How to Use a Laser Engraver
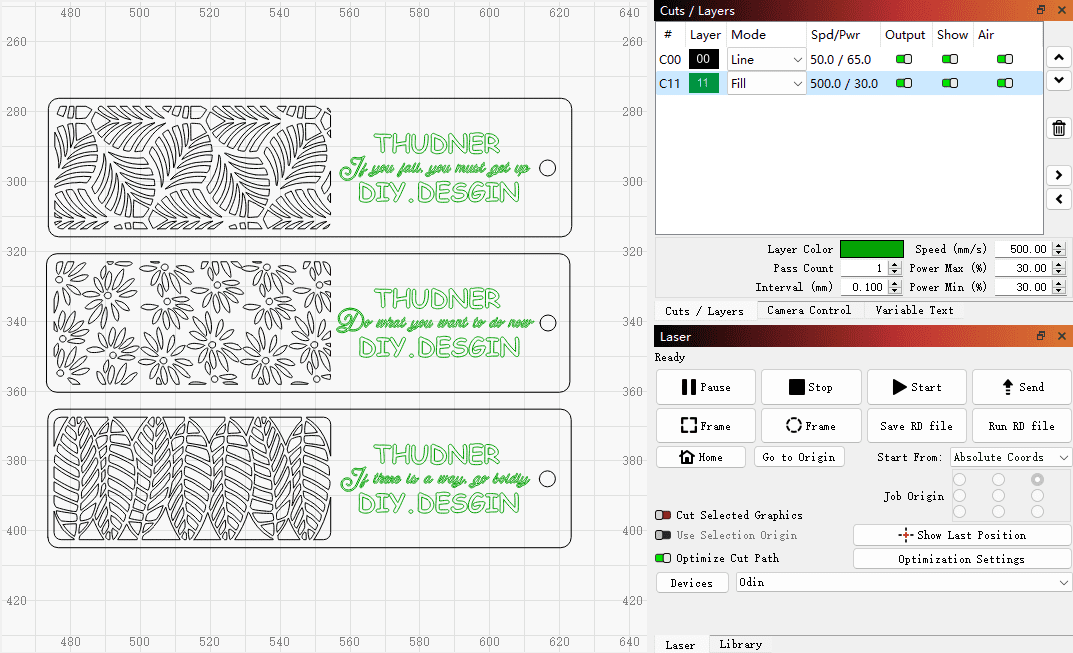
1. Set appropriate parameters
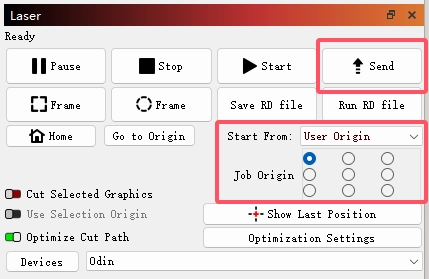
2. Position and send the file
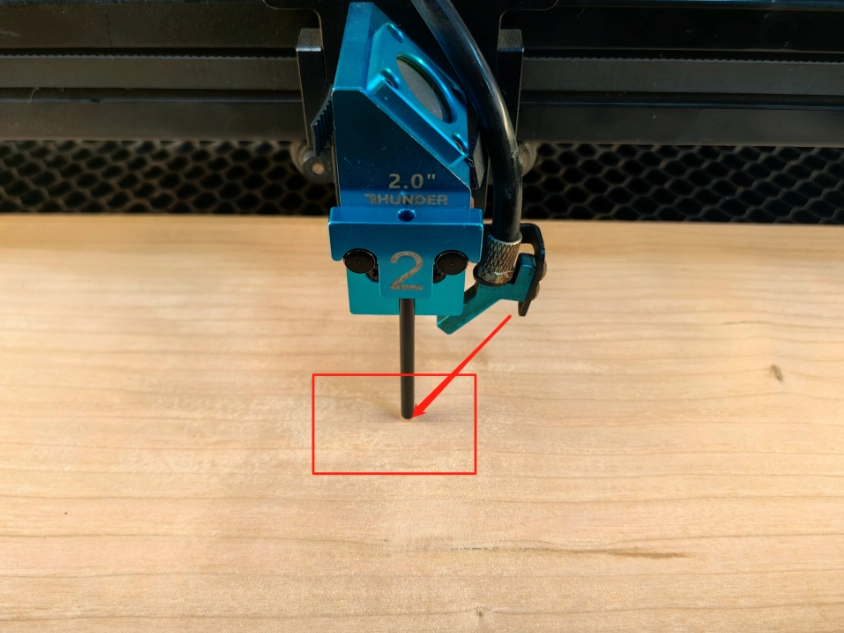
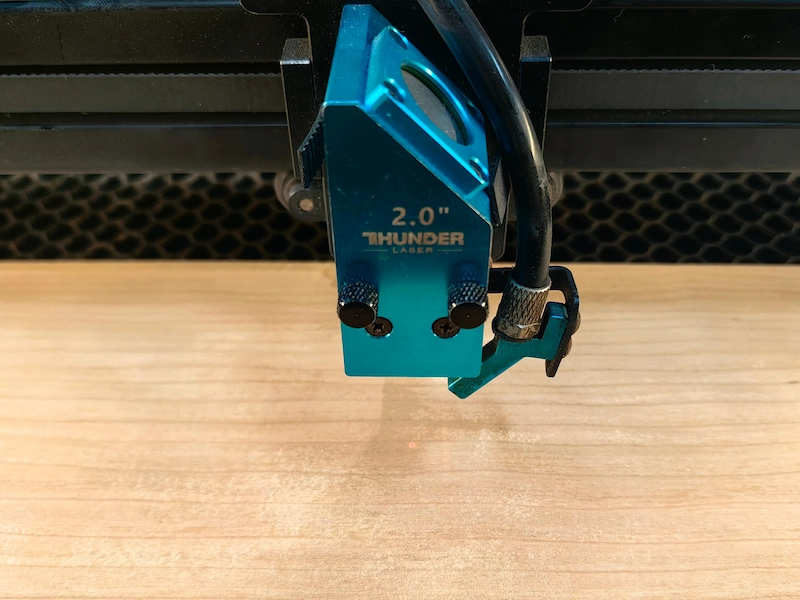
3. Focus the laser
4. Select and confirm the file
5. Position
6. Monitor the engraving process
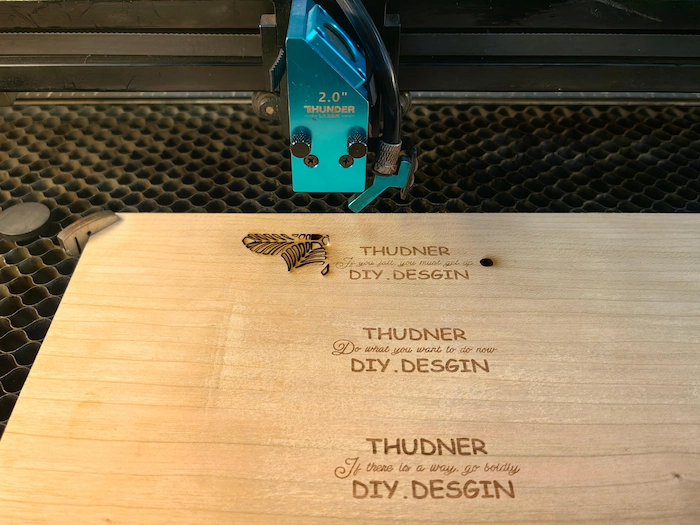
7. Complete
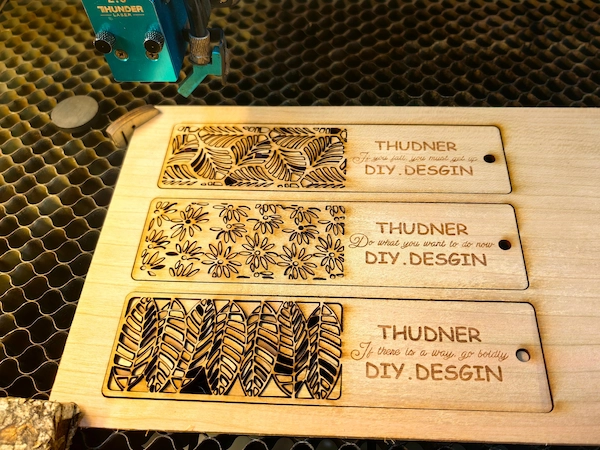
8. Polishing
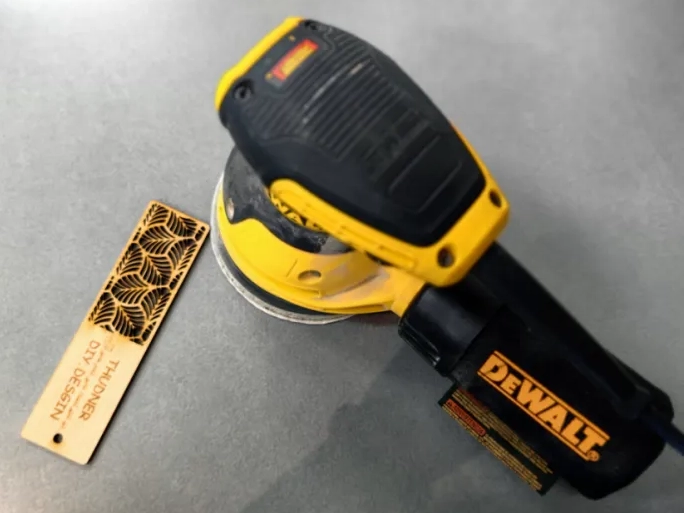
What Is the Best Software for Laser Engraving?
We highly recommend the versatile and user-friendly LightBurn software! It’s perfectly compatible with our laser machines, allowing you to not only create simple designs but also directly adjust laser settings, perform precise positioning, and execute engraving or cutting tasks seamlessly. LightBurn is not just limited to our machines; it’s widely compatible with most CO2 and diode laser engravers available on the market.
LightBurn runs smoothly on macOS, Windows, and Linux without requiring heavy CPU or GPU resources. It offers robust support and an intuitive interface, making it easy to navigate. You can import various common vector and image file formats and take advantage of detailed settings and controls to elevate your laser engraving experience.
Can You Use a Laser Engraver Without a Computer?
Yes, you can use a laser engraver without a computer in some cases. Many modern laser engravers have built-in screens or control panels that allow you to operate the machine directly. Some models also have USB or SD card slots, so you can save your design files onto a USB drive or memory card, insert it into the engraver, and select the file to start engraving.
However, using a computer generally provides more precise control over the design process and settings, making it easier to create, adjust, and manage designs efficiently.
Tips and Tricks for Using a Laser Engraving Machine
1. How to optimize engraving speed?
2. How to maintain precise alignment?
3. How to optimize focus for better results?
4. How to reduce vibration during engraving?
5. How to prevent smoke buildup?
Conclusion
Using a laser engraver may seem complex at first, but with the right setup, software, and a bit of practice, it quickly becomes a powerful tool for creative and professional projects. Whether you’re engraving wood, metal, leather, or acrylic, understanding your machine and following proper safety and alignment techniques will ensure consistent, high-quality results.
With tools like LightBurn, supportive accessories, and user-friendly machines like the Aurora series, anyone—from beginners to business owners—can confidently bring their ideas to life. If you’re ever unsure or want personalized guidance, don’t hesitate to reach out to our support team or explore our video tutorials and expert tips.
Ready to get started? Explore our beginner-friendly laser machines and access our setup video library for hands-on guidance. Need help? Contact our support team anytime.
- Tags


.png) International
International
 United States
 Brasil
 Canada
 Costa Rica
 Mexico
 Česká
Česká
 Romania
 Polska
 Ireland
 Portugal
 Lietuva
 Россия
 Deutschland
 Britain
 Україна
 France
 Sverige
 Italia
 Norway
 Denmark
 Ελλάδα
 한국
한국
 中国
中国
 ประเทศไทย
 中国香港
中国香港
 Israel
 中國臺灣
中國臺灣
 India
India
 پاکستان
 پශ්රී ලංකා
 ジャパン
ジャパン
 Australia
 New Zealand
 South Africa