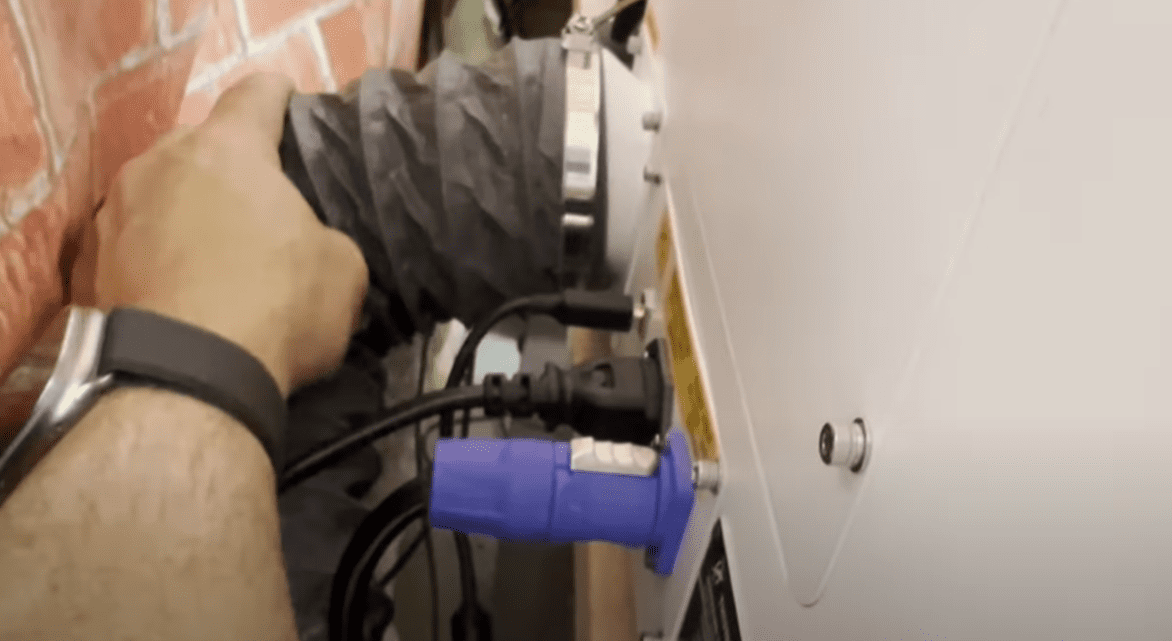
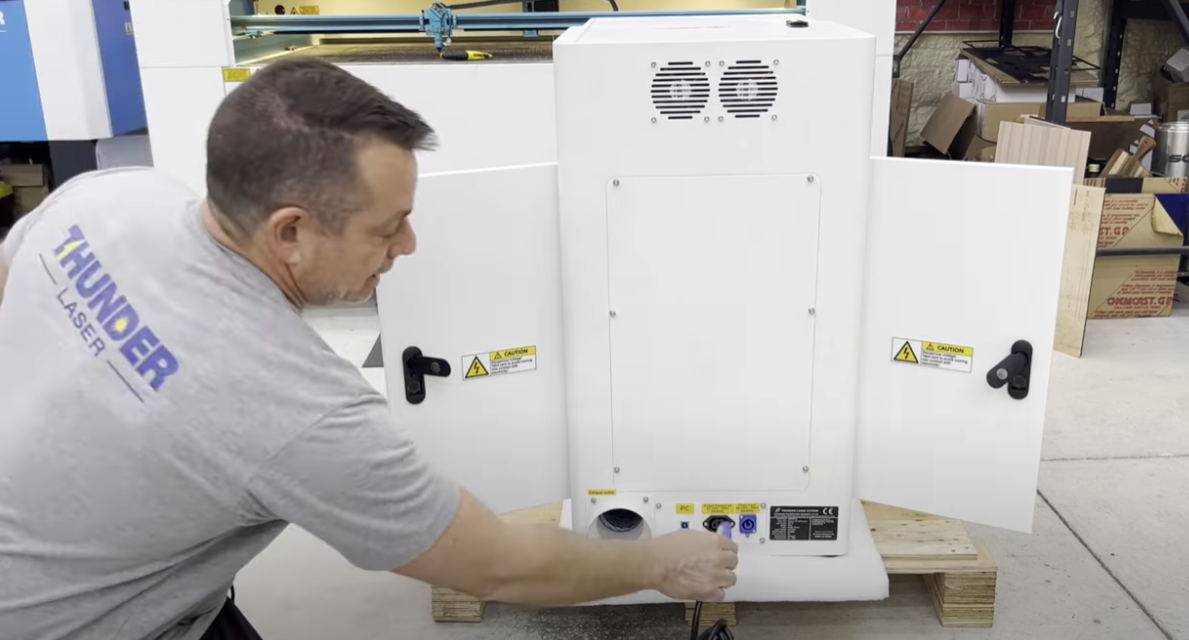
Step 1.Install the ventilation ducts./exhaust pipe.
Step 2. Connect the power supply.
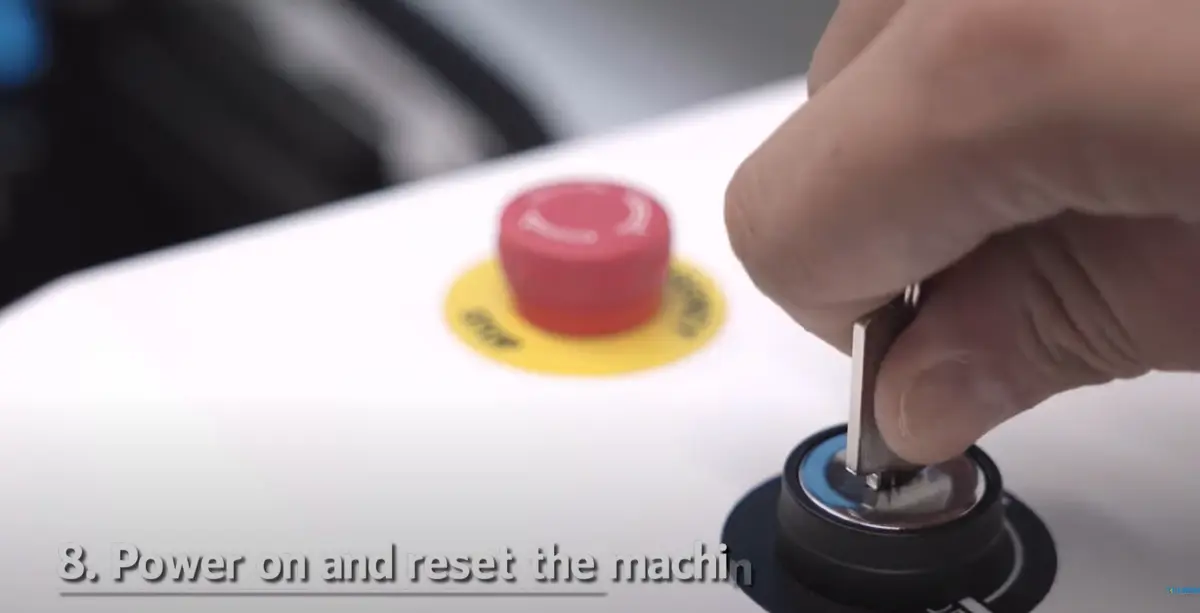
Step 3. Power on and reset the machine
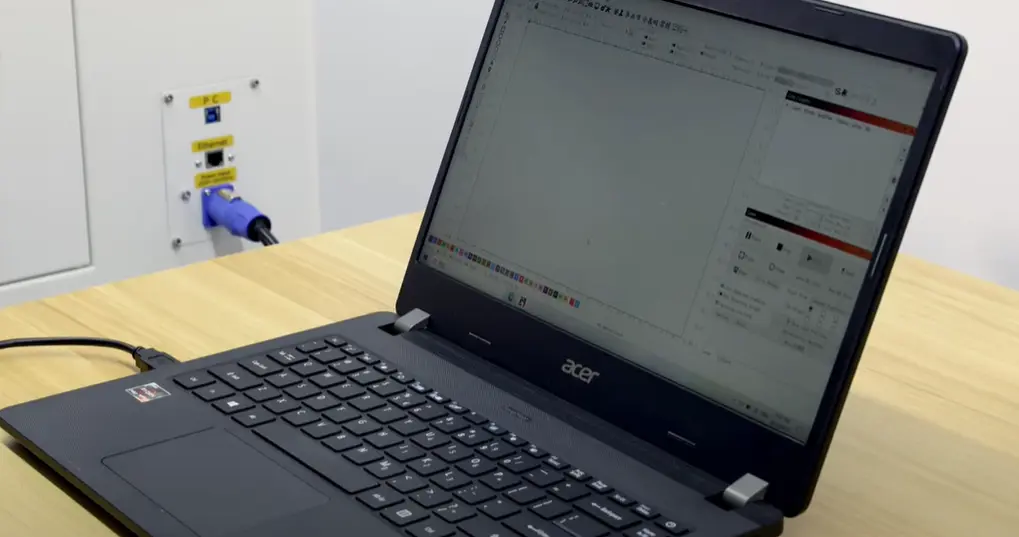
Step 4. Connect the Aurora to the laptop.
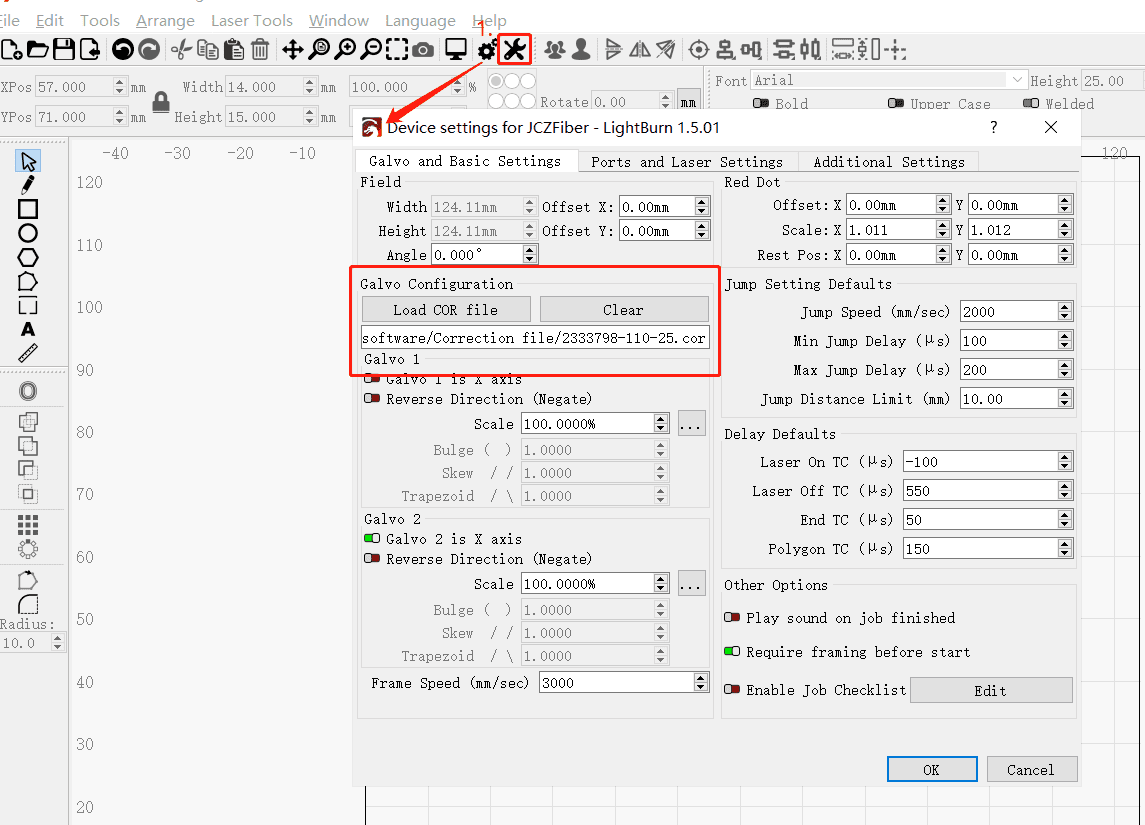
Step 5. Accurately import machine parameters
Import the correct field mirror calibration file, select the corresponding file based on the field mirror used by the machine, and select it according to the inscription on the field mirror (field mirror calibration file path: Random USB drive>AURORA 8/AURORA 8 UV>Correction file)


.png "laser cutter Globle")


