fbpx
Search
Close this search box.
Home> Blog> Christmas Tree Reindeer Ornament

Christmas Tree Reindeer Ornament

22/08/2024
Share:

Ornament

As Christmas approaches, the Christmas tree, an essential element of the holiday, is a evergreen tree decorated with lights and ornaments, often a fir or pine. To create a more festive atmosphere, you can make various ornaments to decorate the tree. Today, LaserMaker will guide you in making a representative Christmas tree ornament – the reindeer ornament. In this issue, LaserMaker presents the work “Christmas Tree Reindeer Ornament”!

I. Work Analysis

software building Christmas Tree Reindeer Ornament 1
The moose pendant needs to be designed first, and then decorated.
software building Christmas Tree Reindeer Ornament 2

II. Materials List

Number

Name

Quantity

1

3mm Basswood Board

1

2

Hemp Rope

1

3

Paintbrush

1

4

Glue, Cotton Swab

1

5

Christmas Decorative Fabric

2

III. Laser Modeling

1. Design Styles

(1) Enter the keywords “Simple Drawing of Reindeer” and “Merry Christmas Calligraphy Font” in [Baidu Images], select and save the images you like; click [File] in the [Function Area] at the top, then click [Open], and double-click to open the saved images, as shown in the figure below:
software building Christmas Tree Reindeer Ornament 3
software building Christmas Tree Reindeer Ornament 4
software building Internet famous Bamboo Tube 2
software building Christmas Tree Reindeer Ornament 16
software building Christmas Tree Reindeer Ornament 5
software building Christmas Tree Reindeer Ornament 6
(2) Left-click on the images and click “Extract Outline” to obtain the line drawings of the reindeer and the calligraphy font, as shown in the figure below:
software building Christmas Tree Reindeer Ornament 7
(3) Left-click on the “Eraser” in the left toolbar and use the “Break Line” tool to disconnect the lines at the neck and cheek of the reindeer’s head pattern. Then, left-click on the “Line” in the left toolbar and use the “Connect Line Segments” function to connect the breakpoints. Delete any remaining lines as shown in the figure below:
software building Christmas Tree Reindeer Ornament 8
software building Christmas Tree Reindeer Ornament 9
(4) Left-click to select the internal outline lines of the reindeer, then left-click on the “Combine Curves” function in the left toolbar to combine the lines into a single curve, as shown in the figure below:
software building Christmas Tree Reindeer Ornament 10
(5) Left-click to select the internal outline lines of the reindeer, then left-click on the “Offset Curve” function in the left toolbar. Set the “Offset Distance” to 5, select “Offset Inwards,” and check the box to “Delete Original.” Duplicate and paste the resulting pattern to obtain two reindeer designs, as shown in the figure below:
software building Christmas Tree Reindeer Ornament 11
(6) Left-click to select the “merry” calligraphy font and move it inside the reindeer outline. If the letters are not connected as a single contour, use the “Union Tool” to combine them. Then, resize the other calligraphy fonts to an appropriate size and move them to suitable positions within the reindeer outline, as shown in the figure below:
software building Christmas Tree Reindeer Ornament 12
(7) Left-click on the “Eraser” in the left toolbar and use the “Break Line” tool to disconnect the intersections between the inner contour of the reindeer’s head and the calligraphy font, as indicated by the red box in the figure. Then, delete the disconnected contour lines of the reindeer’s head. Finally, you will obtain the complete drawing for the Christmas tree reindeer ornament, as shown in the figure below:
software building Christmas Tree Reindeer Ornament 13

2. Laser Processing

(1) Select all the internal lines of the left reindeer and the lines intersecting the calligraphy font and the reindeer on the right. Left-click the layer panel on the lower left to change the layer color to red. Select all the remaining elements and left-click the layer panel on the lower left to change the layer color to black, as shown in the figure below:
software building Christmas Tree Reindeer Ornament 14
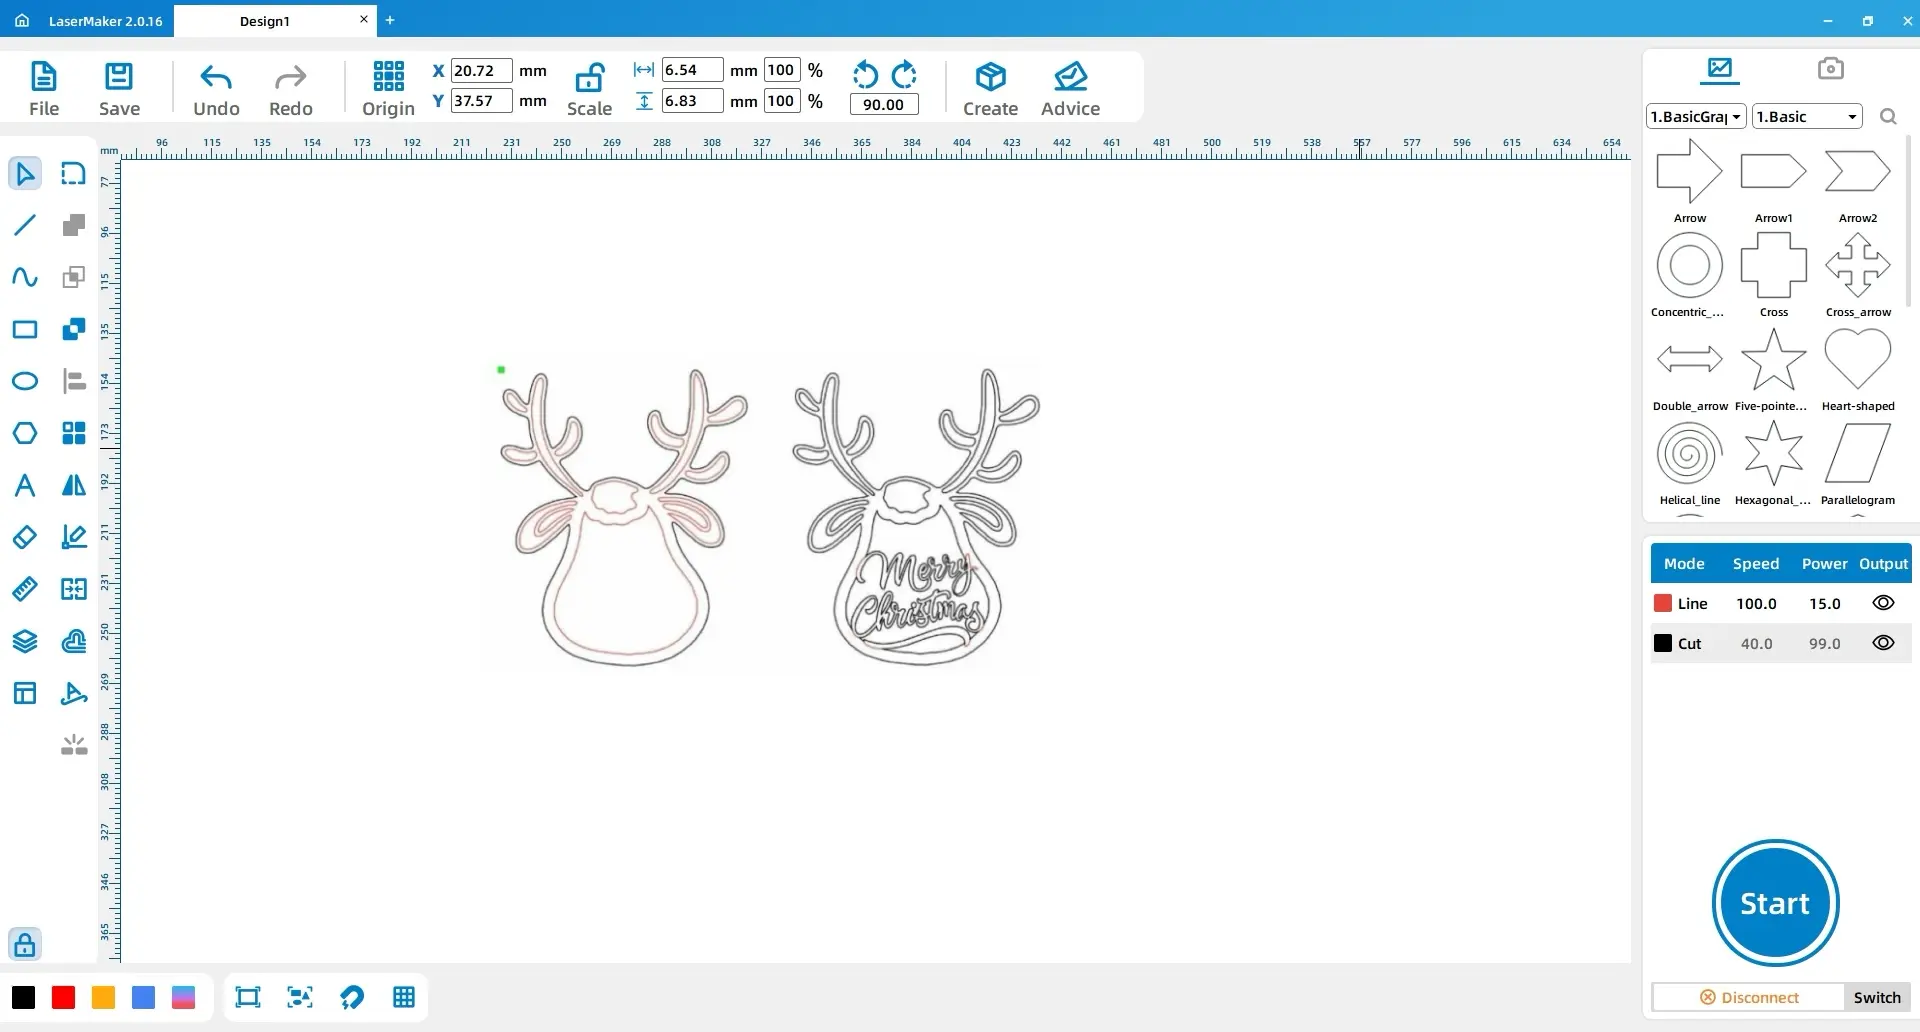
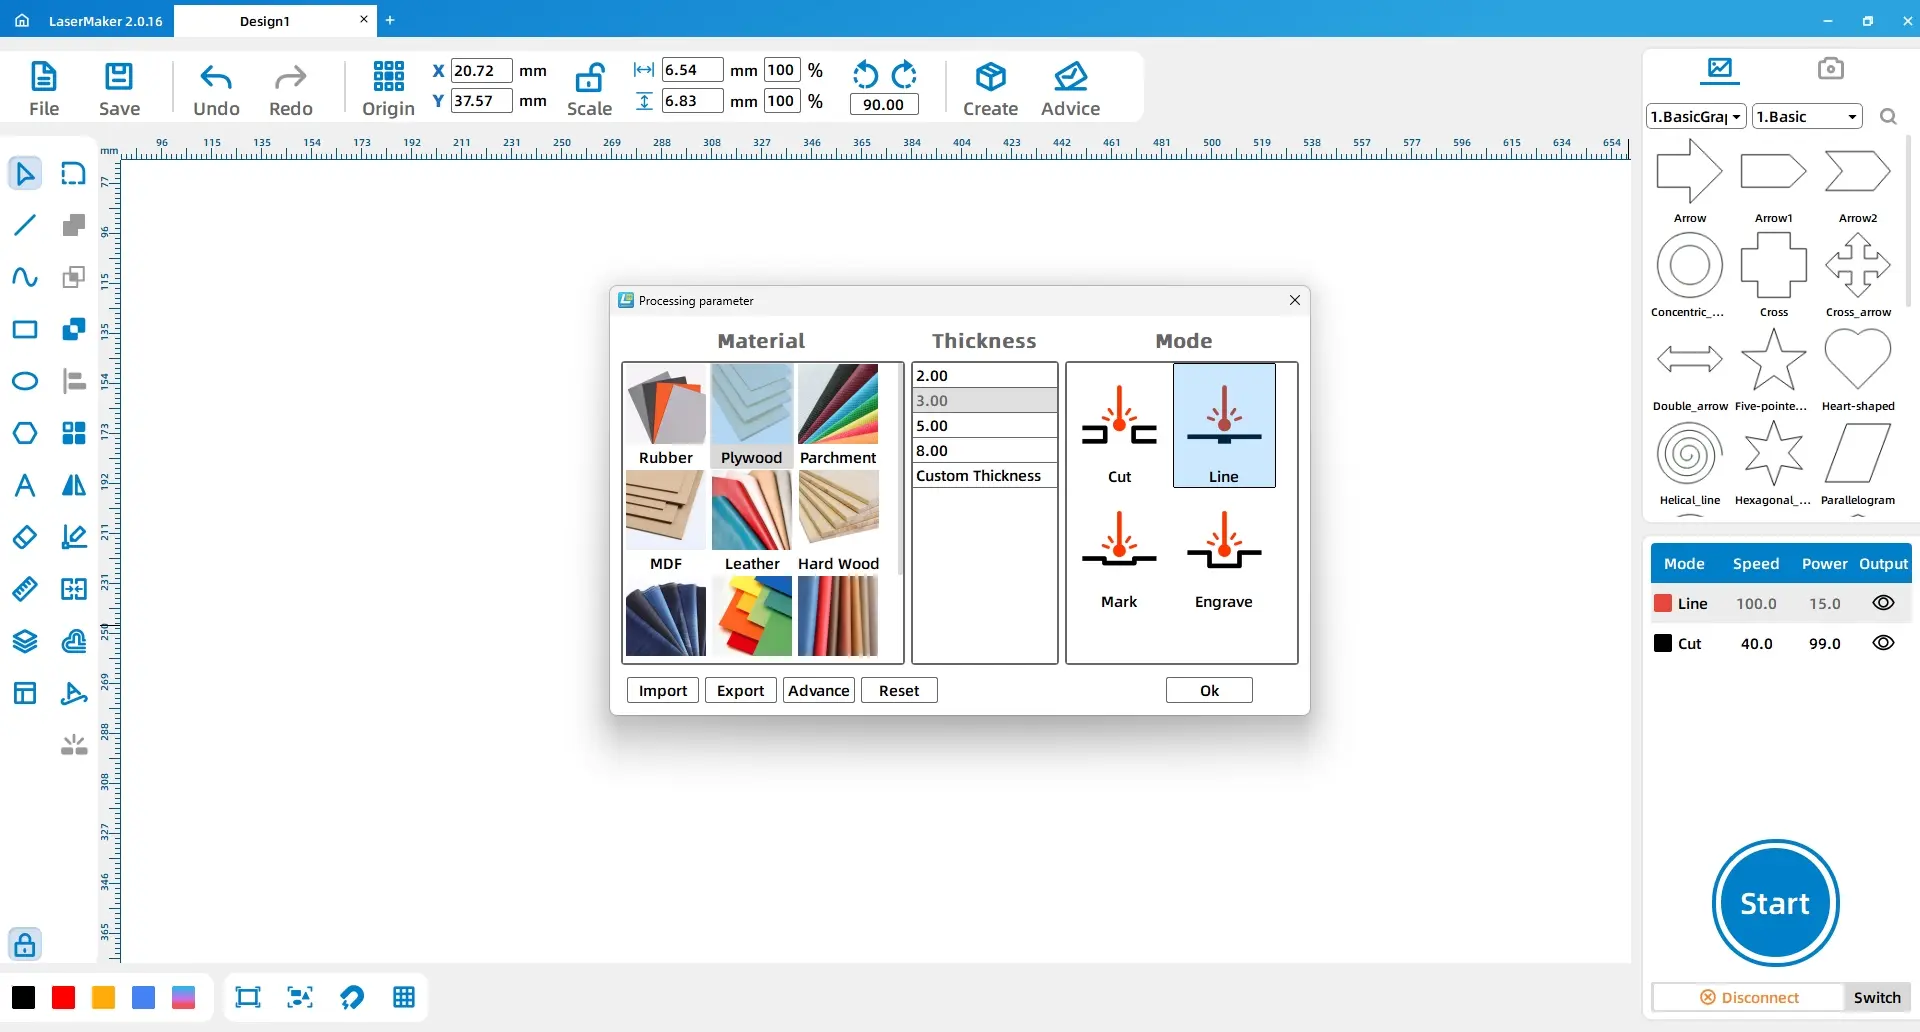
(2) Double-click the red layer with the left mouse button and set the material, thickness, and process to basswood board, 3mm, and outlining, respectively. Double-click the black layer with the left mouse button and set the material, thickness, and process to basswood board, 3mm, and cutting, respectively, as shown in the figure below:
software building Christmas Tree Reindeer Ornament 14 (1)

3. Coloring and Finishing

Step 1: Use glue to attach the two reindeer together, with the reindeer with the calligraphy font on top and the one without on the bottom. Step 2: Use colored pencils to paint the upper reindeer in your favorite colors. Step 3: Tie knots at both ends of the hemp rope and attach it to the reindeer’s antlers. Then, hang some furry fabric you have purchased onto the antlers.
software building Christmas Tree Reindeer Ornament 15

IV. Work Display

software building Christmas Tree Reindeer Ornament 1

V. Conclusion

During the creation process of this project, we pondered over how to make the reindeer hanging ornament truly stunning. Apart from simple coloring, our laser expert also purchased some Christmas-themed accessories such as a Santa hat and scarf to compose an even more charming reindeer hanging ornament! This additional touch not only enhances the festive atmosphere but also showcases the creator’s creativity and attention to detail.

Browse Thunder Laser 
Bolt >

Thunder laser Bolt Plus 2

Recent Blog

    America

    Europe

    Aisa

    Oceanica

    Africa