fbpx
Search
Close this search box.
Home> Blog> Customize an Elegant Bottle Opener

Customize an Elegant Bottle Opener

16/08/2024
Share:
In the last two classes, we made our ideas come true through laser fabrication and learned how to use drawing tools such as “rectangle” and “rounded corner” in LaserMaker. Today, our laser expert will continue to share with you the introductory course of LaserMaker laser fabrication: how to customize an elegant bottle opener.

I. Introduction

When drawing the design, we need to consider whether the size of the design will exceed the processable area. In this case, we need to use a ruler to measure the processable area, which is 72mm long and 25mm wide. Therefore, when drawing the design, we must not exceed this range.
software Customize an Elegant Bottle Opener 1

II. List of Materials

Number

Name

Quantity

1

Leather bottle opener

1

2

Straight ruler

1

III. Laser Modeling

(1) Click the “Font” tool from the “Drawing Toolbar” on the left side, enter “LaserMaker”, and set the font and font size to “Alibaba PuHuiTi 2.0” and “Small Five” respectively. Click with the mouse to select both the “Bold” and “Italic” options, and set it as text ①, as shown in the figure below:
software Customize an Elegant Bottle Opener 2
(2) Click the “Font” tool from the “Drawing Toolbar” on the left side, and enter “Creating Unique Value for Customers”. Set the font and font size to “Chinese Kai” and “Wuhao” respectively, and set it as text ②. Then, click the “Select” tool from the “Drawing Toolbar” on the left side to move text ② to the center and directly above text ①, as shown in the figure below:
software Customize an Elegant Bottle Opener 3
(3) Click “File” in the “Ribbon” at the top, then click “Open”. Double-click to open the image that needs to be engraved, as shown in the figure below:
software Customize an Elegant Bottle Opener 4
software Customize an Elegant Bottle Opener 5
(4) Select the graphic “Wine Bottle”, right-click on it, and choose “Copy” from the pop-up dialog list indicated by the red arrow. Then, right-click on the desired location where you want to paste the pattern, and select “Paste” from the pop-up dialog list indicated by the red arrow to duplicate the same graphic. Label the two graphics as Graphic ① and Graphic ② respectively, as shown in the figure below:
software Customize an Elegant Bottle Opener 6
software Customize an Elegant Bottle Opener 7

Tip: To duplicate a graphic, simply select it and press the “Ctrl+C” (copy) keyboard shortcut, then press “Ctrl+V” (paste).

(5) Select Graphic ①, left-click and hold the rotation icon above the graphic, and move the mouse. When the observed degree reaches 30, release the left mouse button to rotate the graphic clockwise by 30 degrees. To rotate Graphic ②, enter “-30” above the graphic and left-click the rotate button to rotate it counterclockwise by 30 degrees. Move Graphics ① and ② to the upper sides of Text ① as shown in the figure below.

software Customize an Elegant Bottle Opener 8
(6) Select Font ① and Font ②, then left-click on the yellow layer in the “Layer Palette” located at the lower left corner to set the “Fonts” to the yellow layer, as shown in the figure below:
software Customize an Elegant Bottle Opener 9
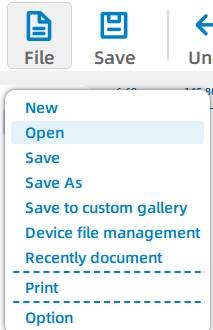
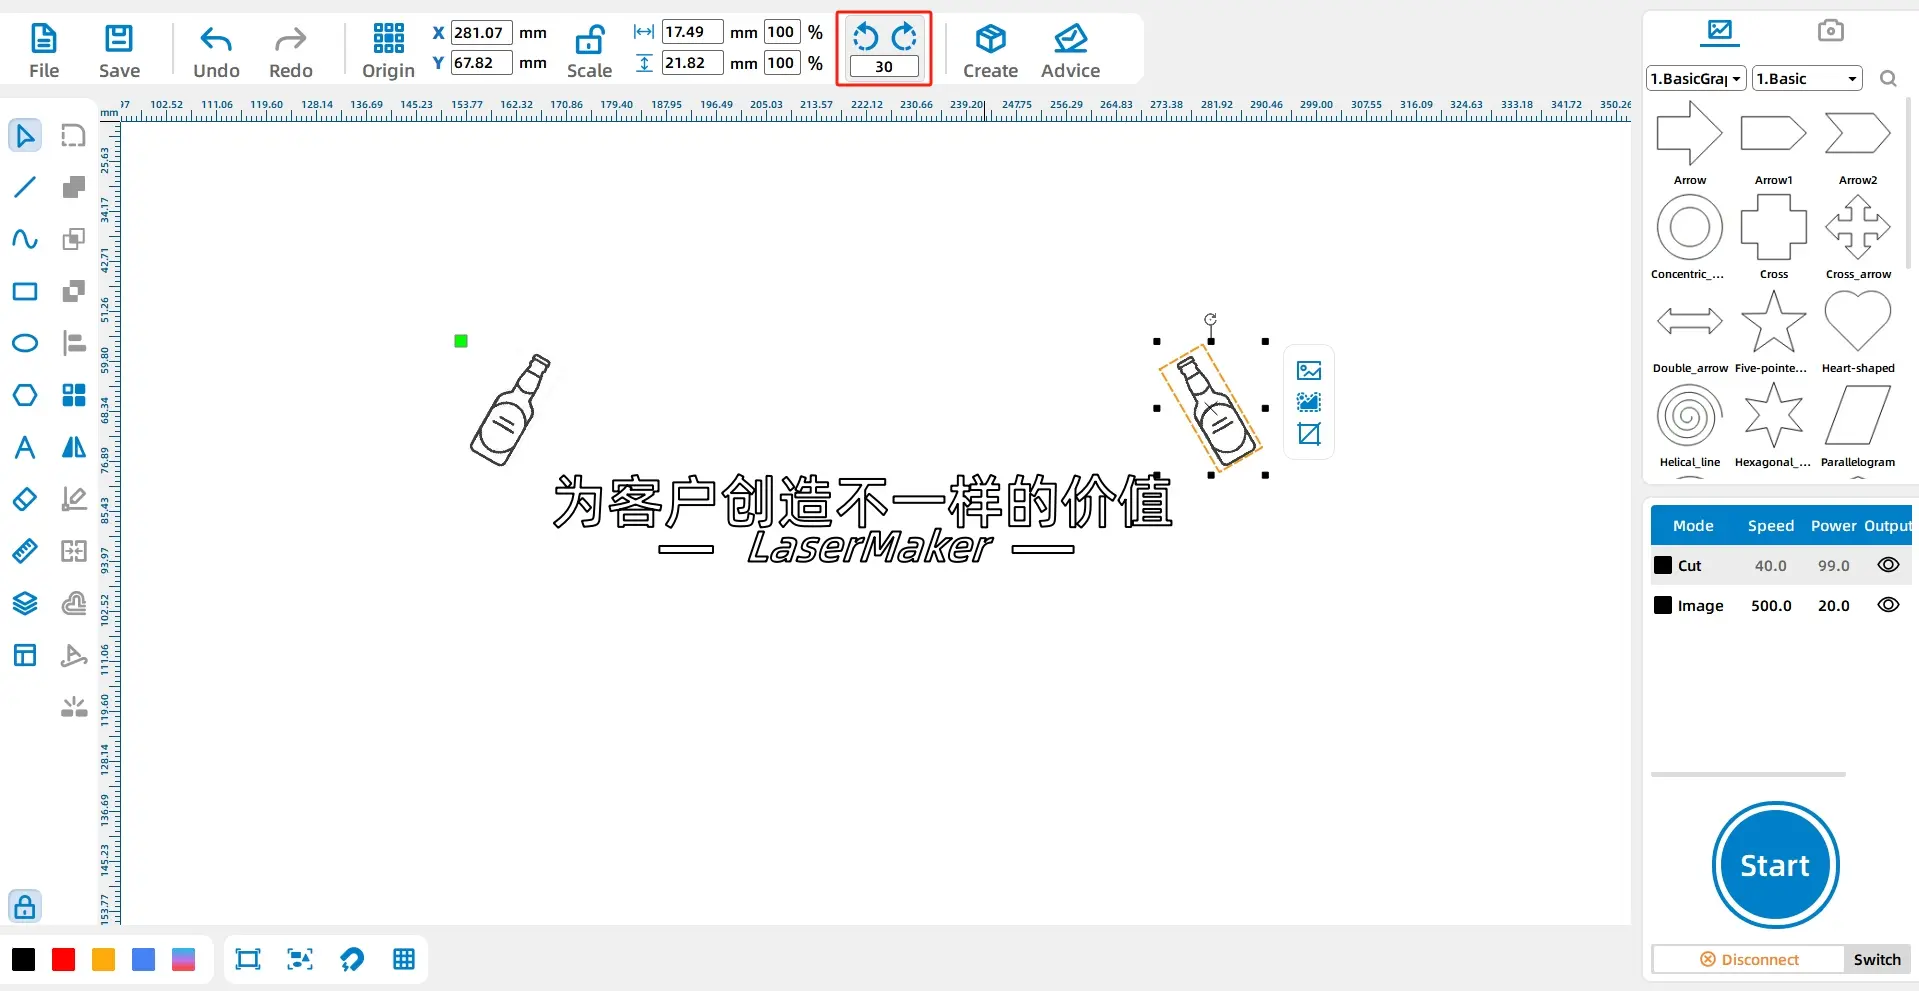
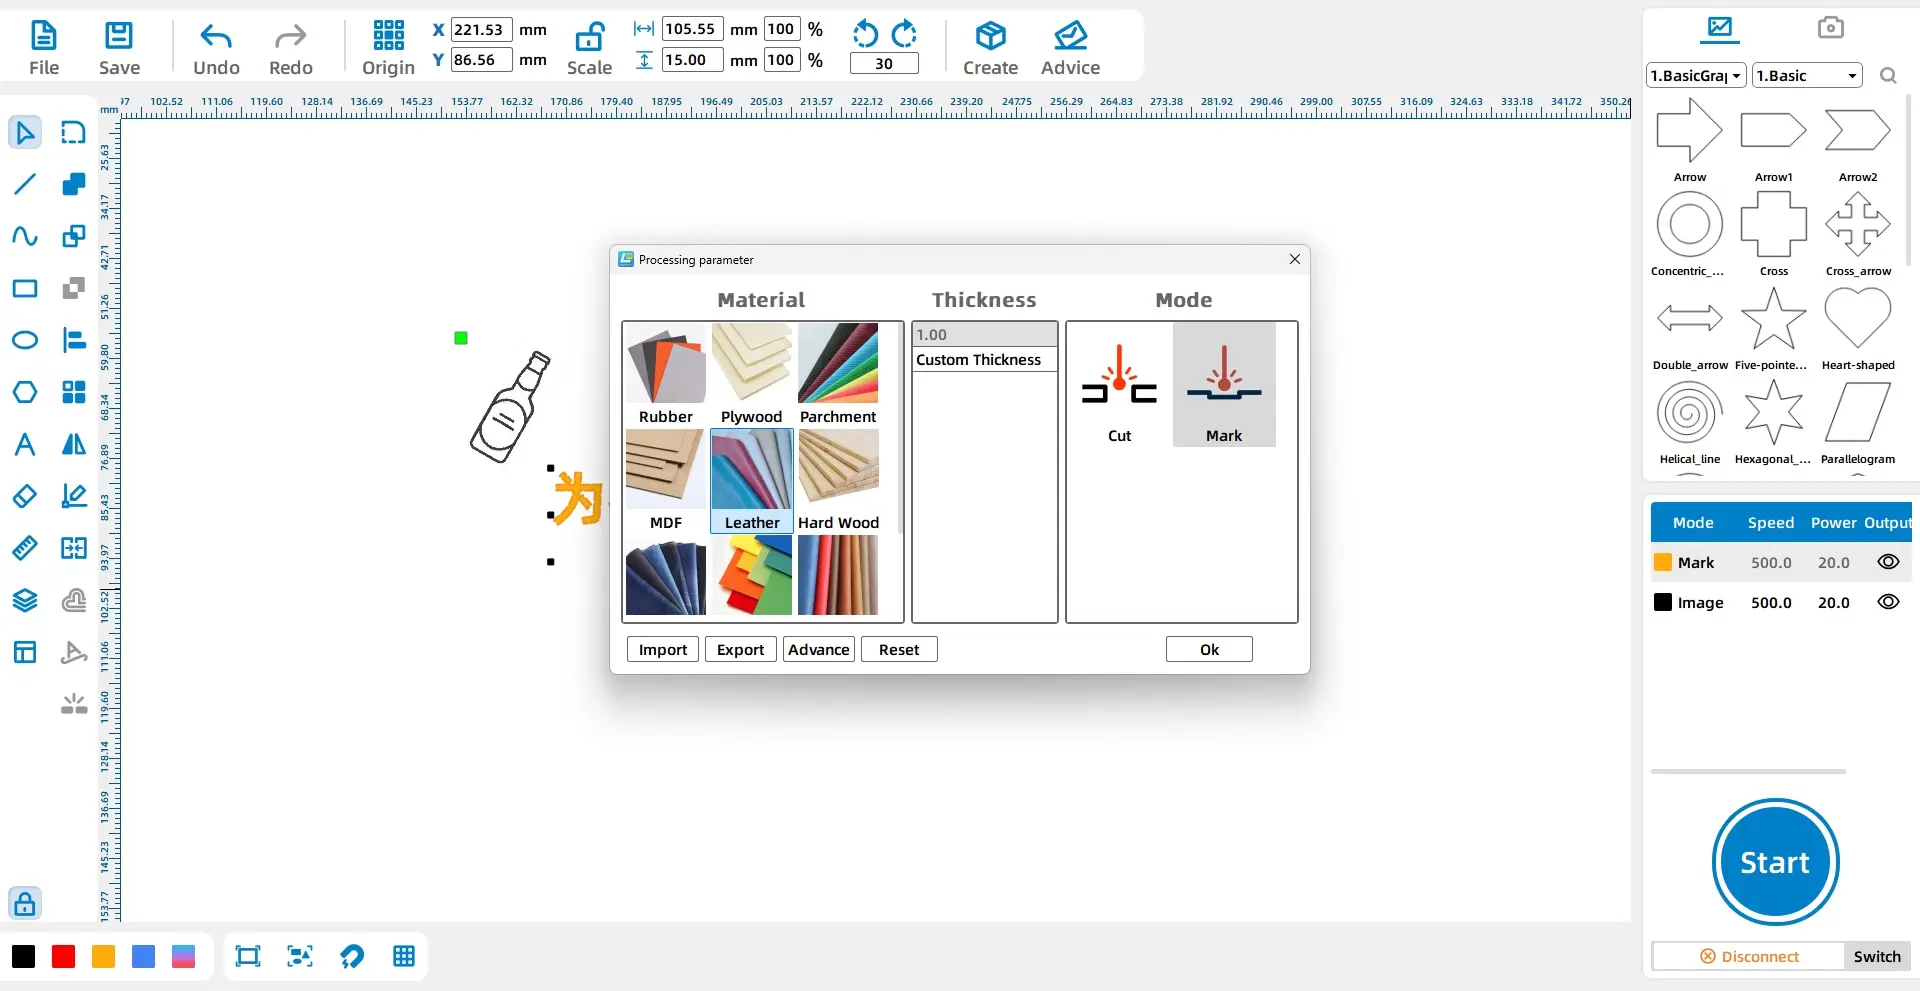
(7) Double-click on the black image layer in the “Processing Panel” located at the lower right corner. Set the material, thickness, and process for this layer to artificial leather, 1mm, and shallow engraving, respectively. Repeat the same settings for the yellow layer: artificial leather, 1mm, and shallow engraving. Refer to the figure below for reference.
software Customize an Elegant Bottle Opener 10
(8) Click the “Start” button in the “Processing Panel” located at the lower right corner to upload the file to the device, as shown in the figure below:
software Customize an Elegant Bottle Opener 11

. Presentation of the Work

software Customize an Elegant Bottle Opener 12

. Summary

Reflecting on the process of completing this example, we have learned how to use the 【Rotate】 and 【Horizontal/Vertical Flip】 drawing tools in the LaserMaker software, as well as the shortcut keys for “Copy” and “Paste” operations. Modeling and drawing are not difficult tasks; it’s important to try and practice often! Keep up the good work and enjoy the learning process!

Browse Thunder Laser 
Bolt >

Thunder laser Bolt Plus 2

Recent Blog

    America

    Europe

    Aisa

    Oceanica

    Africa