fbpx
Search
Close this search box.
Home> Blog> Customizing Delicate Bookmarks

Customizing Delicate Bookmarks

16/08/2024
Share:

I. Introduction

Bookmarks are an excellent way to mark pages, more convenient than folding pages and causing less damage to books. Tracing back to the Warring States Period, bookmarks, known as “toothpicks,” were already in existence. Made of bamboo slices, they were inserted into the ends of scrolls to mark important sections for easy reference later. Since the Song Dynasty, bookmarks have become increasingly elaborate, with handwritten mottos and other inscriptions added to them. Nowadays, bookmarks also emphasize the materials and styles used in their creation. In this class, we will share the methods of making bookmarks.

II. List of Materials

1. Drawing the Outline

(1) Open the LaserMaker software and select the “Rectangle” tool from the “Drawing Toolbar” on the left. Move the mouse to the drawing area, press and hold the left mouse button, and drag to draw a rectangle with a width of 35mm and a length of 135mm. When the width and height of the shape in the toolbar are observed to be correct, release the left mouse button. Using the same method, draw another rectangle with a width of 7mm and a height of 2.5mm. We will refer to the rectangle with a width of 35mm and a length of 135mm as Rectangle ①, and the rectangle with a width of 7mm and a height of 2.5mm as Rectangle ②. From the “Drawing Toolbar” on the left, click the “Select” tool and place Rectangle ② directly above Rectangle ①, as shown in the figure below:
software building Customizing Delicate Bookmarks 1
(2) Click the “Select” tool from the “Drawing Toolbar” on the left, then move the mouse to the drawing area. Long-press the left mouse button to select Rectangle ①. Click the “Rounded Corner” tool from the “Drawing Toolbar” on the left, set the “Radius” to 5mm, and left-click on each of the four corners of the rectangle to round them. Using the same method, select Rectangle ②, set the “Radius” to 1mm, and left-click on each of the four corners of the rectangle to round them as well. The result should look like the figure below:
software building Customizing Delicate Bookmarks 2
Tips: The toolbar for tools like “Rounded Corner” and “Union” will only appear when a shape is selected.

2. Drawing Graphic Elements (Text, Patterns)

(1) Click “File” in the upper “Function Area”, then click “Open” and double-click to open the image you want to engrave, as shown in the figure below:
software building Customizing Delicate Bookmarks 3
(2) Select the image, change its size by dragging its eight corner points, and move it onto Rectangle ①, as shown in the figure below.
software building Customizing Delicate Bookmarks 4

Tip: When a shape is selected, eight black points will appear around it, representing the corner points. Label these points as a, b, c, d, e, f, g, and h. Dragging points a, c, f, and h will resize the shape proportionally; dragging points b and g will adjust the height independently; dragging points d and e will adjust the width independently.

(3) Click the “Font” tool from the “Drawing Toolbar” on the left and enter the text “Life is like the first meeting.” To vertically arrange the text, simply press the “Enter” key on the keyboard after each character. Set the font to Fangzhengshu Style and font size to No. 5. Using the same method, create a vertically arranged text for “Why does autumn wind make the painted fan sad?” and move it onto Rectangle ①, as shown in the figure below.

software building Customizing Delicate Bookmarks 5

IV. Laser Processing

(1) Select the “Font” graphic and left-click the yellow layer in the lower left “Layer Palette” to set the “Font” to the yellow layer, as shown in the figure below:
software building Customizing Delicate Bookmarks 6
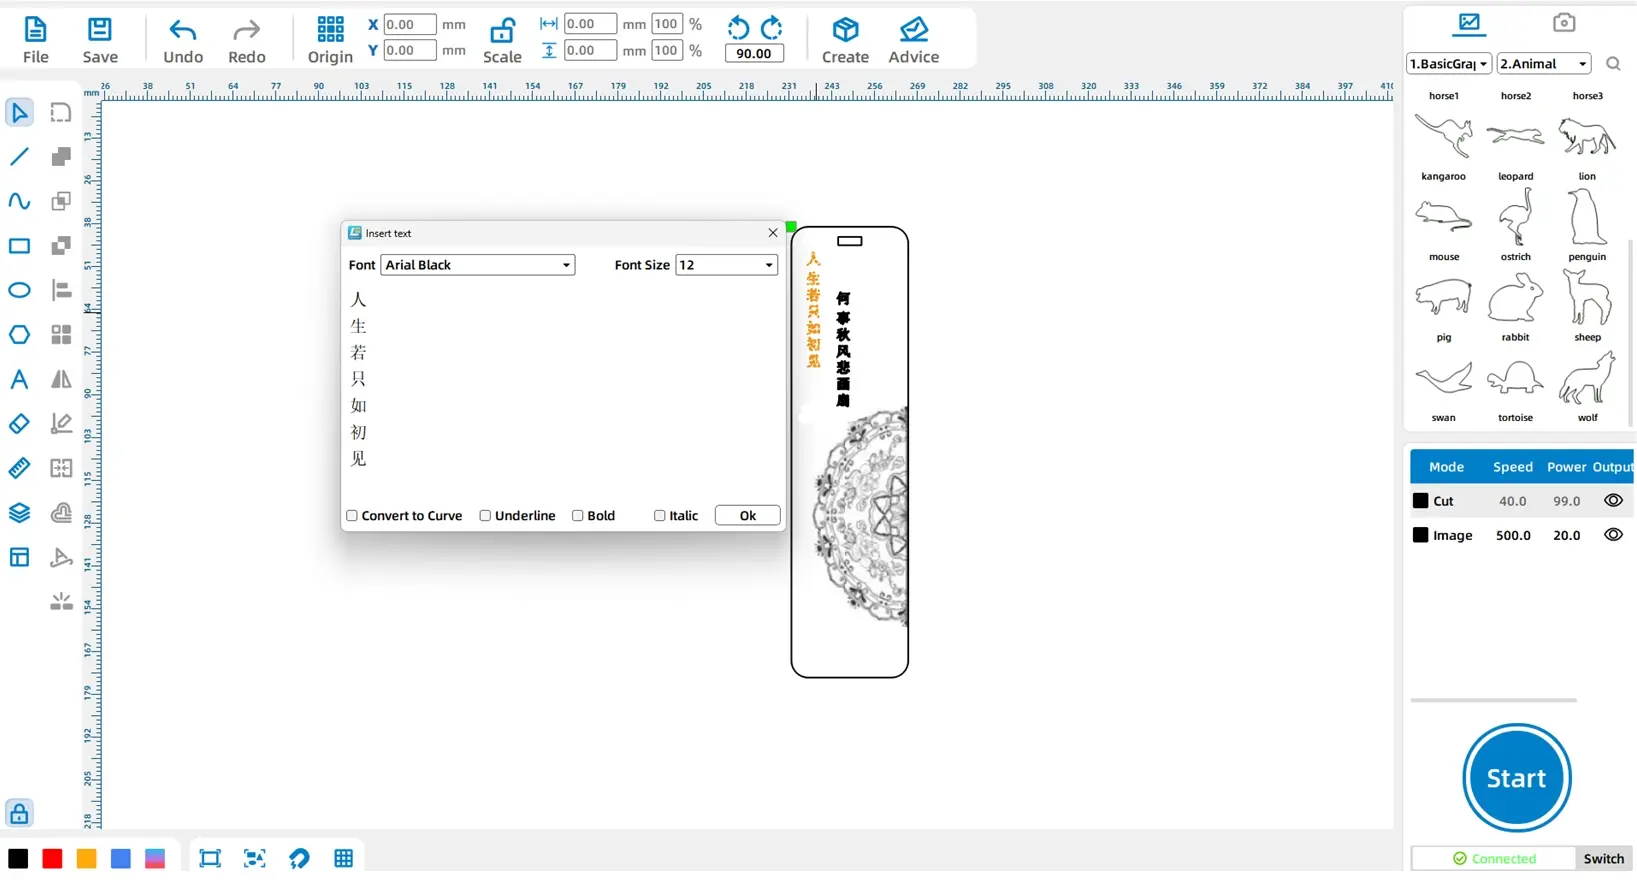
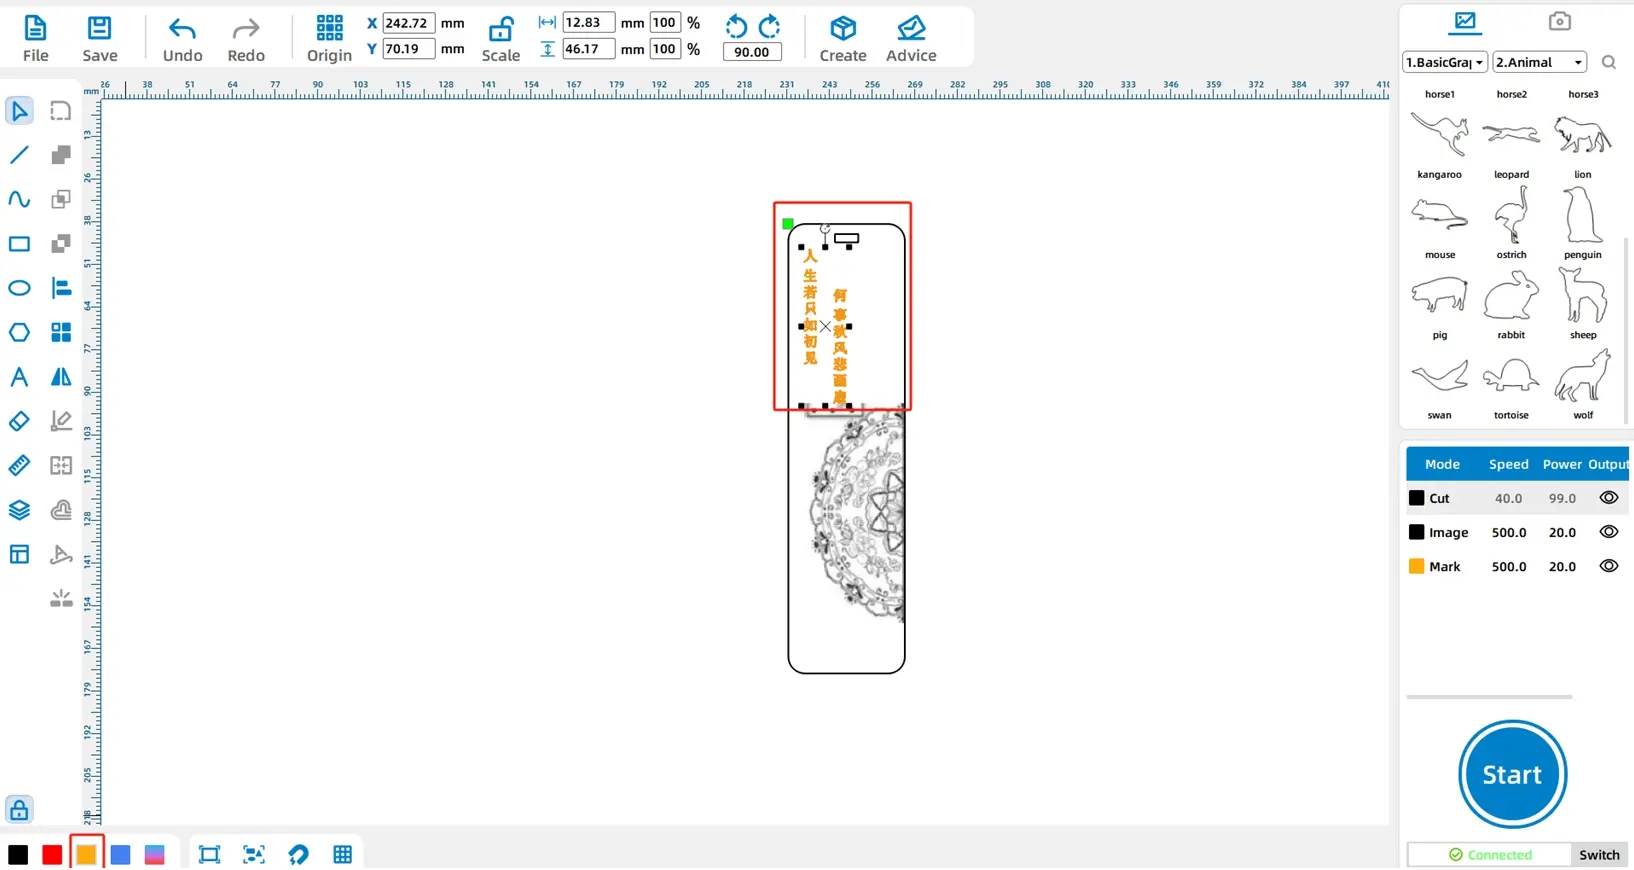
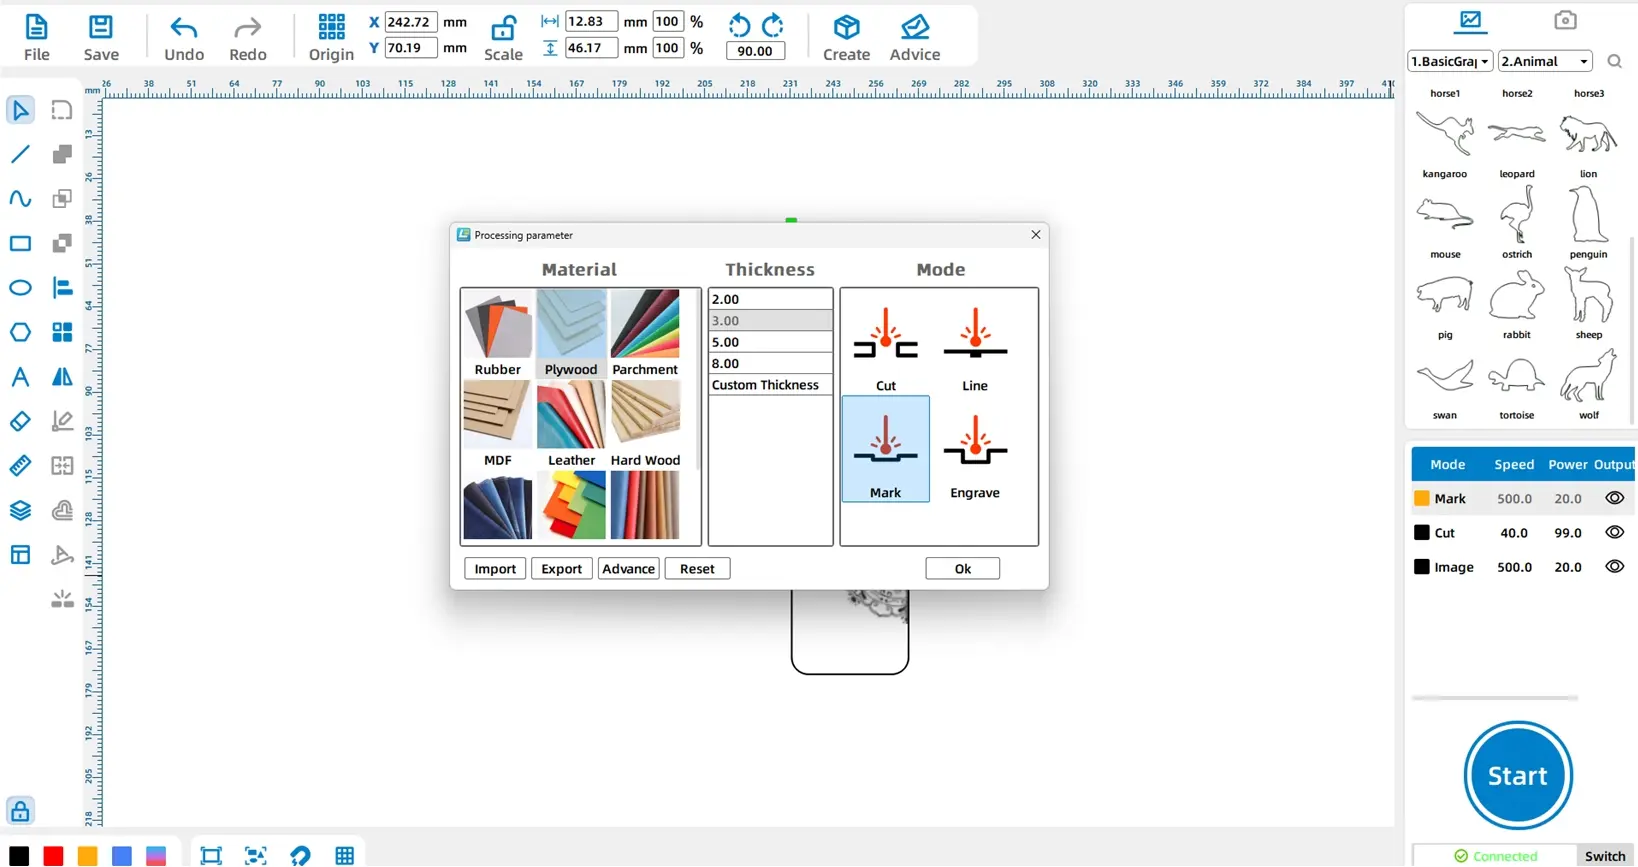
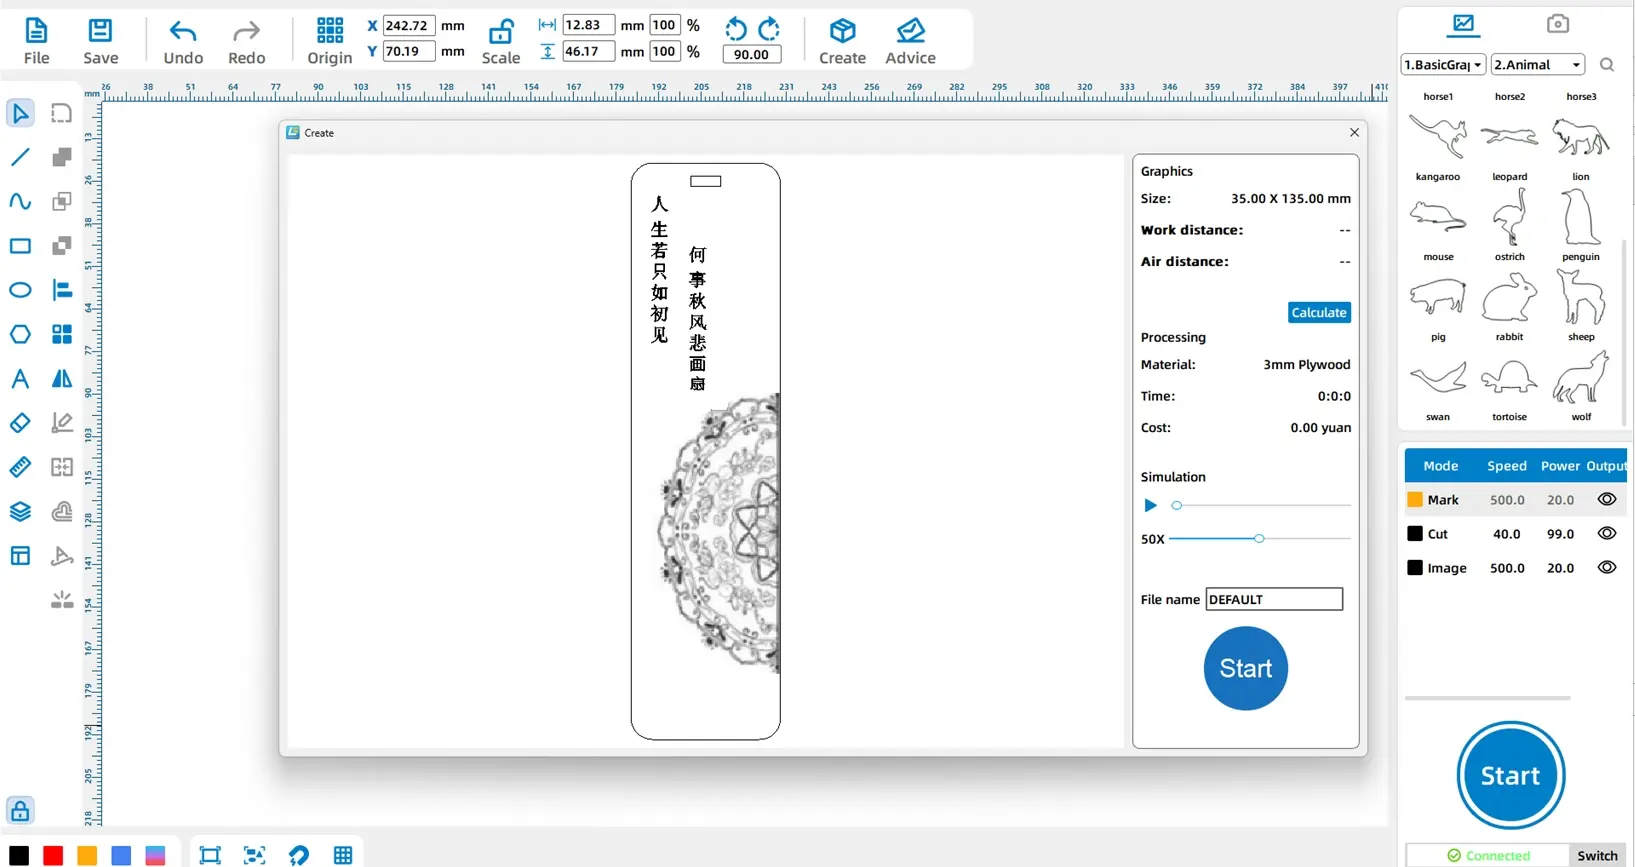
(2) Double-click the black layer in the lower right “Processing Panel.” Set the material, thickness, and process for the black layer to basswood, 3mm, and cutting, respectively. For the black image layer, set the material, thickness, and process to basswood, 3mm, and shallow engraving. For the yellow layer, set the material, thickness, and process to basswood, 3mm, and outlining. Left-click the black layer and drag it to the bottom of the layer stack, as shown in the figure below:
software building Customizing Delicate Bookmarks 7

Tip: Since images are bitmap graphics, the processing techniques available for them are limited to shallow engraving and deep engraving.

(3) Click “Start” in the lower right “Processing Panel” to upload the file to the device, as shown in the figure below:

software building Customizing Delicate Bookmarks 8

V. Presentation of the Work

software building Customizing Delicate Bookmarks 9

Browse Thunder Laser 
Bolt >

Thunder laser Bolt Plus 2

Recent Blog

    America

    Europe

    Aisa

    Oceanica

    Africa