fbpx
Search
Close this search box.
Home> Blog> DIY Doorplate

DIY Doorplate

20/08/2024
Share:
In the last class, we encountered the three-dimensional project “DIY Rubber Stamp Printing” of laser creation for the first time. We delved into the composition of the artwork, gradually completed each component, and assembled them to finish our final work. During this practical process, we learned how to use drawing tools such as “Add Custom Material” in Lasermaker. Today, the Laser Expert will continue to share with you the production method of “DIY Doorplate” in the introductory course of “LaserMaker Laser Creation”.

I. Scenario Introduction

A doorplate is a sign nailed on the door to indicate room information, address, or street name. If you want to have a unique, stylish doorplate that belongs to you exclusively, please follow the Laser Expert. In this episode, the Laser Expert will bring you the production method of “DIY Doorplate”!

II. Work Analysis

The work case brought by the Laser Expert is “Creation Workshop”, which is the craft room of Leiyu Laser Company. The design of the doorplate includes gears and hexagrams, text, and a base.
software building DIY Doorplate 1
To break down the desired doorplate, we can plan out the basic components of the “DIY Doorplate”. This creation will consist of three main parts: the base plate, the text section, and the gear and hexagram elements.
software building DIY Doorplate 2

. Materials List

Number

Name

Quantity

1

3mm Basswood Board

1

2

Paint

1

. Laser Modeling

1. Material Creation

To complete this project, we need to create the individual elements of the doorplate and assemble them together. This includes making the base plate, gears and hexagram, and the text section.

(1) Type the keyword “gear stick figure” in Baidu Baike (Baidu Encyclopedia), choose a picture you like, and save it. Click “File” in the upper “Function Area”, then click “Open”, and double-click to open the saved gear picture. The image should appear as shown in the figure below:

software building Internet famous Bamboo Tube 2
software building DIY Doorplate 3
(2) Left-click on the image, select “Extract Contour,” and delete any unnecessary lines to obtain the gear material. This should result in a simplified outline of the gear, as shown in the figure below:
software building DIY Doorplate 4
software building DIY Doorplate 5
(3) From the “Drawing Toolbar” on the left side, select the “Ellipse” tool and draw two large ellipses and one perfect circle in the drawing area. Combine them together and delete any extra lines. Then, rotate each by “60°” and “180°” respectively to create a hexagram. Draw a perfect circle in the center of the hexagram. The result should look like the image below:
software building DIY Doorplate 6
software building DIY Doorplate 7
(4) Adjust the position of the gear and hexagram to align them, then use the “Eraser” tool to erase half of each, creating a combined gear and hexagram shape. Save this as “Material 2,” as shown in the image below:
software building DIY Doorplate 8
software building DIY Doorplate 9
(5) Similar to the steps outlined in (1) above, enter the keywords “abstract gradient texture circuit board” in Baidu Baike (Baidu Encyclopedia) and select a picture that you like to save. Click “File” in the upper “Function Area,” then click “Open,” and double-click to open the saved circuit board image. Left-click on the image, select “Extract Contour,” and delete any unnecessary lines to obtain the circuit board material. Save this as “Material 2,” as shown in the figure below:
software building DIY Doorplate 10
(6) From the “Drawing Toolbar” on the left side, select the “Font” tool and input the text “LaserMaker.” Set the font properties to “Convert to Curves” and “Italic.” Then, click on each letter individually. From the “Drawing Toolbar” on the left, choose the “Offset Curve” tool and offset each letter’s curve outward by 1mm. Combine all the offset curves for each letter using the union function. Save this as “Material 3,” as shown in the image below:
software building DIY Doorplate 9 (1)
software building DIY Doorplate 10(2)
software building DIY Doorplate 11

2. Material Summary

(1) Click “File” in the “Functional Area” at the top, then click “Open.” Double-click to open the required material images “Material 1,” “Material 2,” and “Material 3,” as shown in the figure below:
software building Internet famous Bamboo Tube 2
software building DIY Doorplate 11 (1)
software building DIY Doorplate 12
(2) From the “Drawing Toolbar” on the left side, select the “Font” tool and input the text “Zàowù Gōngfāng” . Set the font style to “KaiTi” and the font size to “Chuhao” . Adjust the font size if necessary. Select the text, and with the left mouse button, click on the layer panel at the bottom left to change the outline color to black, as shown in the figure below:
software building DIY Doorplate 13
(3) Select each of the elements “Base Plate,” “Gear and Hexagram,” “LaserMaker,” and “Zàowù Gōngfāng” in sequence. Then, group them individually. The grouped elements should look similar to the image below:
software building DIY Doorplate 14
(4) Holding down the left mouse button, select all of “Base Plate,” “Gear and Hexagram,” “LaserMaker,” and “Zàowù Gōngfāng” . Then, from the “Drawing Toolbar” on the left, choose the “Automatic Sorting” tool, as shown in the figure below:
software building DIY Doorplate 15
Tips: Before using the automatic sorting feature, it’s essential to group individual materials together. By doing so, the automatic sorting can arrange the materials more compactly, saving valuable material.

3. Process Settings

(1) Select the “Outline of the Base Plate,” “Gear and Hexagram,” and “Zàowù Gōngfāng” (造物工坊). Click the left mouse button on the layer panel at the bottom left to change the outline color to black. Then, select the “Internal Atomic Structure and Electronic Circuit Diagram of the Base Plate” and click the layer panel to change its outline color to red. Finally, select “LaserMaker” and click the layer panel to change its outline color to yellow, as shown in the figure below:

(2) Adjust the layer order in the lower right corner, arranging them in the order of “red, yellow, black.” Double-click the red layer with the left mouse button and set the material, thickness, and process to basswood, 3mm, and outlining, respectively. Double-click the yellow layer and set the material, thickness, and process to basswood, 3mm, and light engraving. Finally, double-click the black layer and set the material, thickness, and process to basswood, 3mm, and cutting. See the image below for reference:

software building DIY Doorplate 16

V. Work Exhibition

software building DIY Doorplate 1

VI. Conclusion

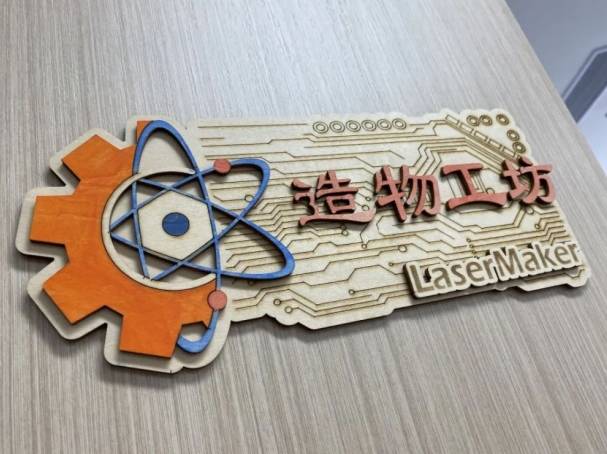
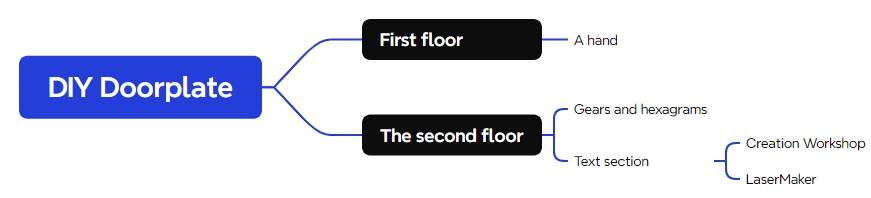
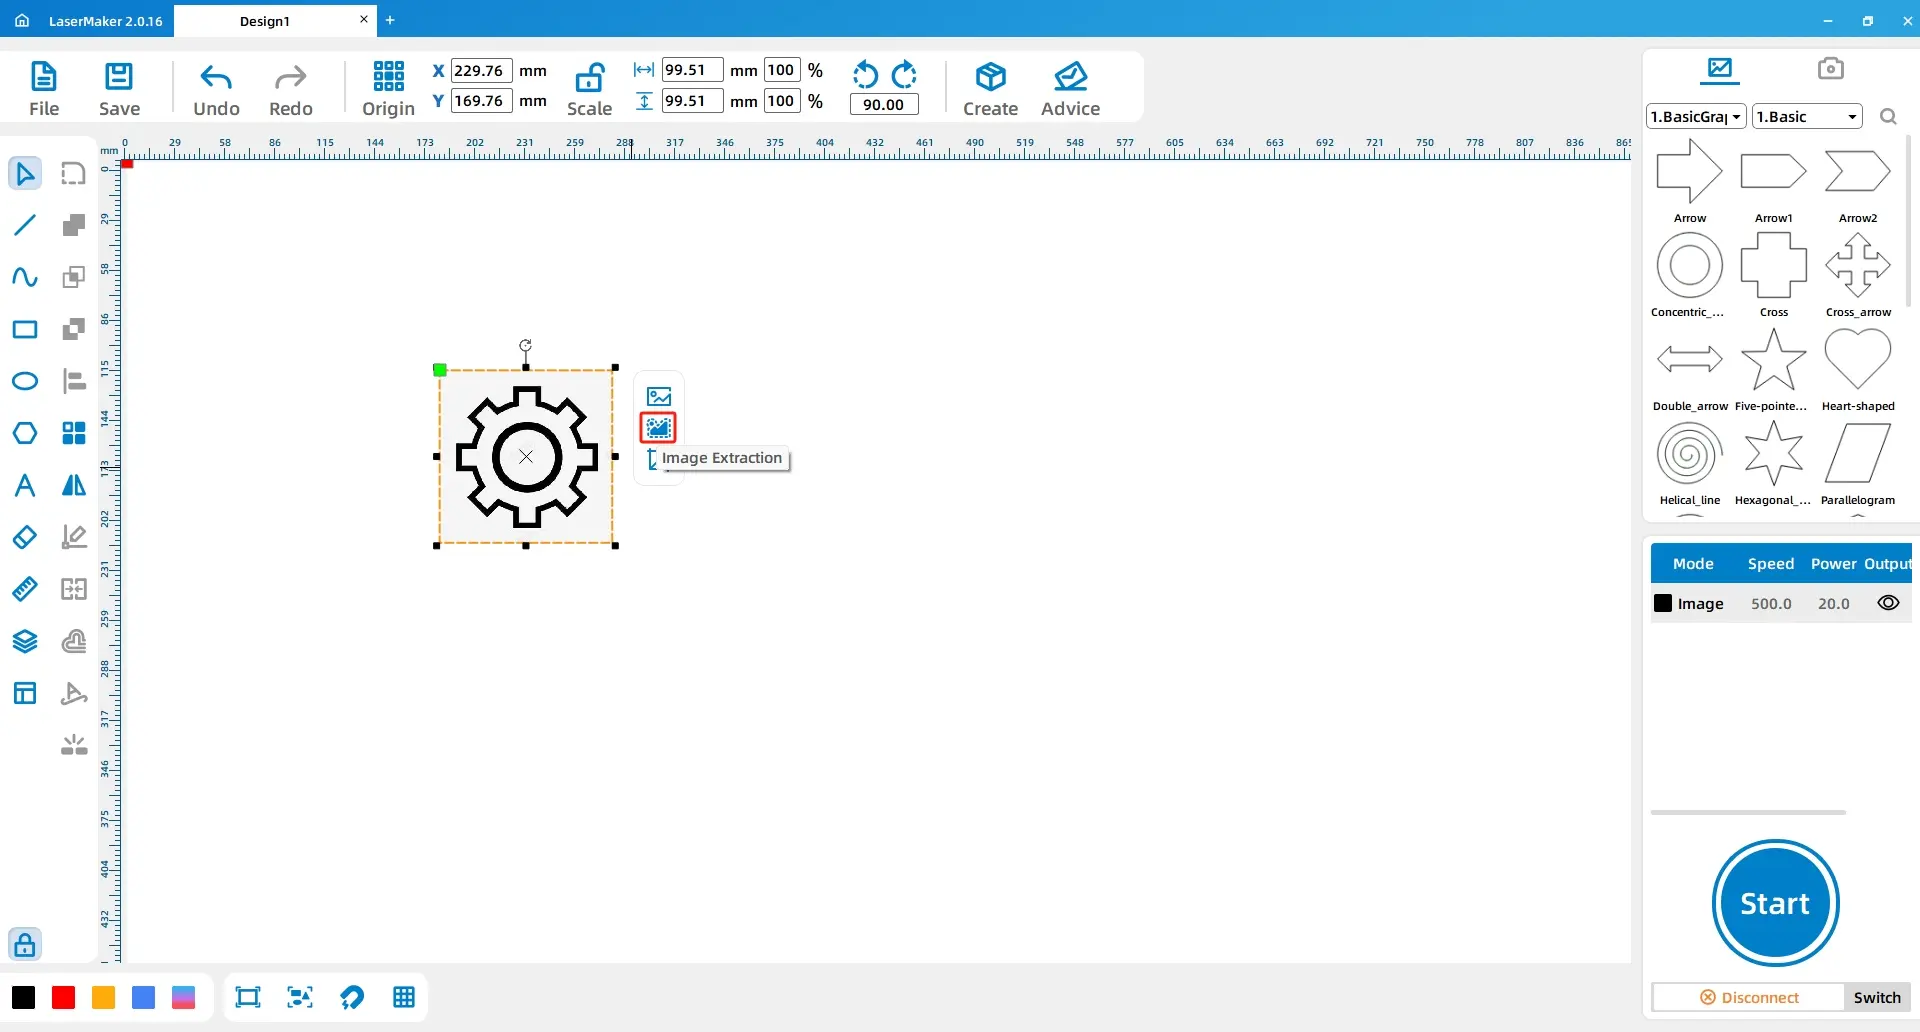
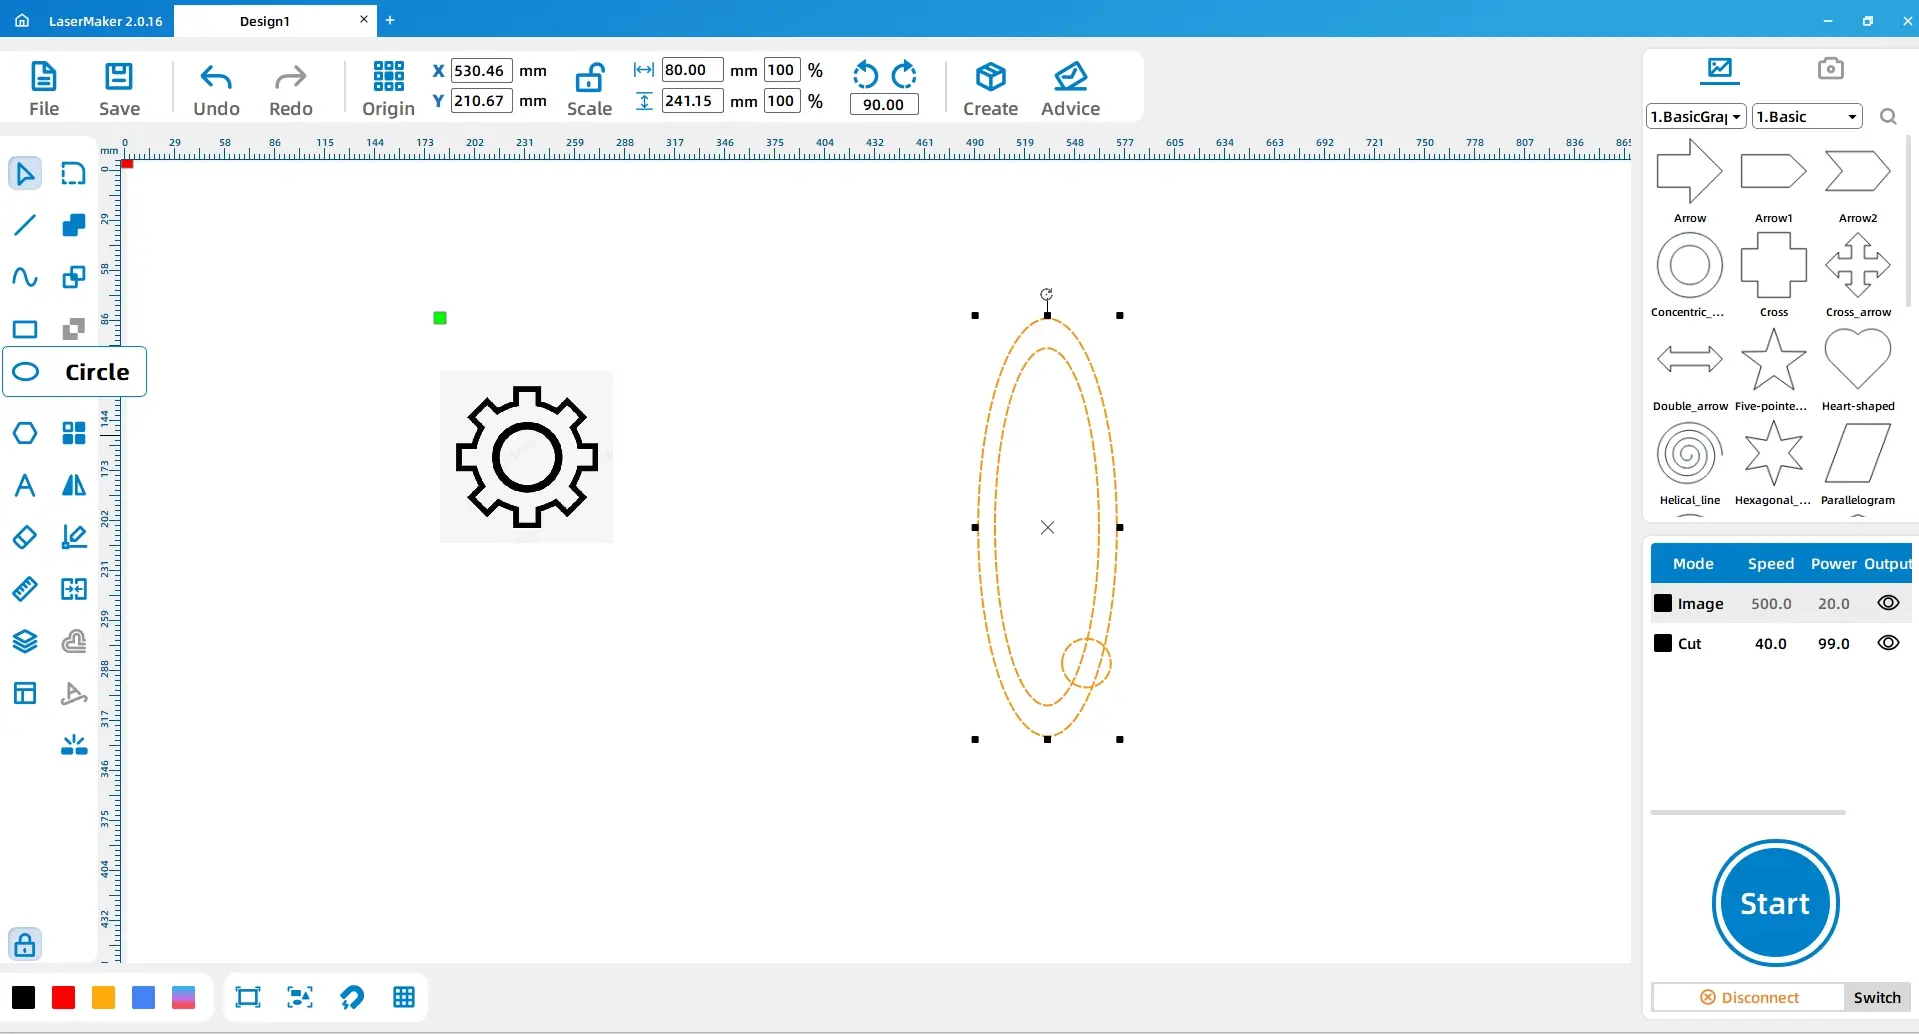
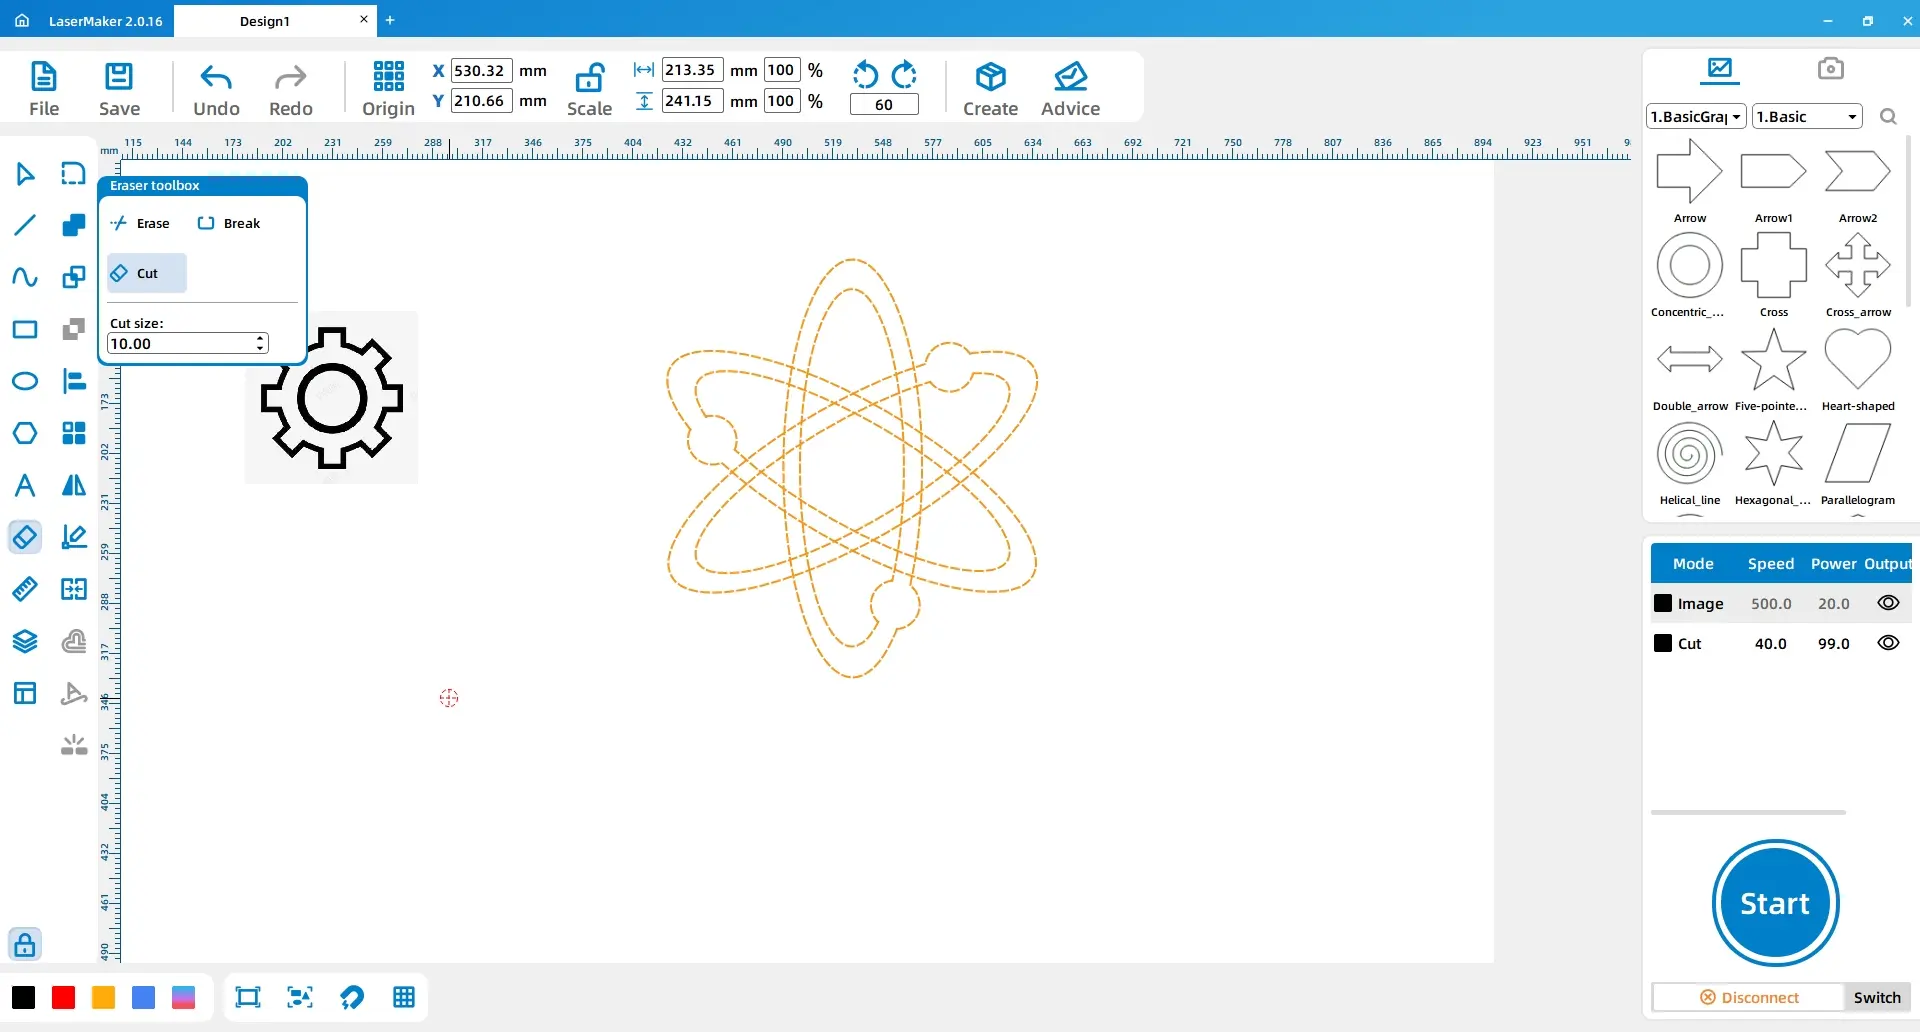
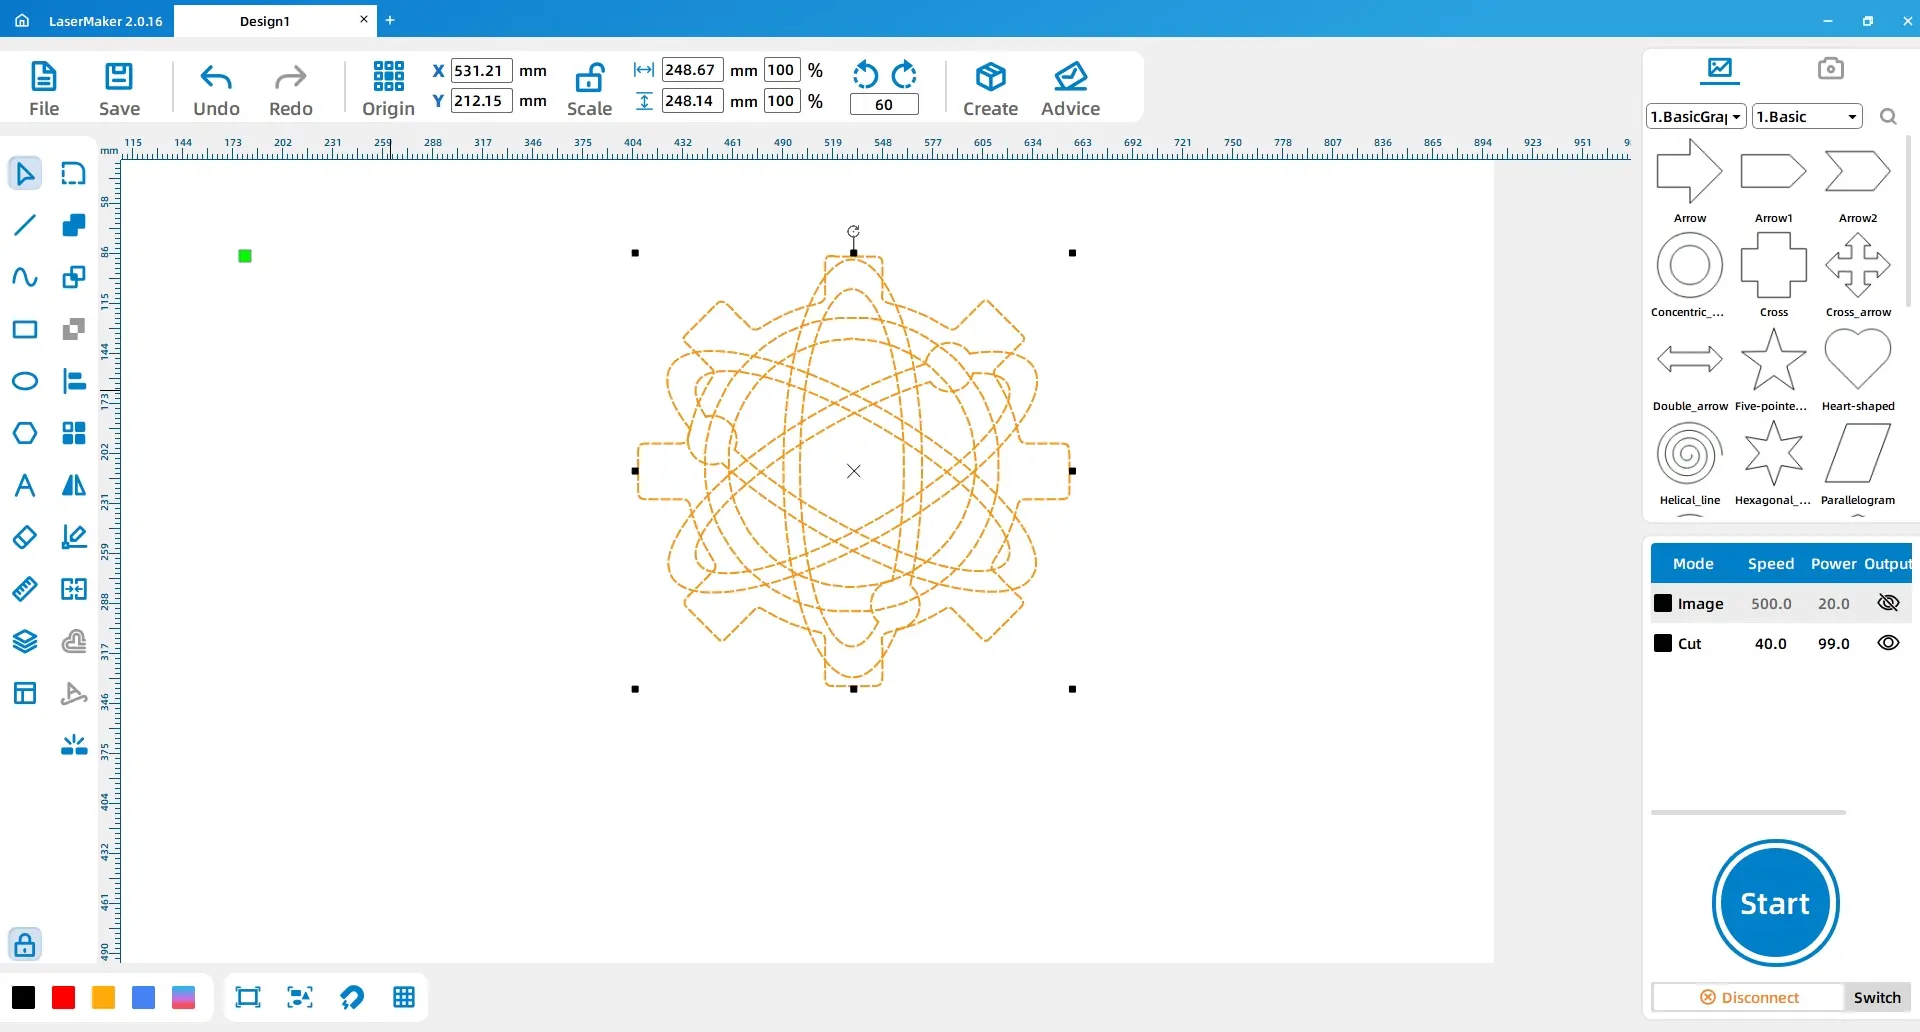
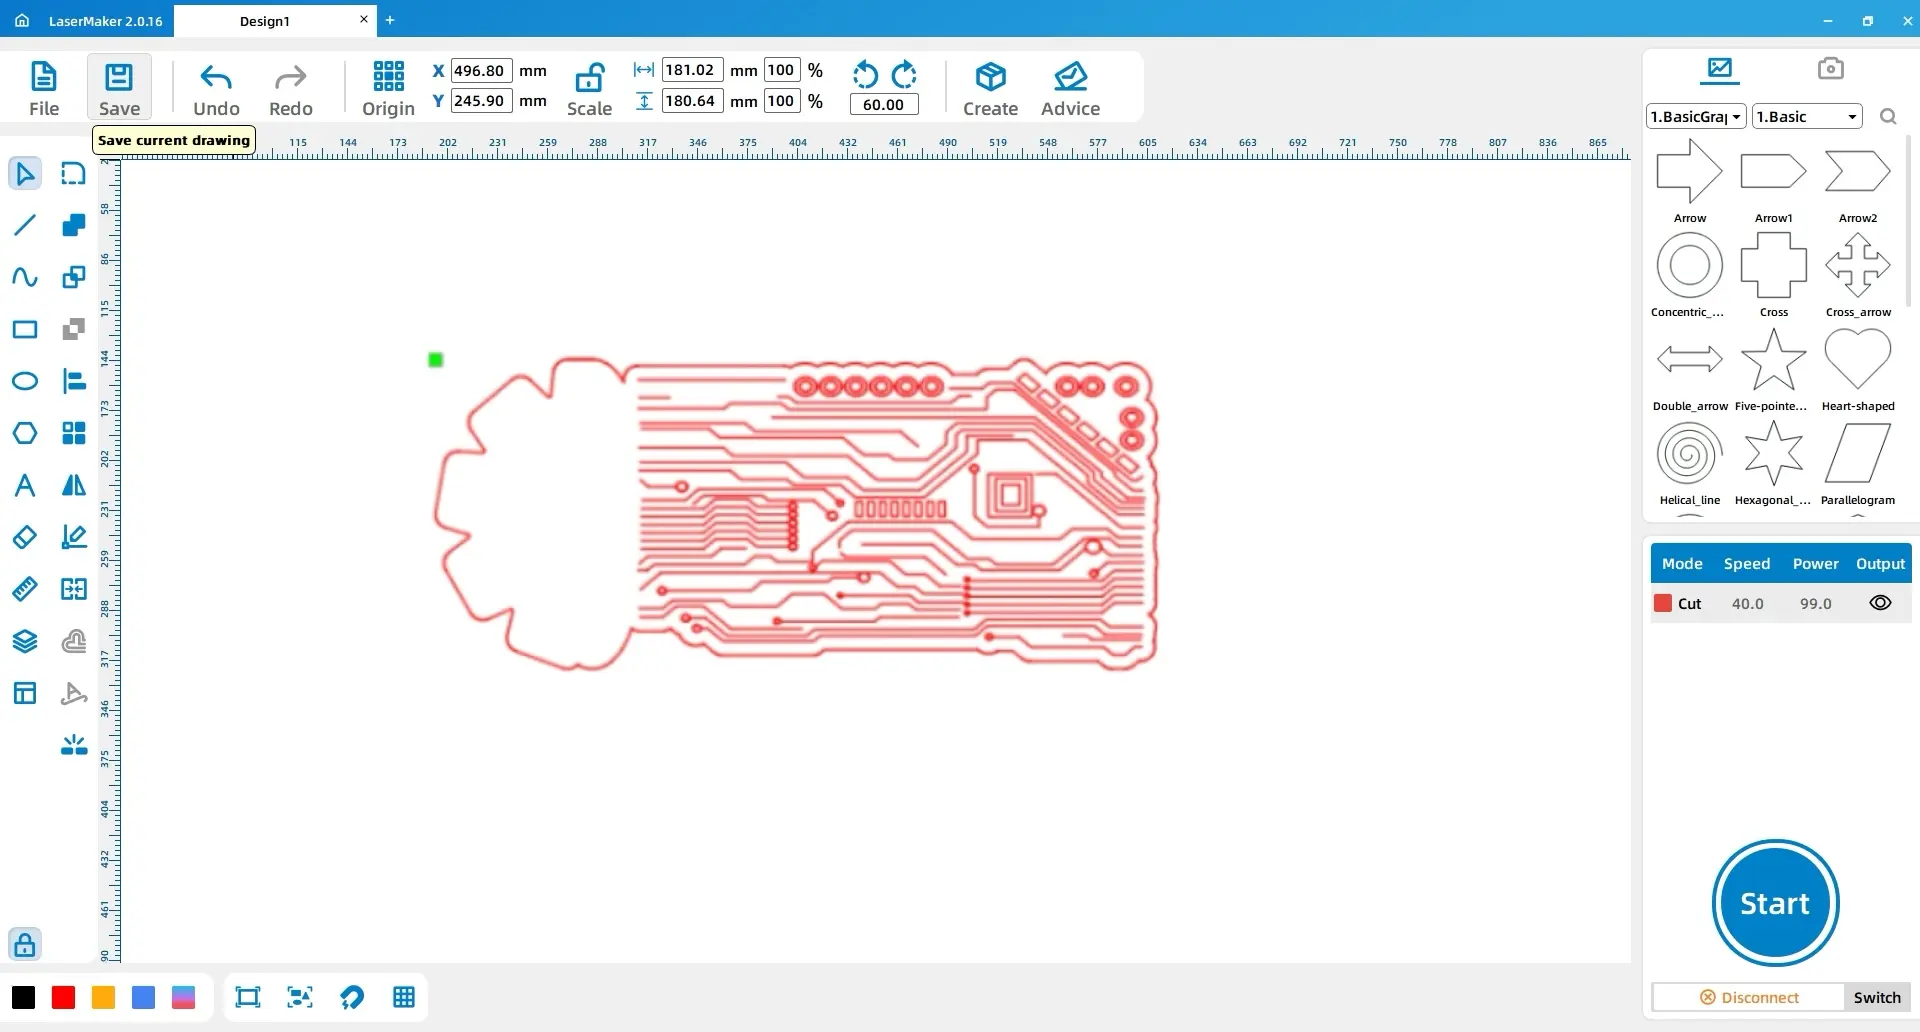
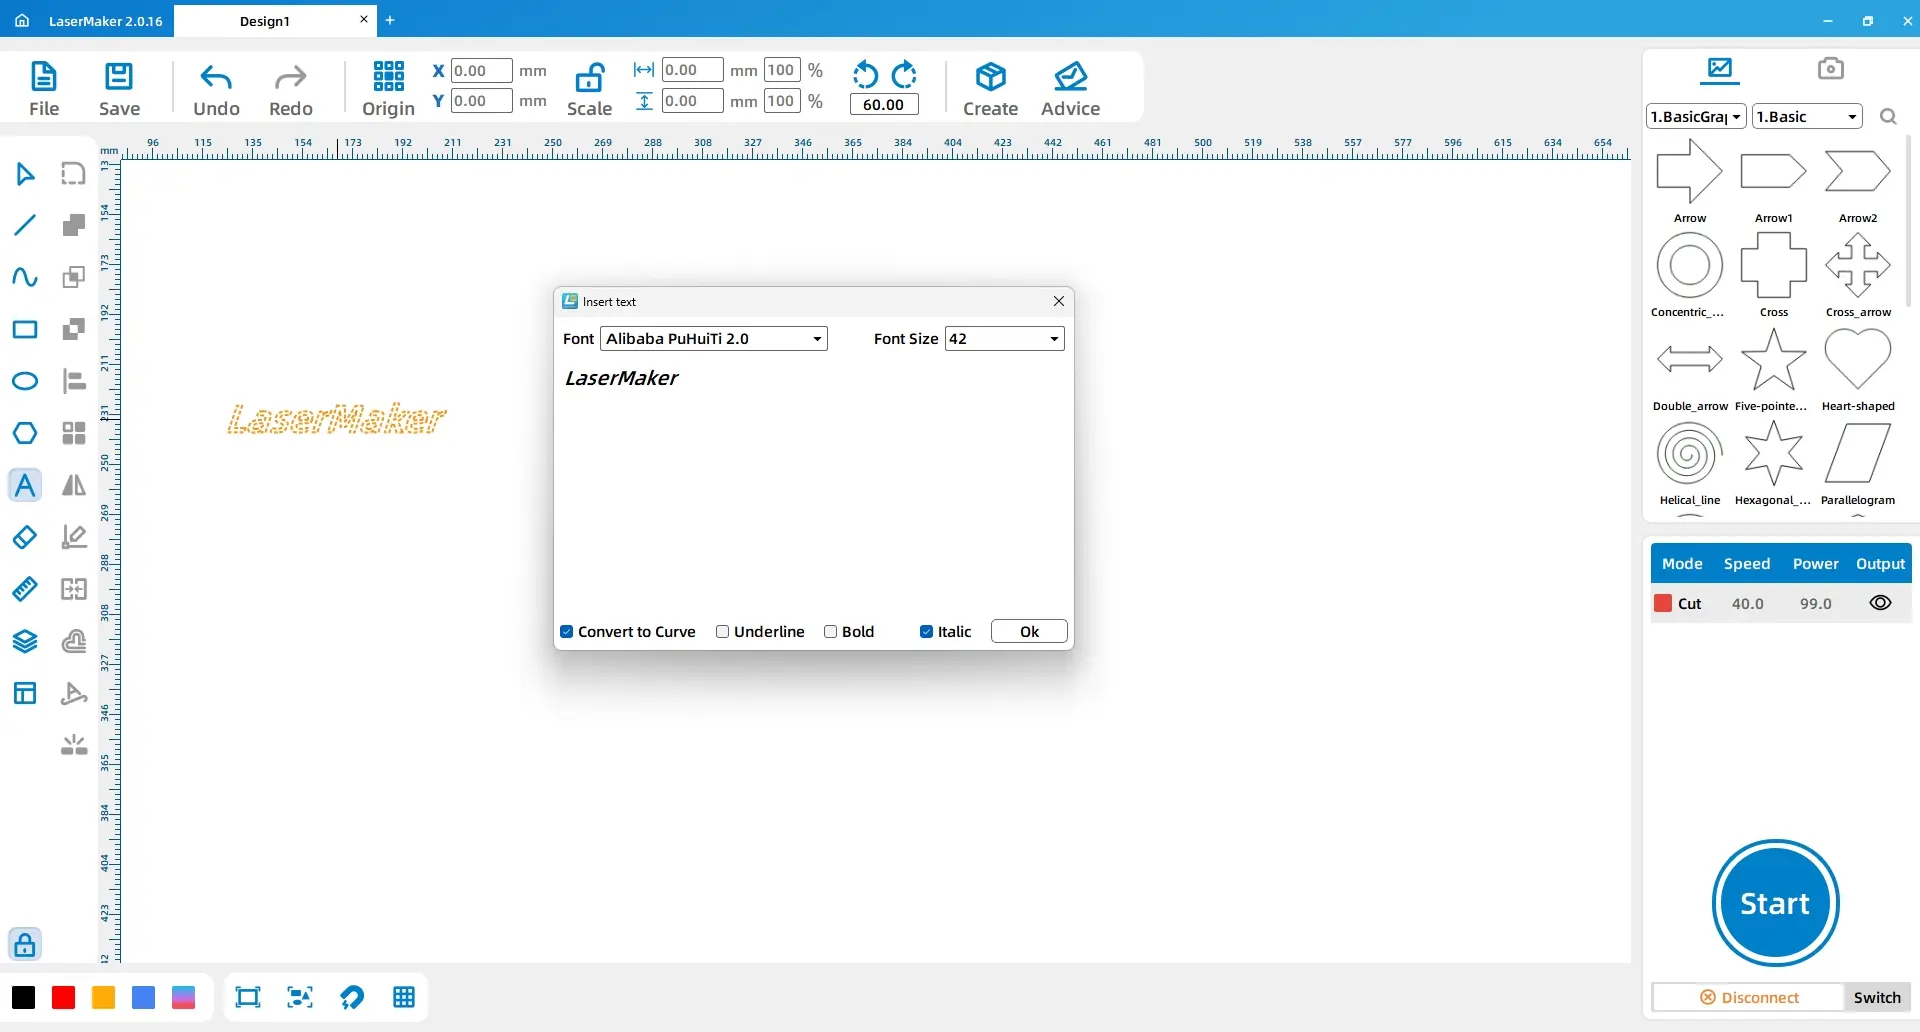
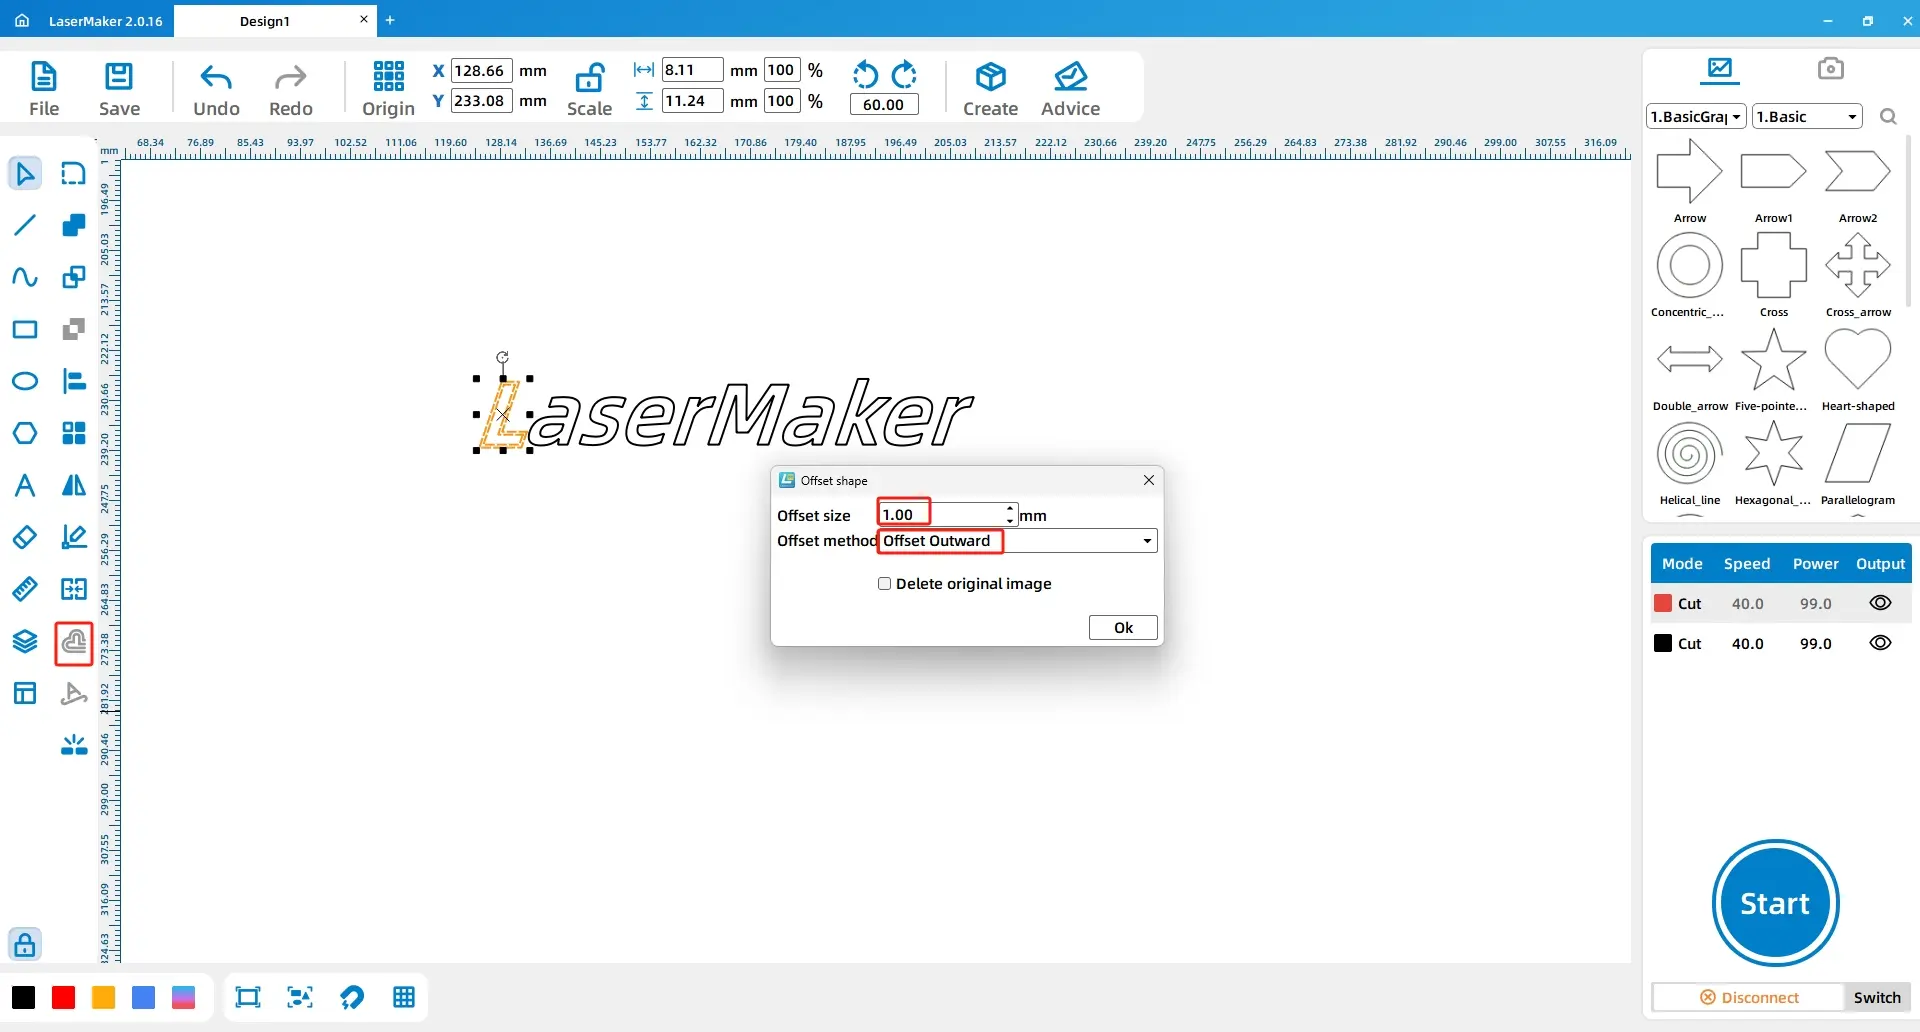
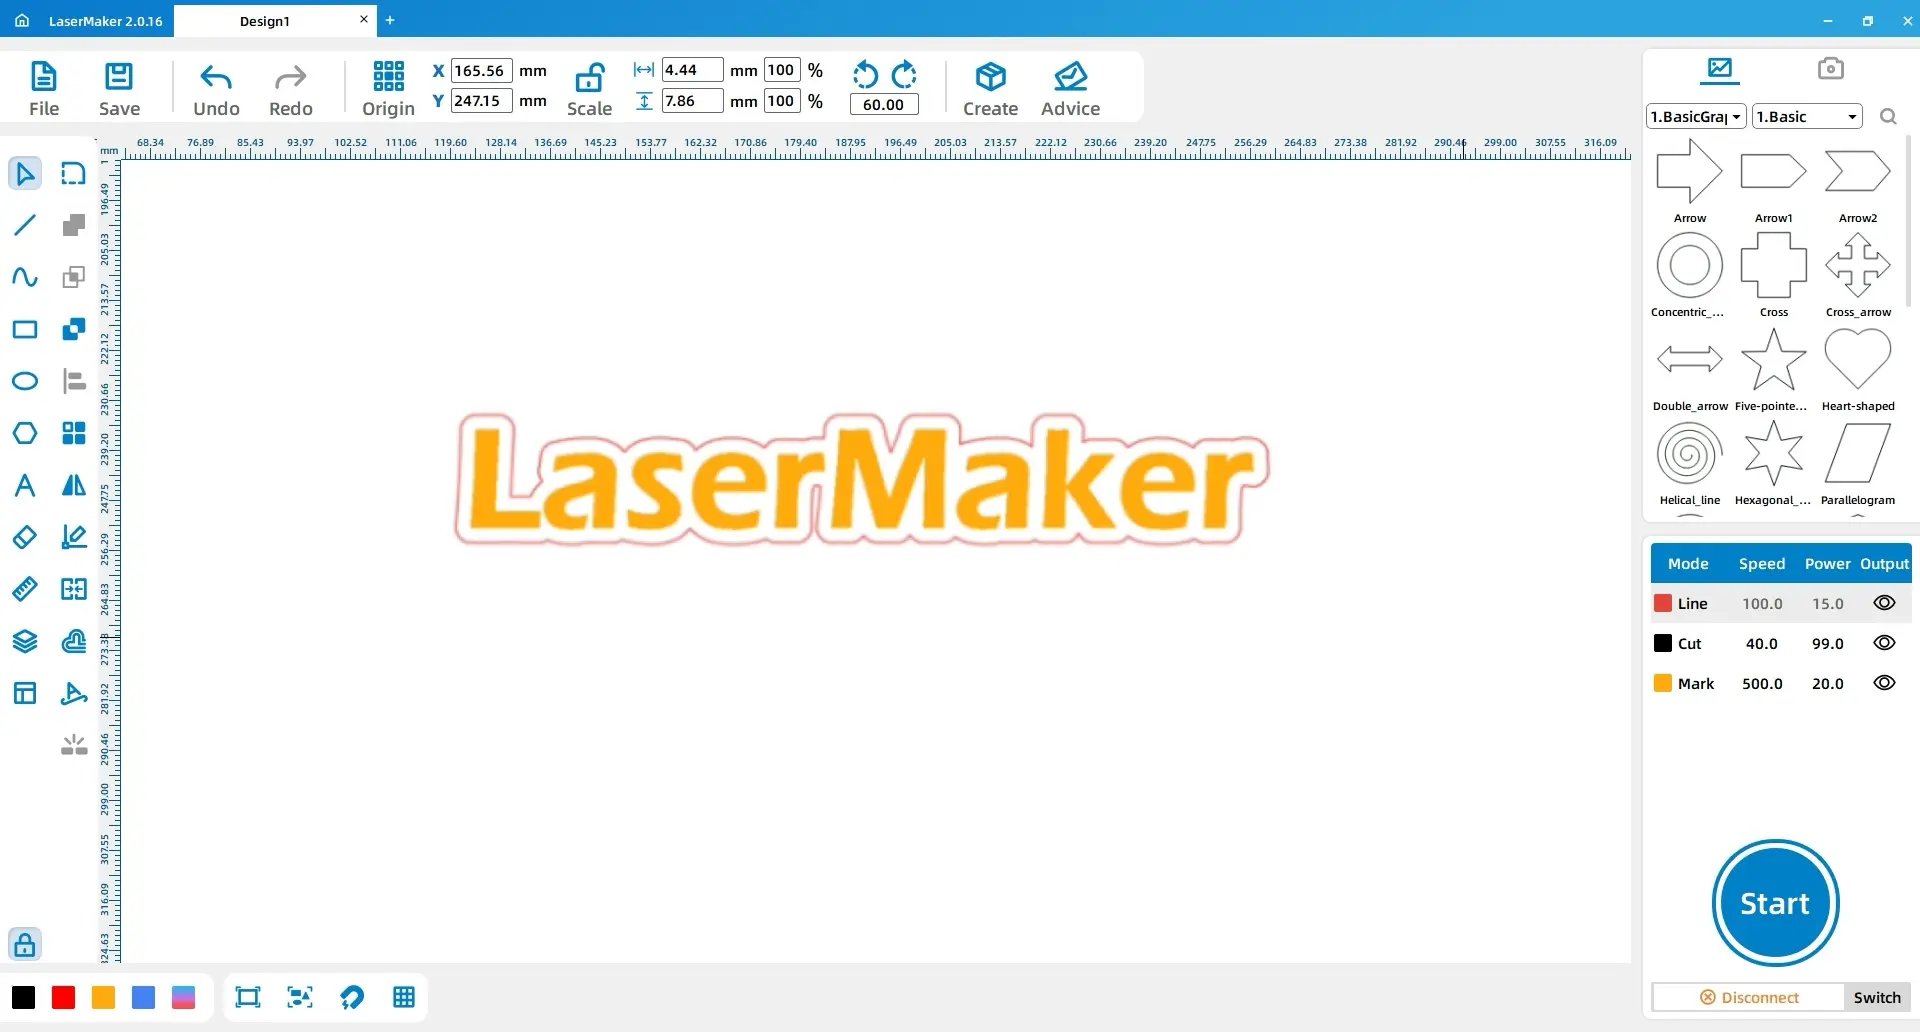
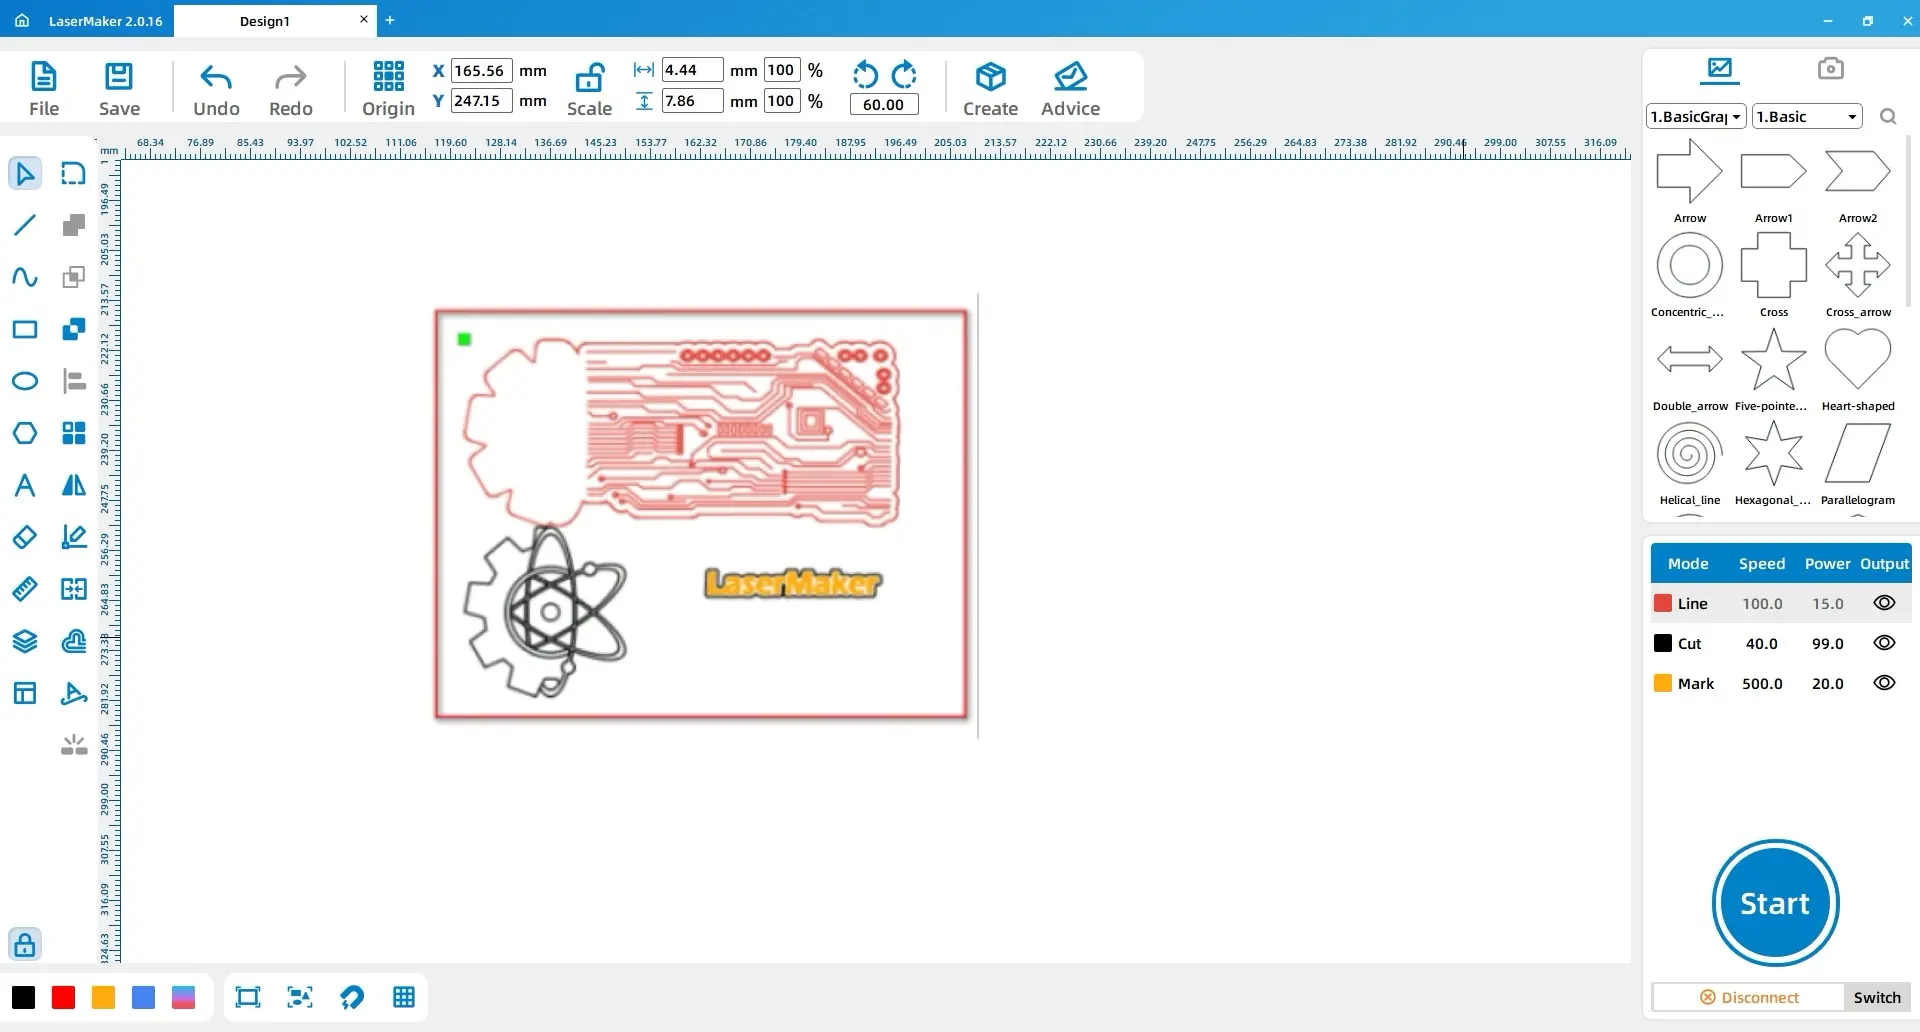
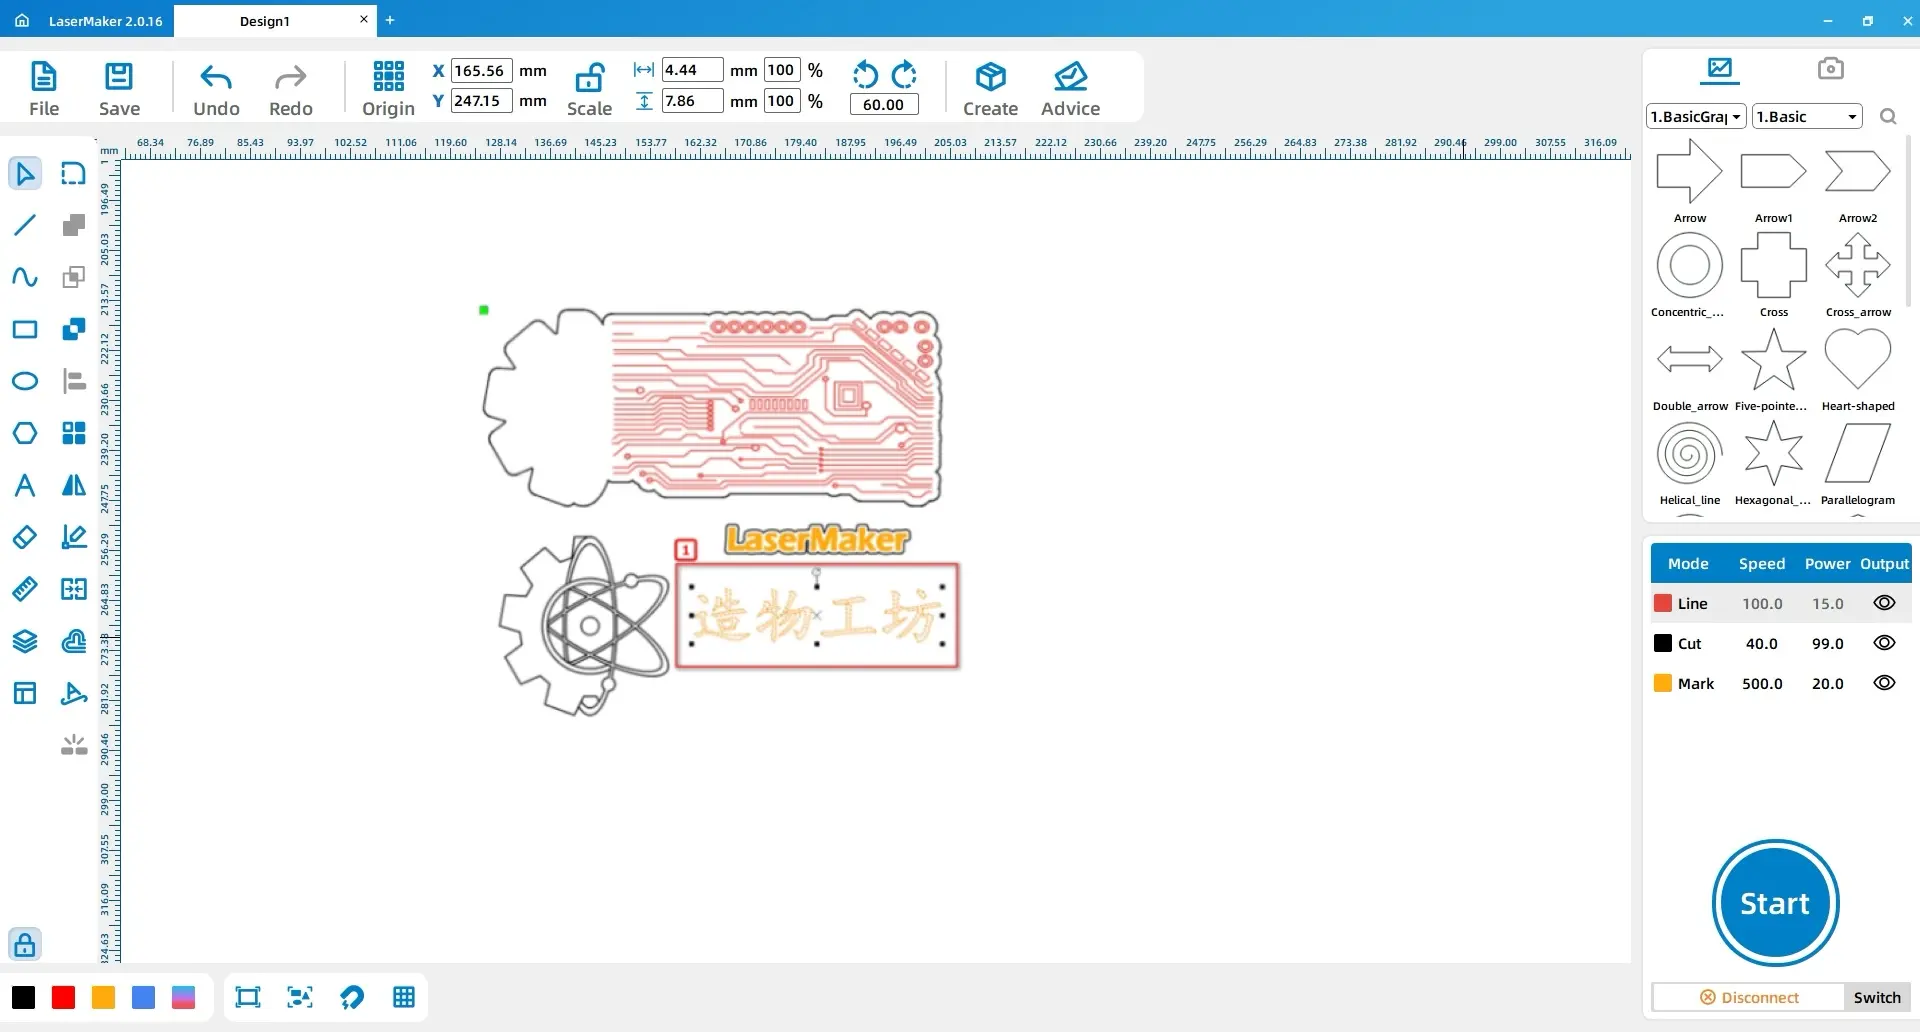
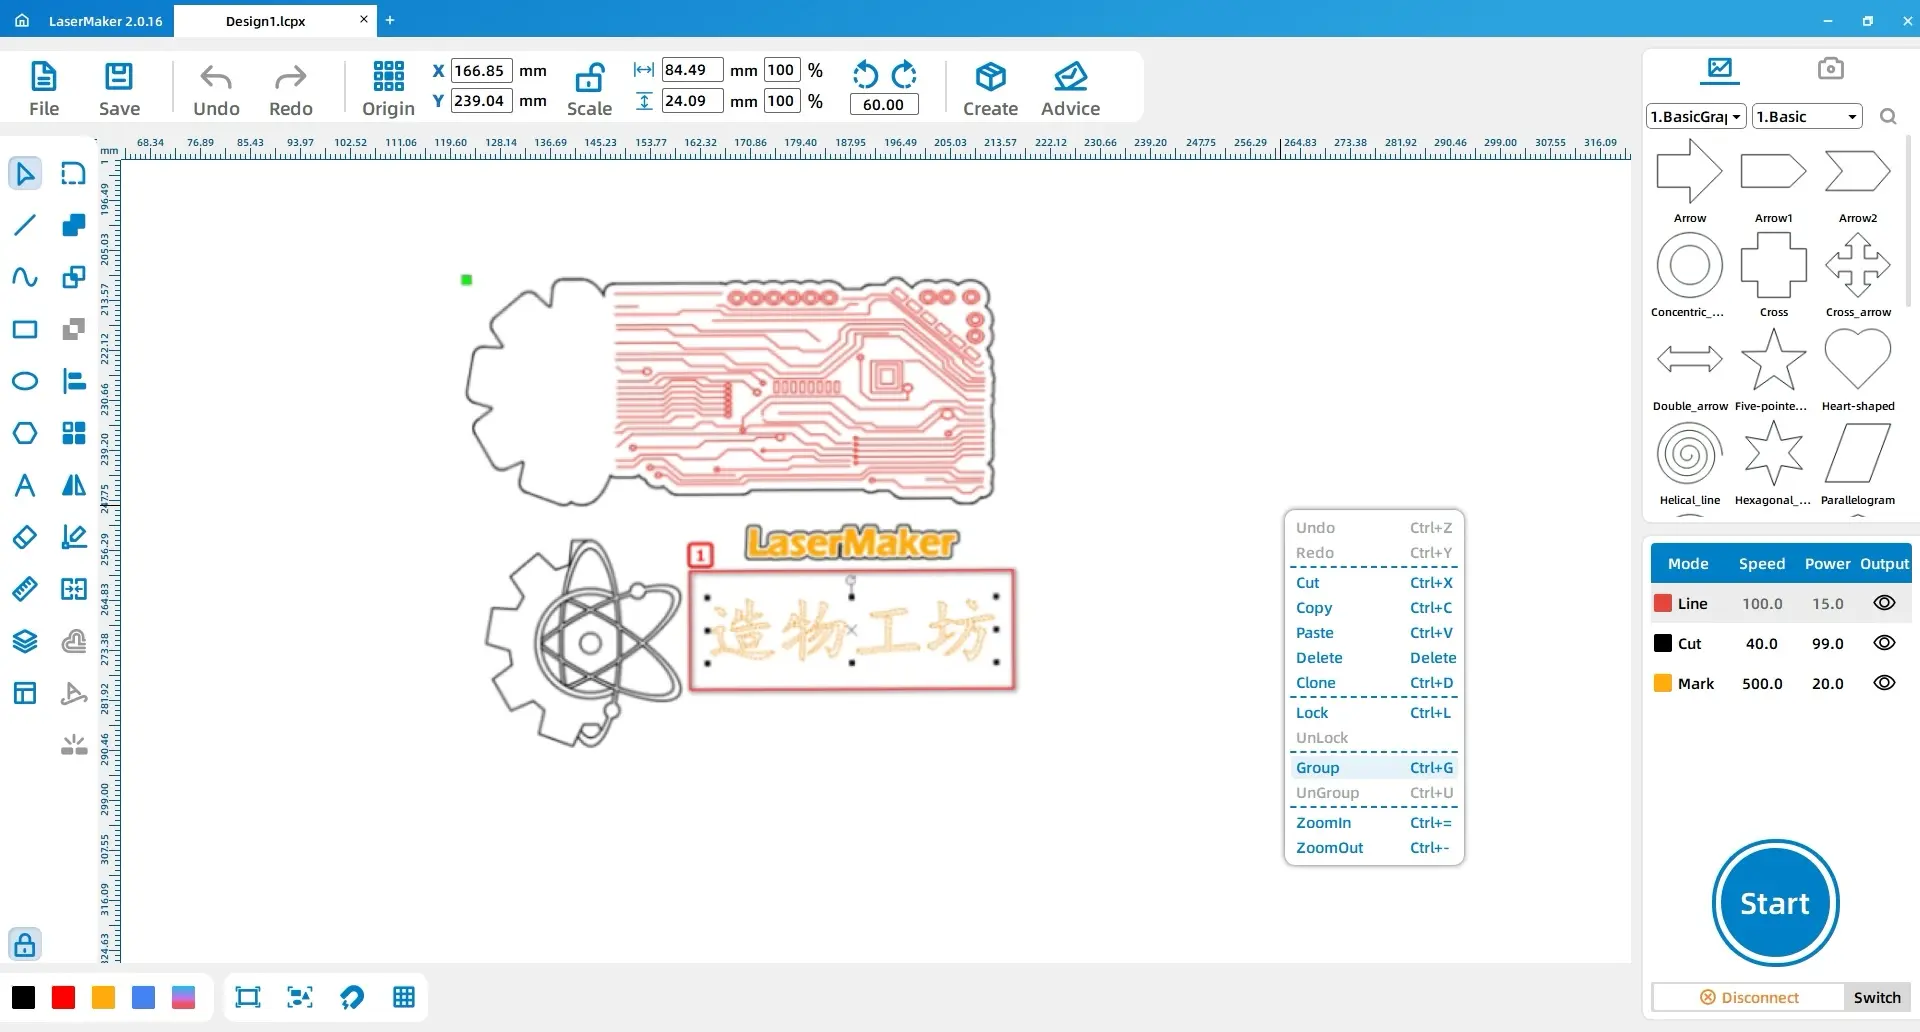
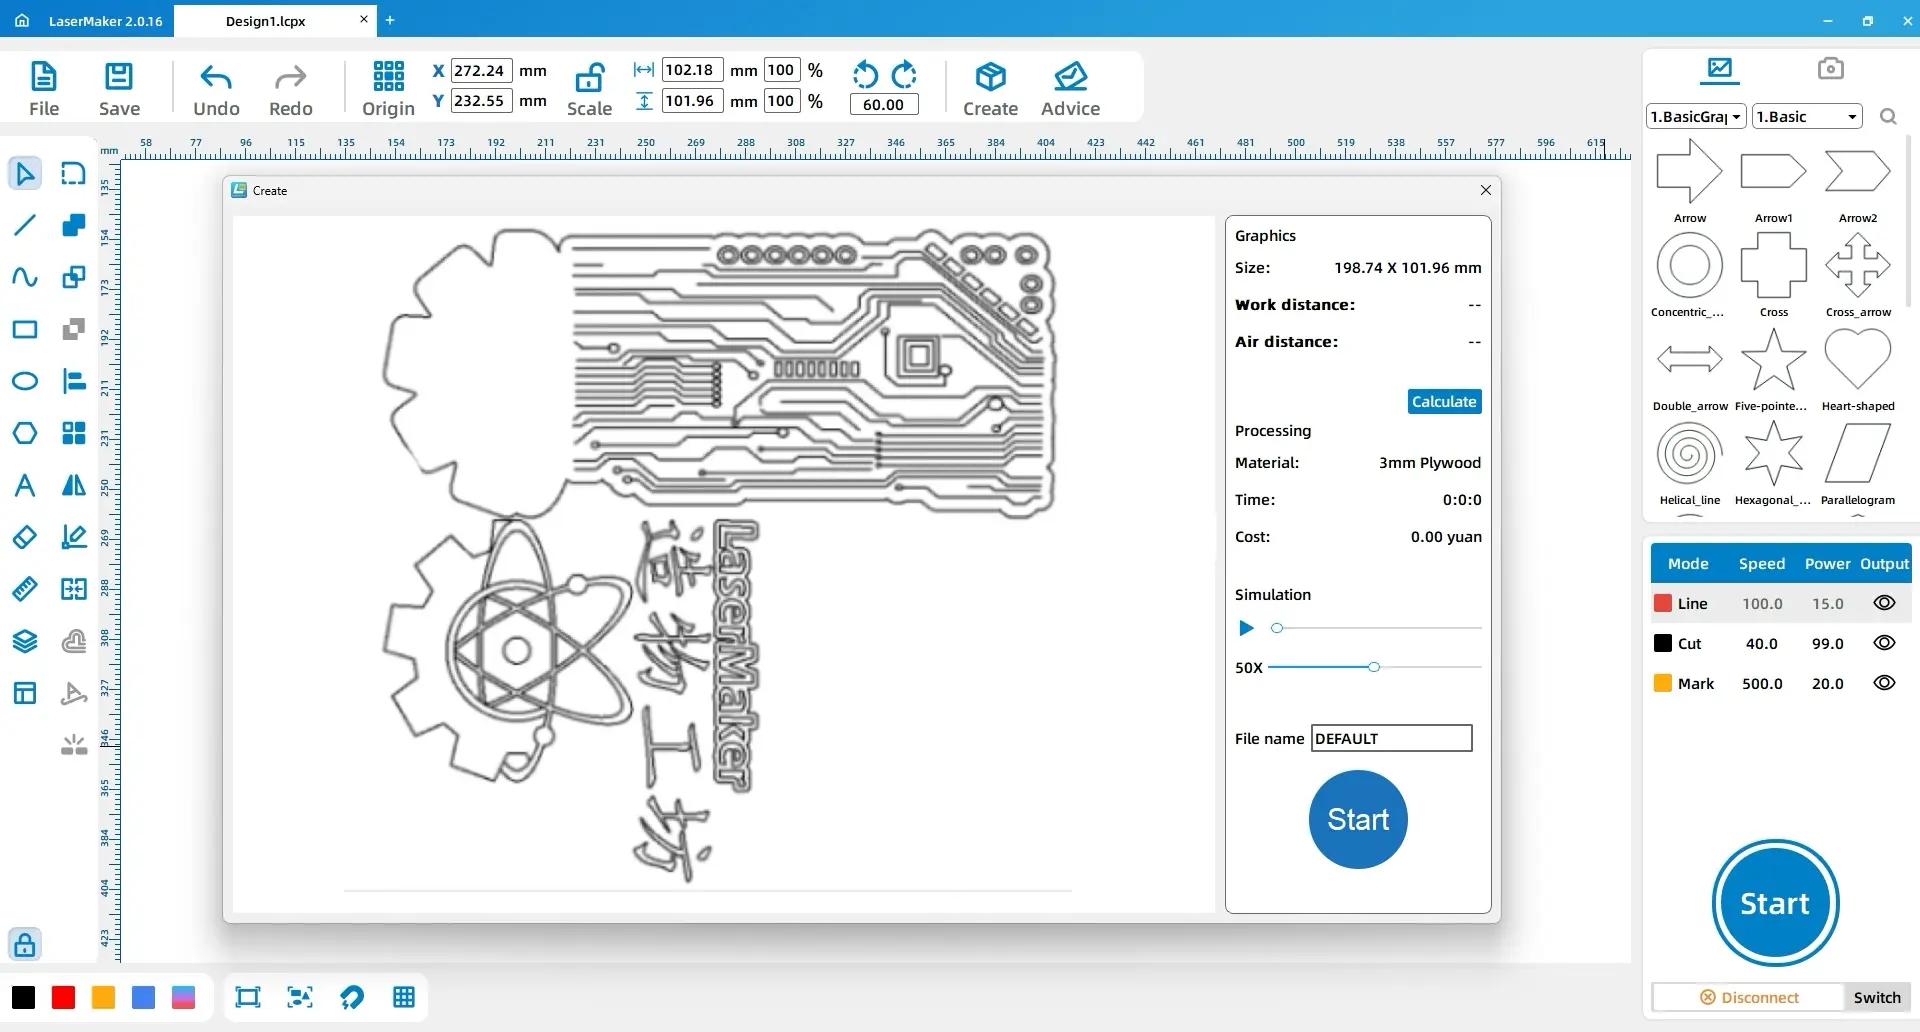
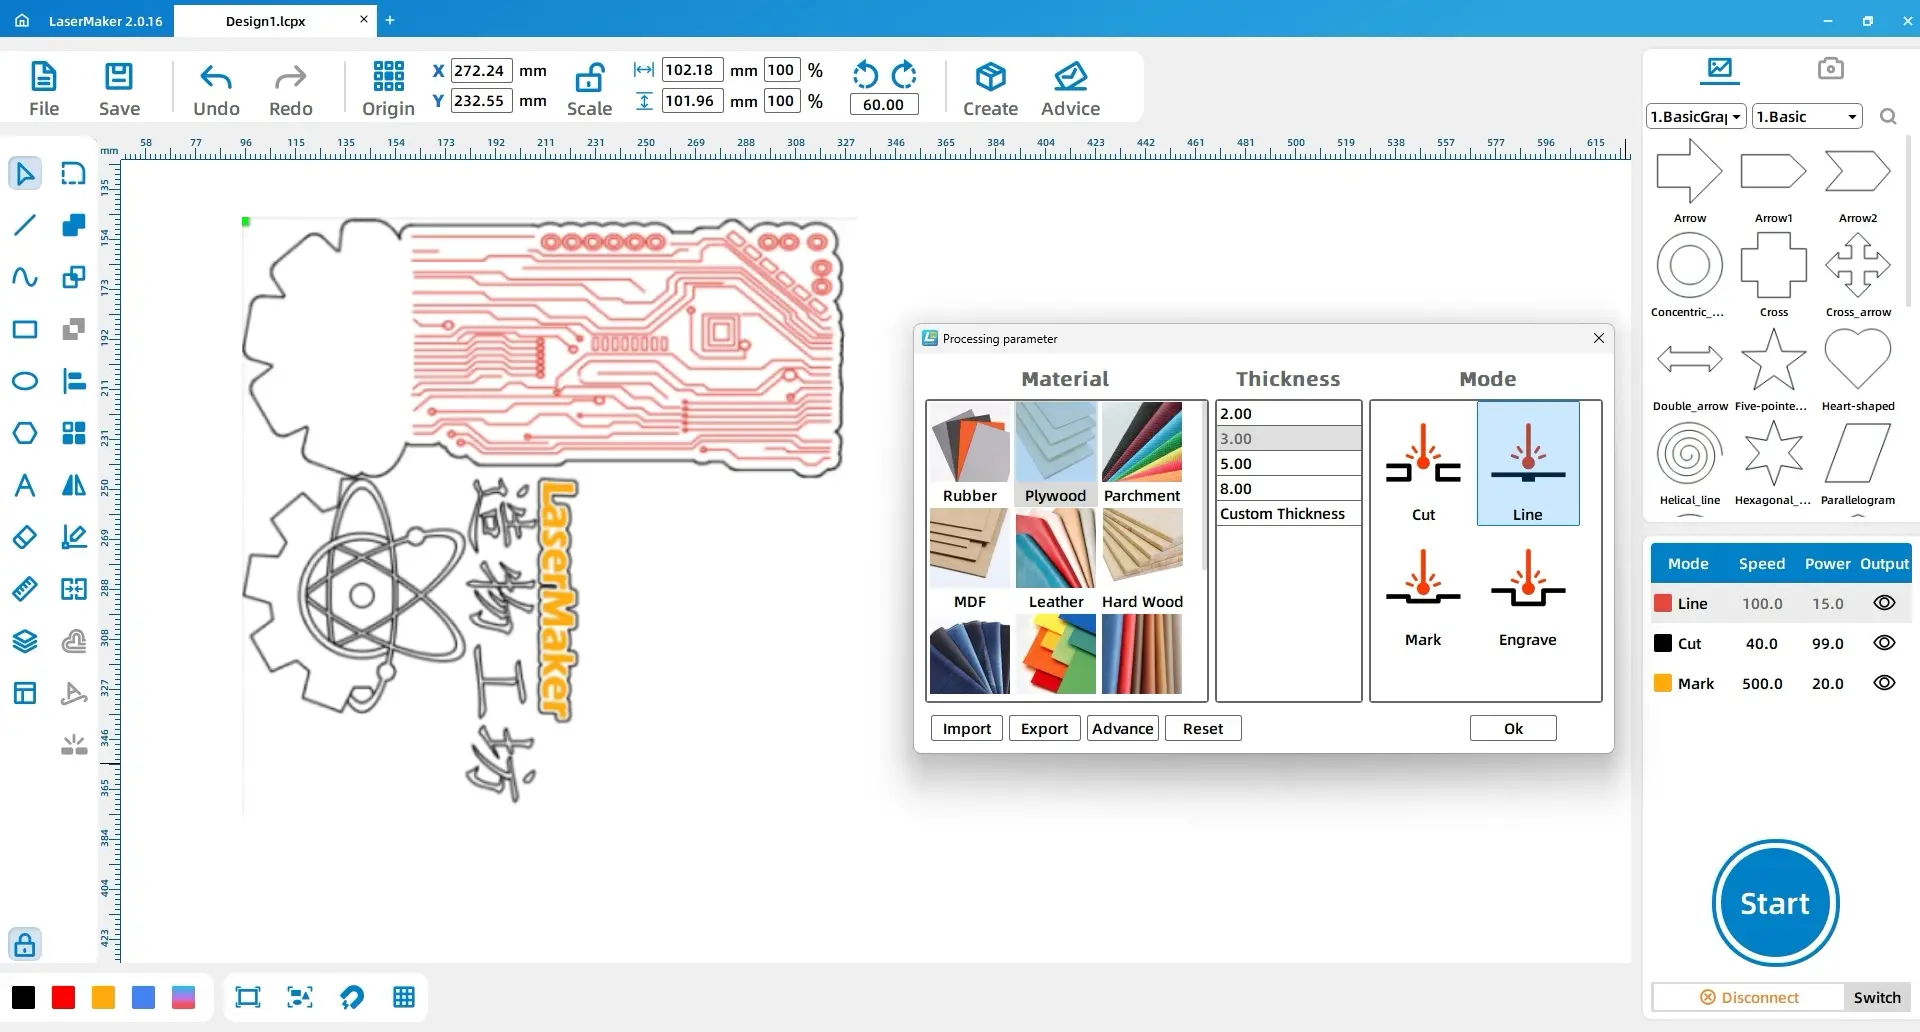
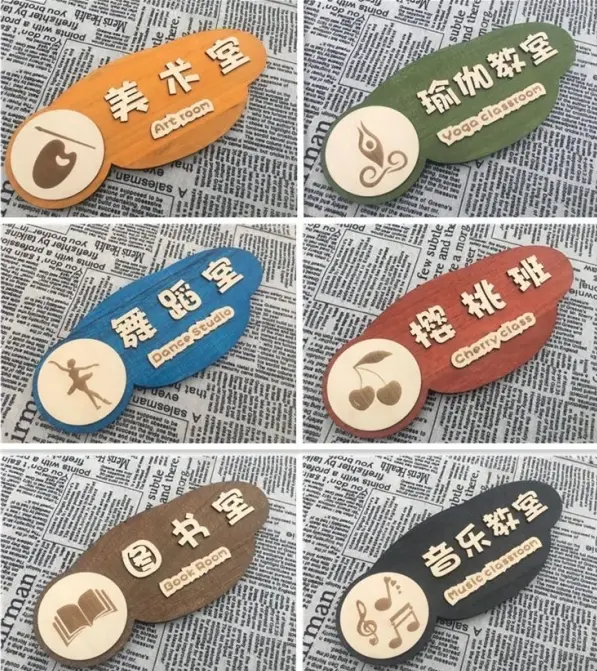
In this project, we learned how to use the “Automatic Sorting” feature in the LaserMaker software. The process involved designing the doorplate, selecting desired elements, completing them individually, and finally assembling them. The assembly step involved “stacking carving,” which meant carving layers of wood gradually and bonding them together to create a three-dimensional “stacked carving.” An example of this is our DIY doorplate. STEAM education, which stands for Science, Technology, Engineering, Arts, and Mathematics, is at the core of our creative process. In our doorplate design, the atomic structure represented Science, the electronic circuit represented Technology, the gear represented Engineering, the hexagram represented Arts, and LaserMaker is the laser cutting design software developed by Leiyu Laser Company. Drawing and modeling are not difficult; with practice and experimentation, everyone can become a better designer!

VII. Course Extension
Doorplates of Various Styles

software building DIY Doorplate 13 (1)

Browse Thunder Laser 
Bolt >

Thunder laser Bolt Plus 2

Recent Blog

    America

    Europe

    Aisa

    Oceanica

    Africa