1. Project objective
Knowledge and skills
(1) Use the “Contour tracing” tool to extract the outline of the hand-painted pattern
(2) Learn to extract hand-painted pattern skills, graphic effect is better
(3) Know how to use [parameter setting], and set parameters correctly according to the design intention
Thinking training
- Design thinking
(1) Anticipate visualizations between photo pixels, styles, and sculpting effects.
(2) Foresee the use of the portrait carving effect of the work-piece scene.
- Computational thinking
(1) Anticipate the principle differences between hand-drawn graphics, image graphics scanning and engraving effects.
- Engineering thinking
(1) Understand the process of transforming hand-drawn graphics into cutting works.
(2) Understand the difference between hand-painted graphics and other images in engraving effect.
(3) Establish the experience parameter values of tracing mode and engraving mode to make photos.
Social responsibility and moral literacy
(1) Be careful not to play pranks on others with hand-painted portraits
(2) Be careful to obtain the consent of others to publish the style of the portrait
2. Application scenario
A photo is not just an ordinary picture, it is a memory, slowly piled up into a happy photo wall. Photo by photo, record every bit of life, record the most beautiful memories of life, how do we keep this most beautiful memories? Please think about how to use LaserMaker to process a graduation photo, so that the laser cutting machine engraving effect is better, to preserve our best memories.

3. Project analysis
(1) The shape of the part: the outline can be square and round, drawn by the designer and achieved by cutting.
(2) The content of the work-piece: The image engraving mark is formed on the material of the work-piece, such as the woodcut effect. After selecting the photo, the file opens in the drawing area.
(3) Component size: Set component size according to product requirements.
(4) Use mode: Consider the use scenario and placement mode, such as vertical or hanging, and consider whether to do waterproof, mildew proof, coloring and other processing.
(5) Material selection: basswood plywood board.
(6) Process effect: tracing or engraving effect.
4. Modeling process

1.Research and hand-drawn design
Measure
Depending on the size of the photo you choose, indicate the length and width of the photo in millimeters (mm) in the table below.
|
Measurement data recording unit:mm |
|
|
Length: |
Width: |
Paint
According to your measurement data, please draw your work in the box.
2.Software drawing
After the analysis of the project, we can complete the engraving of the photo in 3 steps.
(1) Select a photo
Photo engraving uses the shallow engraving process mode of laser cutting, and the engraving effect is not only related to the material, power and speed of the engraving, but also related to the quality of the photo. Therefore, when making photo engraving products, the selection of photos should consider 3 factors.
- One is photo resolution. Engraving format size of 100mm×100mm photo products, photo resolution is not less than 1000 pixels ×1000 pixels.
- The second is the subject of the photo. The subject of the photo should have a high contrast with the background color, the subject should be prominent, and the outline should be clear.
- Third, the ratio of the original size of the photo to the engraving format. The ratio between the original size of the photo and the engraving format size should reach 1:1 or greater than 1:1, that is, the original size of the photo is greater than or equal to the engraving format size, in order to better show the details of the photo, especially to carve the image format size of the larger photo, the photo size, resolution and contrast requirements are higher.
Therefore, if the photo to be carved is a photo scan file or a photo taken by a digital camera, it is required to have a choice of factors such as pixels, sharpness and scanning effect. The following figure shows a photo with a resolution of 1920 pixels by 1200 pixels and a clear outline that can be sculpted to the original size of the image file.
(2) Processing photos
Sometimes a good photo can not carve the ideal effect, so the photo needs to be processed in order to carve a better effect.
Use image processing software, such as “Meitu Xiuxiu” software web version or classic version 4.0.1, to process photo effects, as shown in the following figure.

Under the “Basic Edit” menu, click “Basic Adjustment” and increase the “Contrast” to make the image more distinct, as shownin the following figure.

Under the “Special Effects” menu, click “Artistic special effects”, click “Sketch” special effects, and click “OK” to adjust the picture to sketch, as shown in the following figure.

Click the “Base Edit” menu, click “Base Adjustments”, and increase the “sharpness” to enhance the line outline, as shown in the following figure.

Click “Save and Share”, click “Save picture”, the “Save as” dialog box pops up, enter the file name in the “File name”, such as “souvenir photo engraving”, and click “Save”, as shown in the following figure.

Open LaserMaker software, click “Open” in the toolbar, select the picture named “Photo engraving” to open, as shown in the following figure.

Select the open picture, click “Picture” in the toolbar, enter “95” in the input field of “DPI “in the pop-up window of” Picture Adjustment “(” 95″ is a more appropriate image resolution parameter), and then click “OK” to complete the image processing, as shown in the following figure.

Click the Rectangle Tool and draw a rectangle of the same size along the border of the picture, as shown in the following figure.

- Process pattern design
Select the photo object, double-click its corresponding “shallow carving (picture)” process layer, pop up the “Processing parameters” dialog box, set the processing material to basswood plywood, the process to shallow carving, processing thickness to 0.1mm.
Select the rectangular object, double-click its corresponding “Black cut” process layer, pop up the “Processing parameters” dialog box, set the processing material to basswood plywood, the process to cut, and the processing thickness to 3mm.
Finally, adjust the sequence of processing layers, first shallow carving, then cutting, as shown in the following figure.


Thinking and debugging
(1) Enter the “carving parameters” dialog box, modify the experience value parameters of cutting processing, for example, think and debug the processing speed of the “shallow carving” process to 400, the power to 20, experiment, experience the engraving results generated by different parameters, and debug the appropriate parameters.
(2) Try to select photos with simple pictures or complex elements, and observe the experimental results by adjusting the process and parameters, and sum up the experience of photo engraving.
5.Display of finished products
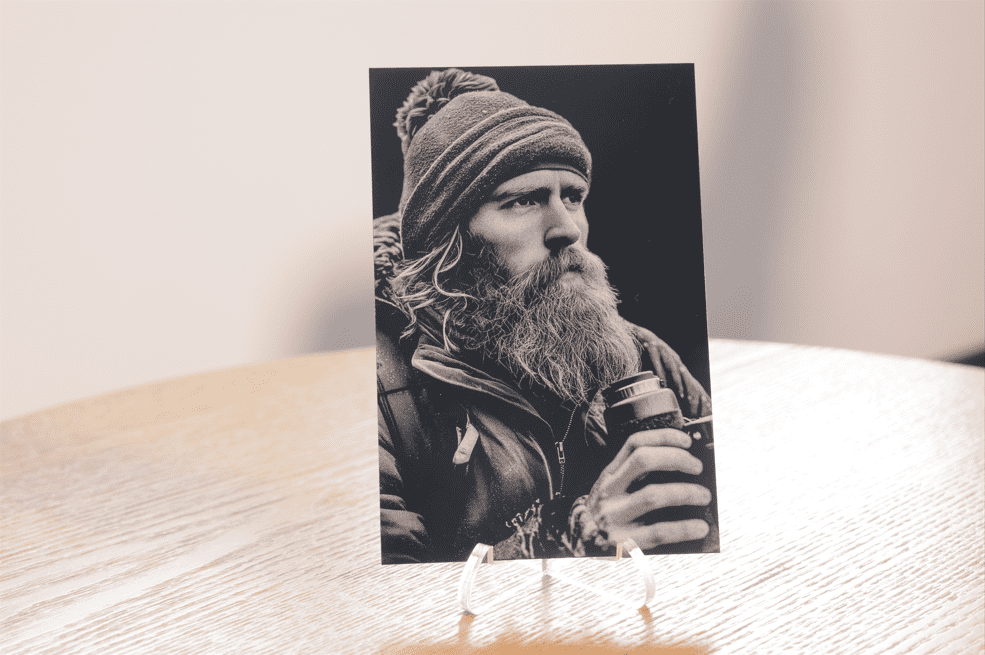
The finished product is shown in the following figure.

6.Extension exercise
Select a photo suitable for laser engraving, such as family photos or building photos, etc., refer to the above method of processing, using laser cutting mechanism to make carved products, such as photo ornaments or key chains. Refer to the example shown in the following figure.

7.Work appreciation
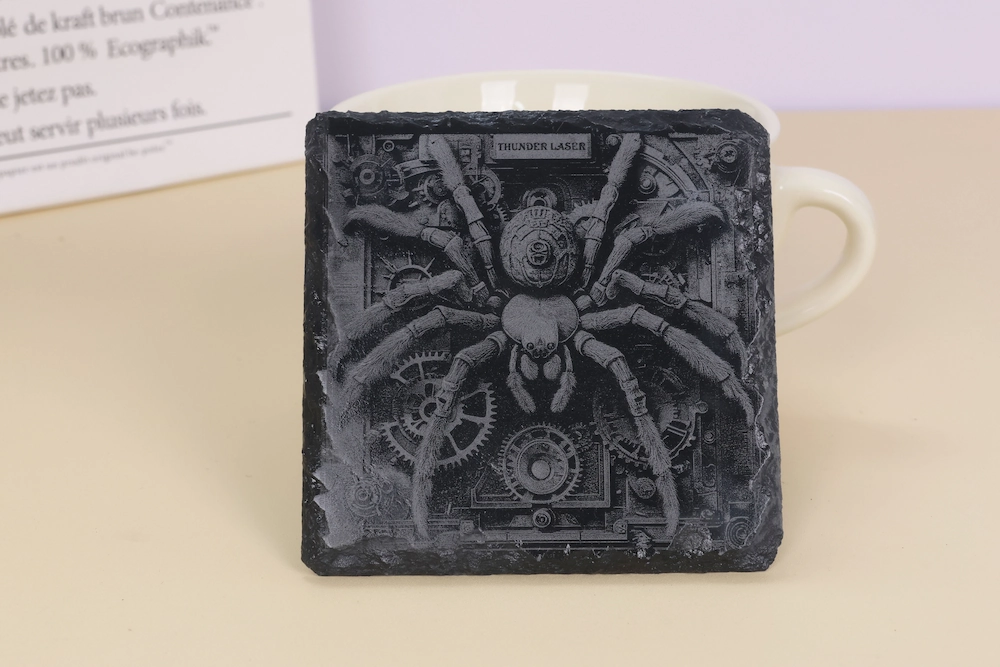
The following figure shows a variety of photo carvings from the LaserBlock open source community for your reference and appreciation.


Browse Thunder Laser
Bolt >


.png) International
International
 United States
 Brasil
 Canada
 Costa Rica
 Česká
Česká
 Ελλάδα
 Polska
 Ireland
 Portugal
 Lietuva
 Россия
 Deutschland
 Britain
 Україна
 France
 Sverige
 Italia
 Norway
 Denmark
 Romania
 한국
한국
 中国
中国
 ประเทศไทย
 中国香港
中国香港
 Israel
 中國臺灣
中國臺灣
 India
India
 پاکستان
 پශ්රී ලංකා
 ジャパン
ジャパン
 Australia
 New Zealand
 South Africa