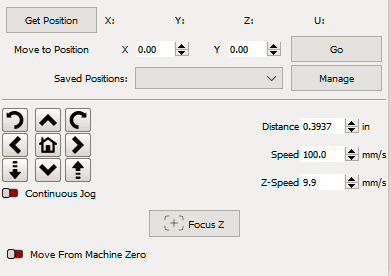
2. Focus Z button in the Lightburn MOVE tab
2. Focus Z button in the Lightburn MOVE tab
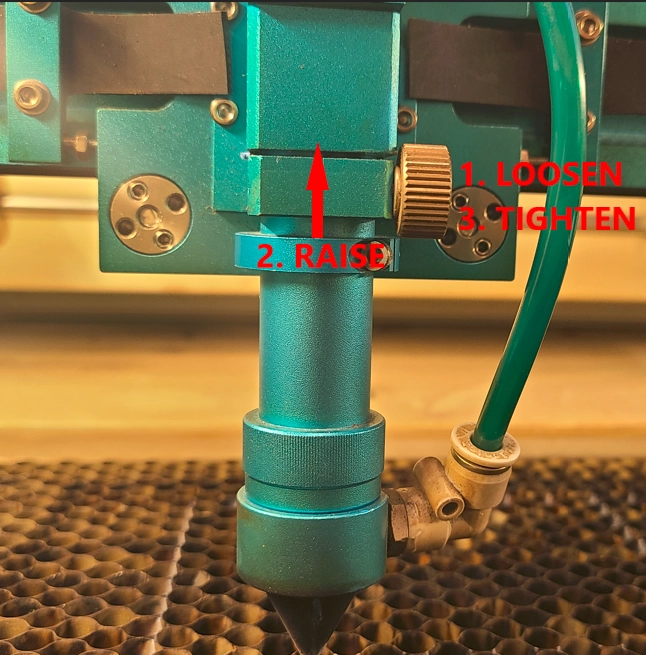
1. Return the laser head to the upright and locked position so that there is no gap between the stop ring and the lens holder assembly.
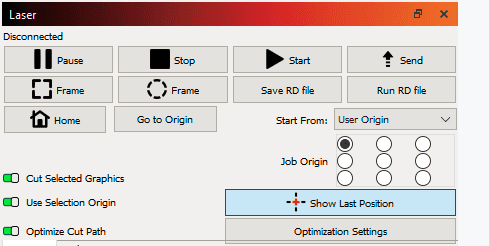
2. Use the HOME button in the Lightburn Laser window to send the laser to the top left of the machine. The laser head does not need to be over the top of the material for the Auto Focus routine.
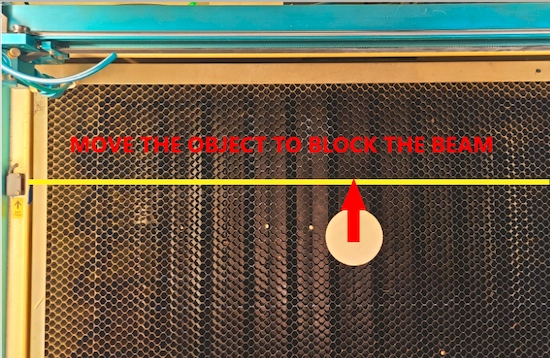
3. Place the material so that it will actually block the light path from the Left Sensor to the Right Sensor

.png "laser cutter Globle")


