fbpx
Search
Close this search box.

How to Process Materials Larger Than the Work Table with Pass Through

June 5, 2024

When we encounter materials larger than the work table, Nova’s pass-through door provides essential assistance by accommodating oversized materials. Additionally, we need to perform multiple passes, which requires using the Print and Cut feature in LightBurn. This feature, along with the pass-through door, is indispensable for processing materials larger than the work table.

Pass Through of Nova Series

The pass through allows for oversized objects to fit in the machine. Your Thunder Nova has a front removable door and a rear removable slot. The clearance is around .8″ depending on the model. The pass through will allow the material to hang outside the machine and be indexed through as you perform your print and cut setups.

Print and Cut

Print and Cut is a software feature that can be use in conjunction with the Pass Through. Print and Cut allows the use of physical marks or points on your material to be used to line up additional cut lines. Print and Cut heavily relies on the machine operator and having a fine tuned machine in order to be successful. It helps when you try to cut or engrave objects larger than the machine’s working area, aligning existing objects for additional laser work.

Reference Video

Operation Steps

1. Prepare for Pass Through

If you are using the passthough for the print and cut, you will need to remove the panels, set the proper Honeycomb position and Focus the laser head manually. If you are only using Print and Cut to line up a job that fits on your honeycomb, then you can skip these steps.

Front:

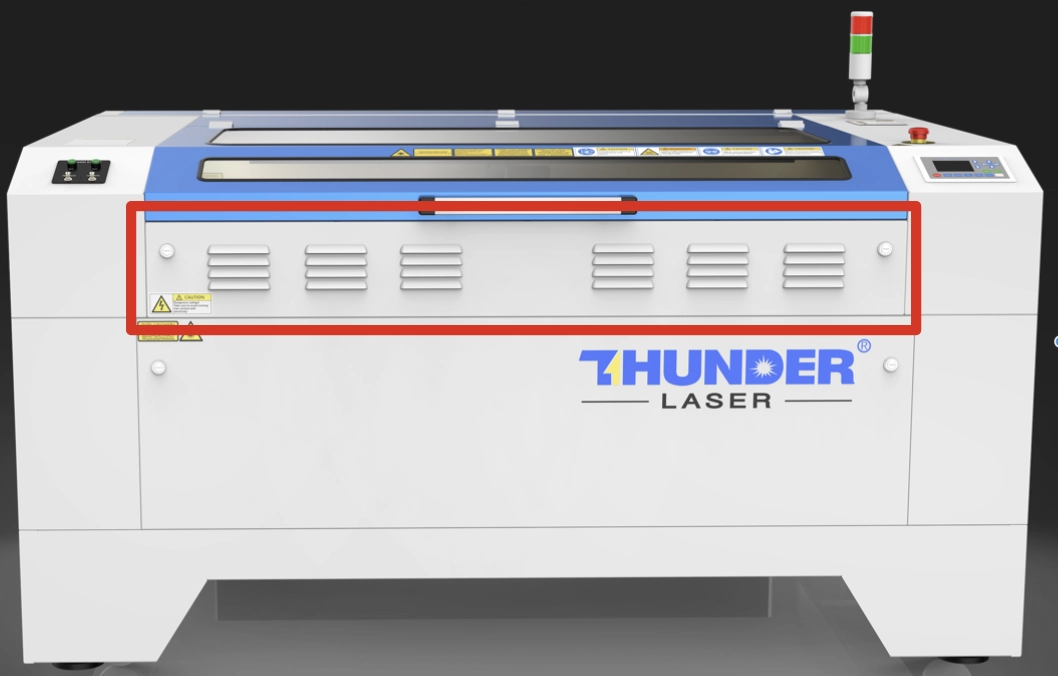
nova pass through door 1
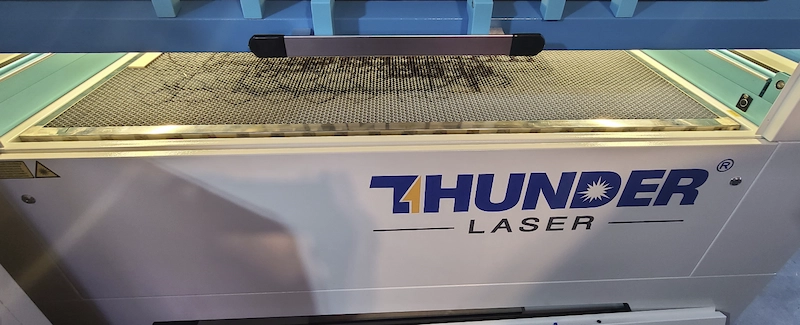
Locate the Front Pass through on your machine

Front Panel Removal:

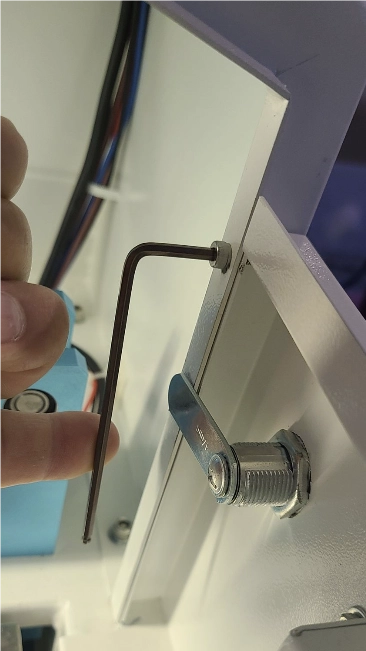
nova pass through door 2
Remove the two bolts on either side with a 3mm Allen wrench
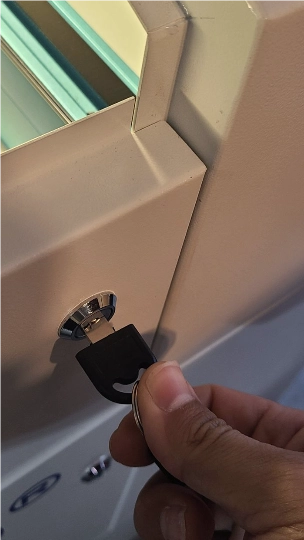
nova pass through door 3
Unlock the Pass Through on both sides
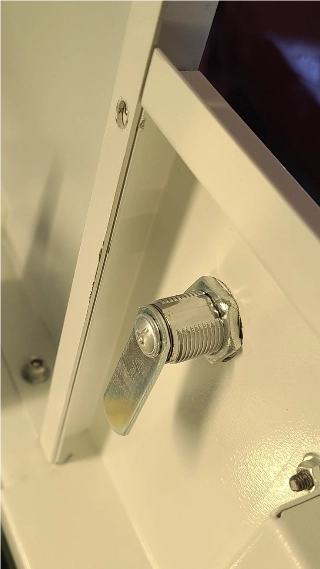
nova pass through door 4
Make sure lock tang is releasing the pass through
nova pass through door 11
Remove the front Panel and store it

Rear Panel:

If you do not need to push the material through the rear pass-through, you can leave it installed.
nova pass through door 12
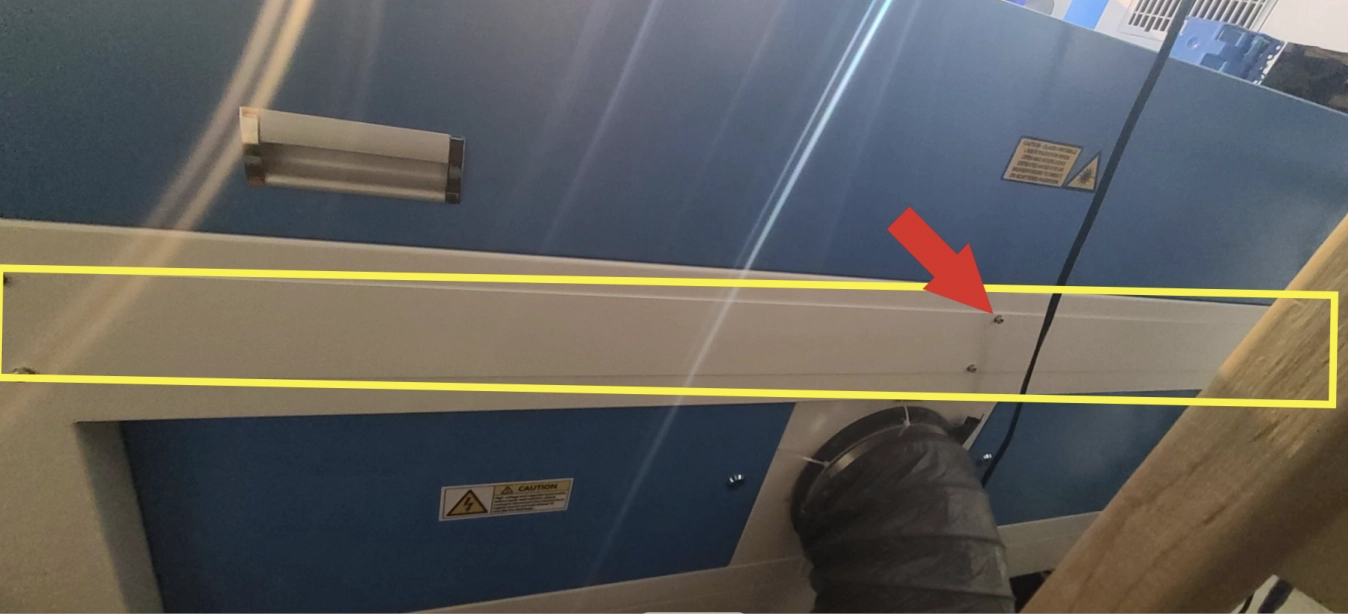
Remove the bolts Holding the rear passthrough with a 3mm wrench. Remove and store.

Honeycomb position:

nova pass through door 5
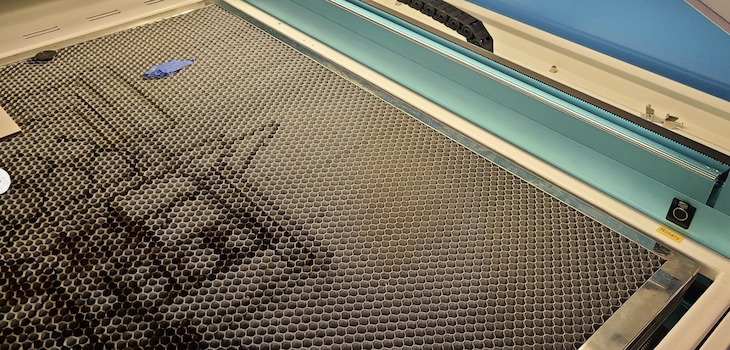
Honeycomb should be level with the main deck so that material will lay flat on the honeycomb and deck as it passes through

Setting the manual Focus:

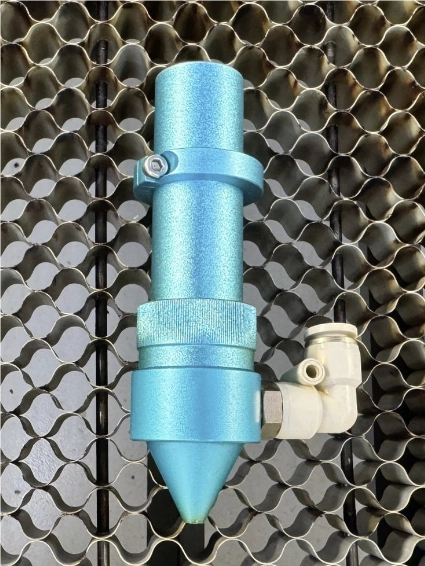
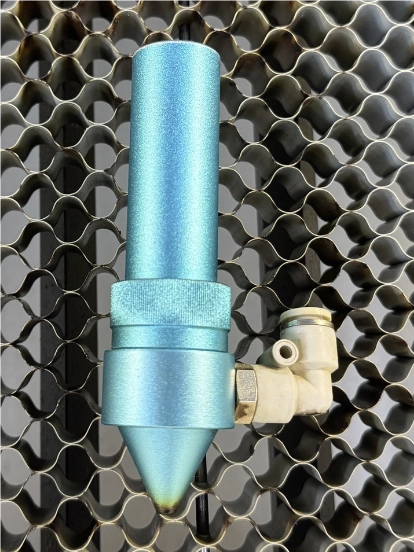
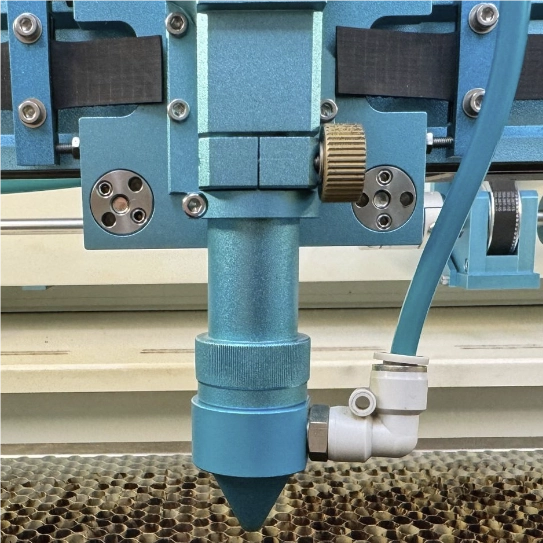
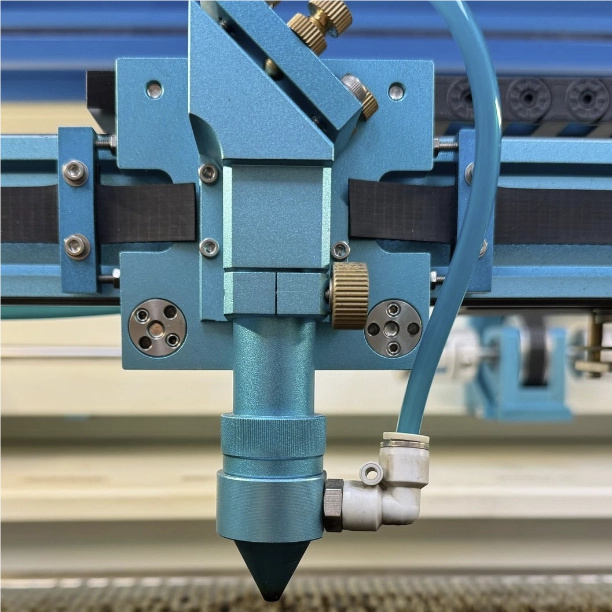
You will be using manual focus for the pass-through as your material will be sitting higher than the optical focus eyes. In order to achieve full pass-through depth, you may have to adjust or even remove the stop ring on your lens. After you are done, you will need to recalibrate the stop ring in order to use auto focus again.
nova pass through door 6
Stock 2″ lens with stop ring
nova pass through door 7
Stock 2″ lens with stock ring removed
nova pass through door 8
Stock 2″ Lens with stop ring, inserted into lens holder.
nova pass through door 9
Stock 2″ Lens with stop ring removed, inserted into lens holder.

2. File and Machine Operation

1.It’s best to use vector files as they are ideal for printing files with patterned designs and for engraving large images. Once confirmed, open the file you need to work with.

2.Confirm the dimensions and position of your work, leaving marked positions on either side of the material to be processed.

3.Use the rectangle tool to divide the material into equal parts. Change the rectangle to a line.

4.Draw a circle or cross mark and group it. Position the marks on both sides of the design, aligning them horizontally.

5.Select the grouped shapes and rectangle, then click the Cut Shapes tool in the toolbar. You will see the design split into the parts that need separate processing.

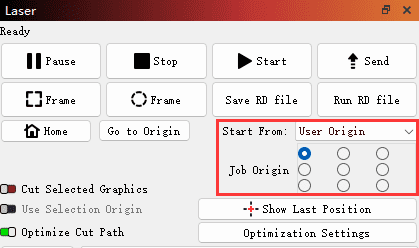
6.In the laser machine control panel, choose User Origin as the starting position, and save it as a new file. Delete the other parts, keeping only the part to be processed along with the two marks, and save the file. Similarly, save other parts along with their marks as new files. This completes the preparation of the files.
nova pass through file
7.Send the file to the laser machine for processing. After completing the first file, move the red light focus to the cross mark. You can switch the movement mode from continuous to jog mode to avoid misalignment.
image

8.After moving, open the second file and select Start Wizard in the Print and Cut menu. When the prompt box appears, click Set First Target Position. Upon success, a filled color circle will appear around the mark.

9.Repeat the same process for the other mark. Once both marks are successfully set, click the “No Scaling” button. Afterward, send the second file to the laser machine for processing. If there are more parts, repeat the same process. The project is now complete.

Thrive with THUNDER LASER Now

    America

    Europe

    Aisa

    Oceanica

    Africa