Introduction
Still pondering what to create with your laser machine? Make a festive custom Christmas card! Here we use red and green as base colors and engrave unique Xmas patterns and greetings. For an extra touch, we laser-cut around a Christmas tree to make it pop up in 3D on the card. Flat or dimensional, these eye-catching cards are sure to spread cheer!
Machine Used
Bolt Pro 22 30W
Material Needed
- Two piece of paperboard
- A tube of glue
Settings
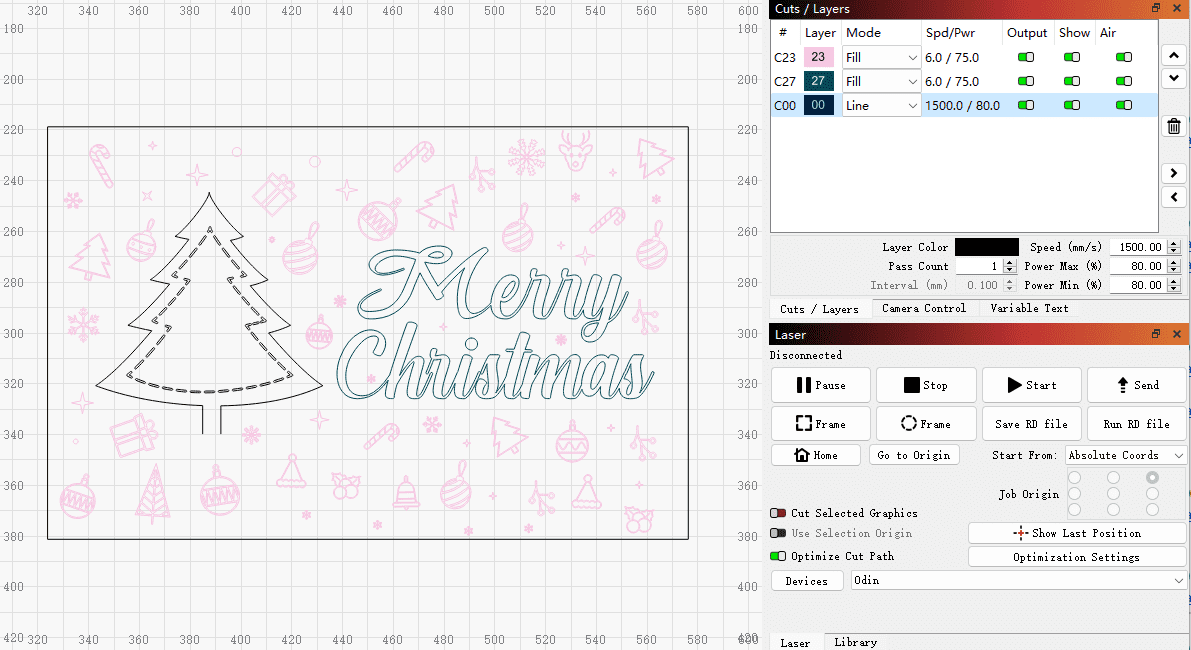
- Engraving Speed:1500mm/s
- Engraving Power:80%
- Cutting Speed:6mm/s
- Cutting Power:75%
- Hatch Type: bidirectional
- DPI:400DPI
Step 1
Import the file into LightBurn, adjust the size, position, and settings. Check out to ensure everything is in order.

Step 2

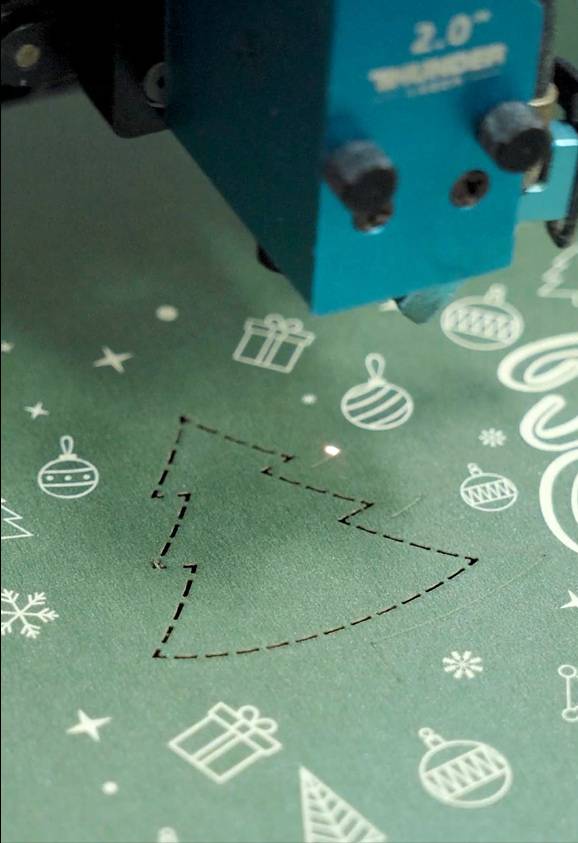
Once everything is set, click ‘Print’ to initiate your laser machine’s operation.
Step 3

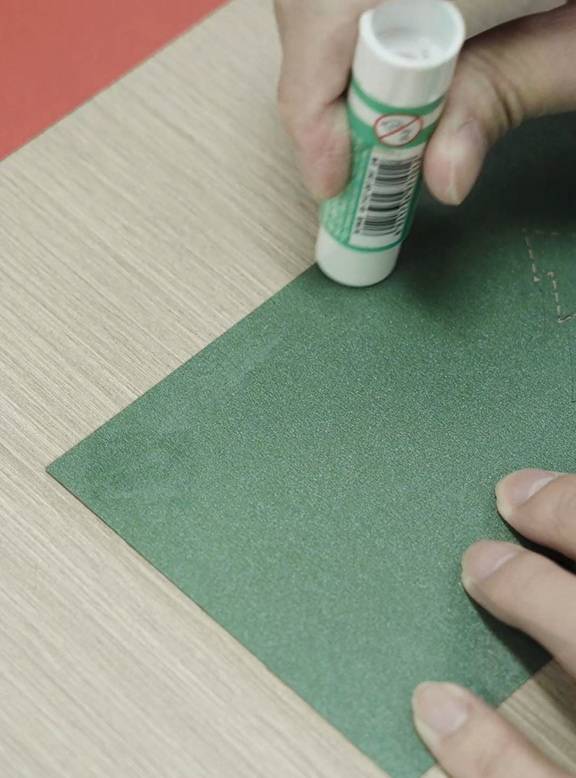
Apply glue evenly on the back of the processed cardboard, especially on all four edges.
Step 4

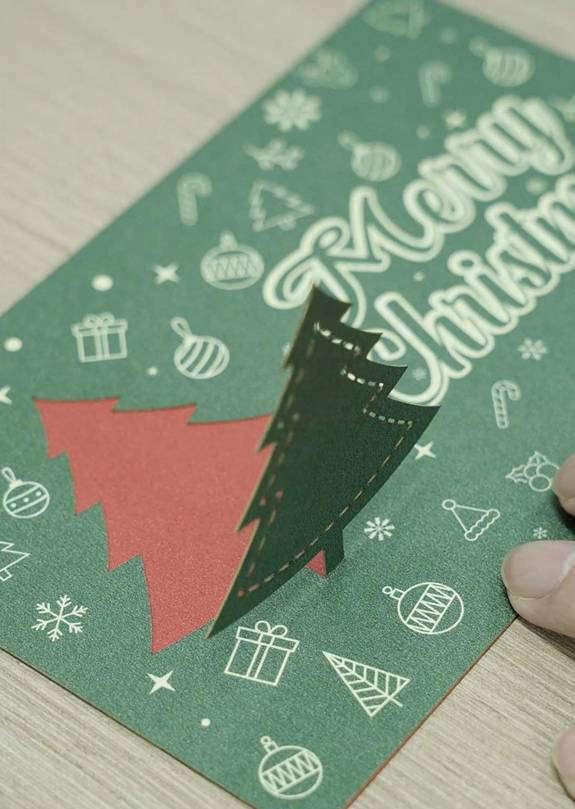
After applying glue, align the cardboard and affix it to the bottom piece. The greeting card is now complete.
Come and Try!
The engraved snowflakes, Santa hats, reindeer, and presents in varying sizes enrich the holiday vibe. The standing Christmas tree cutout adds depth to it. Combining etching and cutting techniques allows more creativity for your cards. Cardstock is highly suitable for laser processing – with skill, you can design many more fun, unique seasonal cards!
Imagine loved ones opening your handcrafted creation, feeling immediately immersed in Yuletide warmth. As they trace their fingers over the precise laser cuts and etched motifs, they’ll cherish the holidays and your thoughtfulness. Let your custom card become an anticipated annual tradition! With laser power, reinvent seasonal greeting rituals with artistic flair.


.png) International
International
 United States
 Brasil
 Canada
 Costa Rica
 Česká
Česká
 Ελλάδα
 Polska
 Ireland
 Portugal
 Lietuva
 Россия
 Deutschland
 Britain
 Україна
 France
 Sverige
 Italia
 Norway
 Denmark
 Romania
 한국
한국
 中国
中国
 ประเทศไทย
 中国香港
中国香港
 Israel
 中國臺灣
中國臺灣
 India
India
 پاکستان
 پශ්රී ලංකා
 ジャパン
ジャパン
 Australia
 New Zealand
 South Africa