Introduction
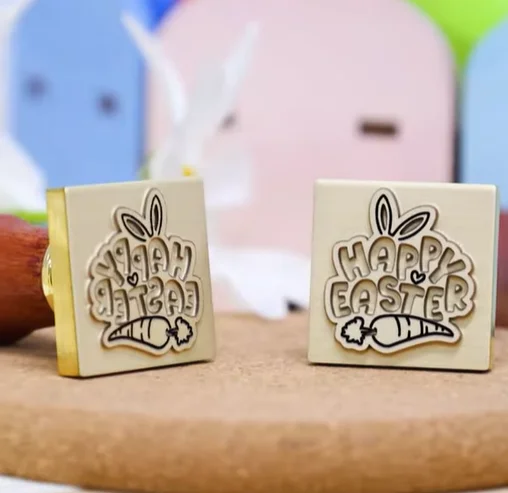
Let’s start laser etching for Easter with a touch of elegance and tradition! Laser etching wax seals add a timeless charm to Easter letters, greeting cards, and gift packaging, making each message feel extra special. With beautifully Laser etching Easter wax seals, you can create personalized seals that capture the spirit of the season!
Ready to add a classic finishing touch to your Easter correspondence? Follow the steps below and etch your way to a heartfelt and festive celebration!
Machine Used
Aurora Lite 50W
Material Needed
Brass
Settings
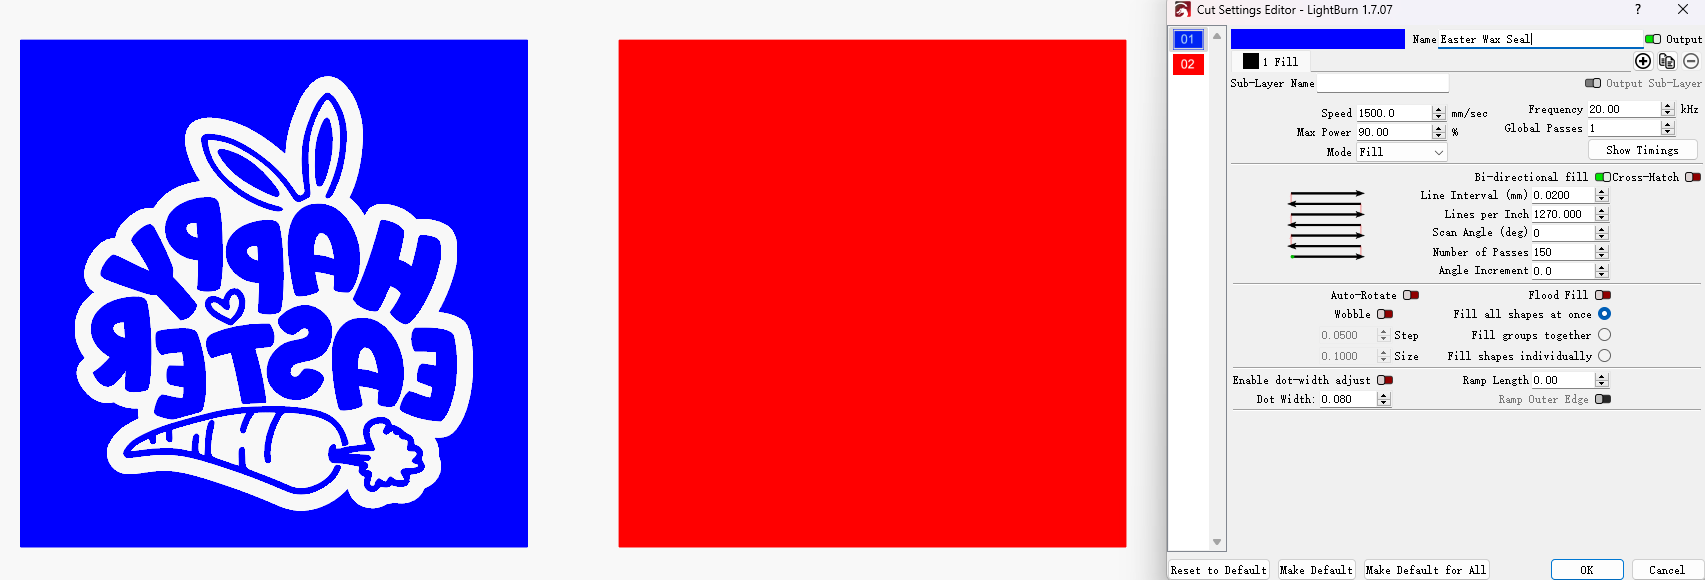
- Laser Etching
- Speed: 1500mm/s
- Marking Power: 90%
- Frequency: 20kHz
- Line interval: 0.02
- Laser Cleaning
- Speed: 1700mm/s
- Marking Power: 20%
- Frequency: 50kHz
- Line interval: 0.02
Check out!
- The machine is connected and operating normally, and the lens cover has been removed.
Step 1: Place the brass wax seals for laser etching
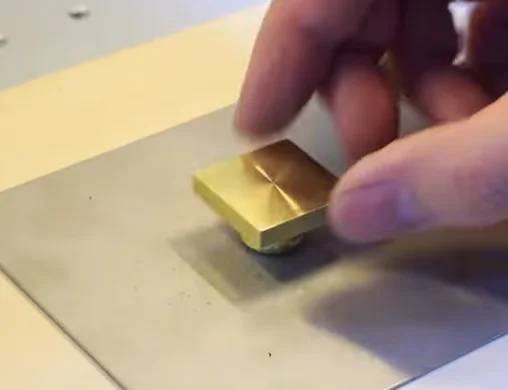
Putting plywood on the platform as a pad, and then put down the brass wax seals on the pad to prevent the beam from damaging the laser bed. You can certainly reuse plywood that is dirty or has failed to engrave to avoid waste!
Step 2: Import laser etching Easter file and check out
Load your design into LightBurn software, adjusting its size and position to fit you Easter brass wax seals. Then make sure the laser etching parameters are set correctly.
We prepared two layers. The blue one is responsible for leaving a deep etching on the brass, while the red layer cleans the brass surface after the laser etching.
Step 3: Don't miss the focus
Missing the focus is one of the biggest reasons for laser etching failure. So don’t forget to click the AF button for auto focus. Of course, manual focus is also effective.
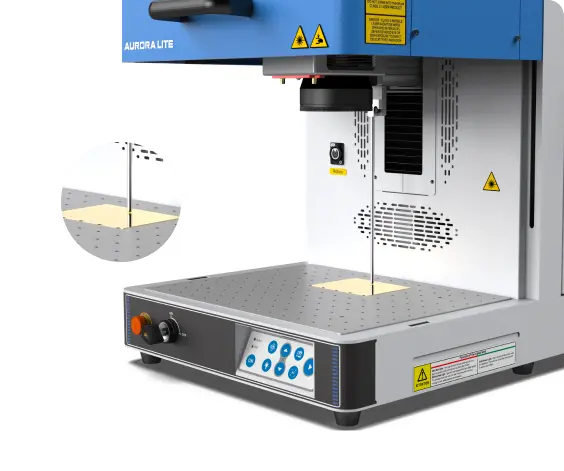
Of course, manual focus is also effective. Hang the focal stick at the correct position under the lens, and then carefully adjust the Z-axis height. When the end of the focal stick just touches the surface of the seal, it is in focus!
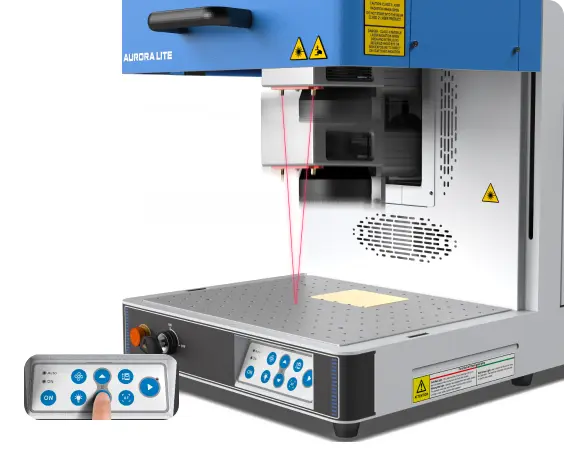
Auto focus
Manual focus
Step 4: Ready to start Easter laser etching
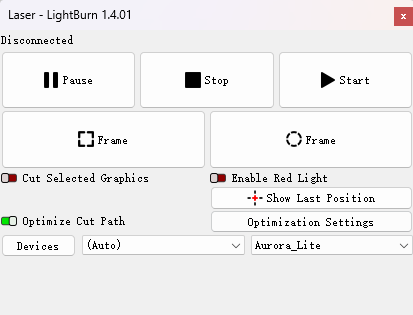
Press the frame button and check if the visual red light indicate the right area to be etched. The frame should fit the brass seals. If not, move the pattern positions until they align.
After checking, close the laser door and begin Aurora Lite’s operation.
Step 5: Monitor the brass wax seals laser etching
Stay near the machine throughout operation to monitor for any unusual sounds or alarms. This vigilance ensures safety during etching, as laser energy is potent. Avoid looking directly at the laser beam, even with protective measures in place.
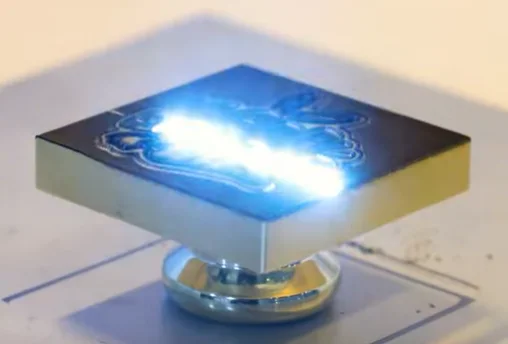
Laser etching brass seals
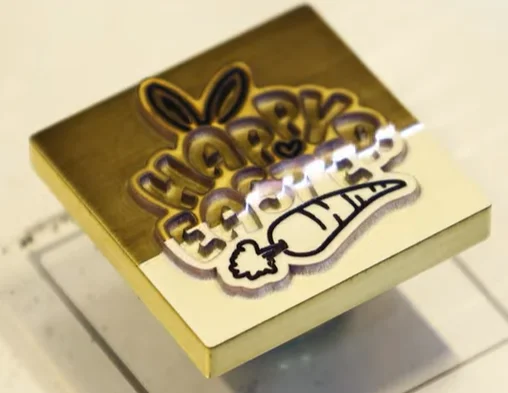
Laser cleaning brass seals
Step 6: Complete the Easter laser etching
Once laser etching is complete, carefully open the door and get your newly personalized Easter brass wax seals. Laser etching does not produce toxic substances, and you can use the laser etching brass wax seals after a simple cleaning!
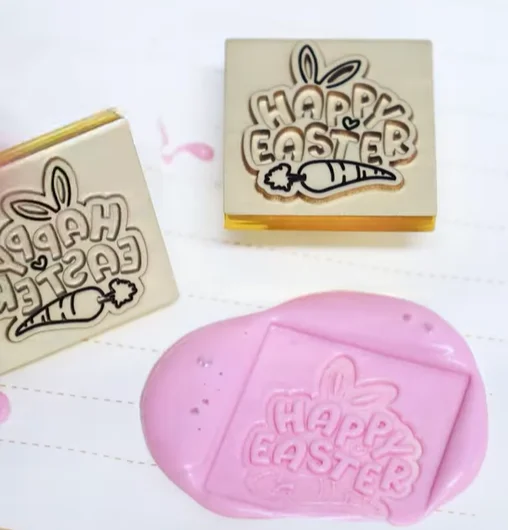
Come and Try!
Easter wax seals add a touch of elegance and tradition to your letters, invitations, and packaging. Crafted for durability and precision, these laser etching seals create crisp, detailed impressions in wax, making every correspondence feel personal and distinguished. Whether you’re sealing festive greeting cards, handmade gifts, or decorative envelopes, laser etching Easter wax seals offer a timeless and stylish way to elevate your holiday celebrations.
Want to explore more Easter laser inspiration?


.png) International
International
 United States
 Brasil
 Canada
 Costa Rica
 Česká
Česká
 Ελλάδα
 Polska
 Ireland
 Portugal
 Lietuva
 Россия
 Deutschland
 Britain
 Україна
 France
 Sverige
 Italia
 Norway
 Denmark
 Romania
 한국
한국
 中国
中国
 ประเทศไทย
 中国香港
中国香港
 Israel
 中國臺灣
中國臺灣
 India
India
 پاکستان
 پශ්රී ලංකා
 ジャパン
ジャパン
 Australia
 New Zealand
 South Africa