Let’s make your axe as tough and distinctive as you are! Laser marking can engrave your name or logo directly onto the metal head, ensuring your axe stands out on busy job sites and adds value for you or your customers.
Ready to give your axe the personalized edge it deserves? Follow the steps below and carve out your path to success!
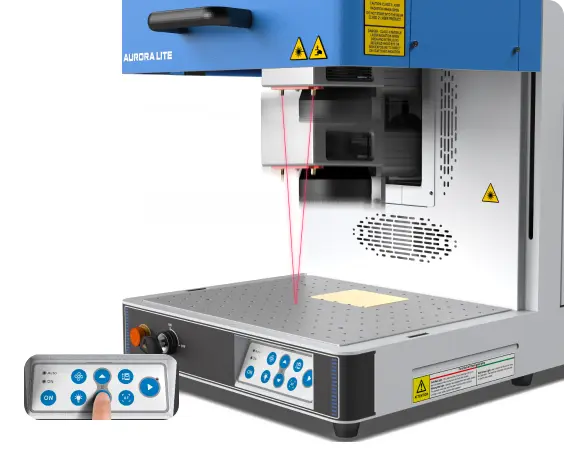
The machine is connected and operating normally, and the lens cover has been removed.
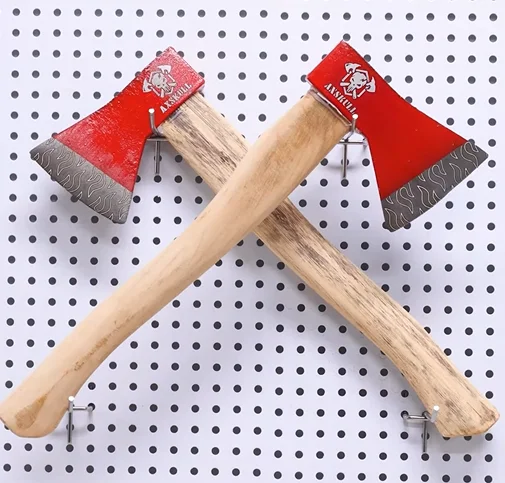
Step 1: Place the metal axe
Put the metal axe on the laser bed. The metal axe is well suited for laser marking.
Step 2: Import laser marking file and check out
Load your design into LightBurn software, adjusting its size and position to fit your axe. Then make sure the laser marking parameters are set correctly.
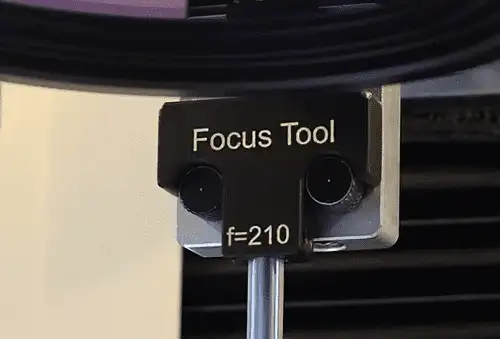
Step 3: Don't miss the focus
Missing the focus is one of the biggest reasons for laser marking failure. So don’t forget to click the AF button for auto focus.
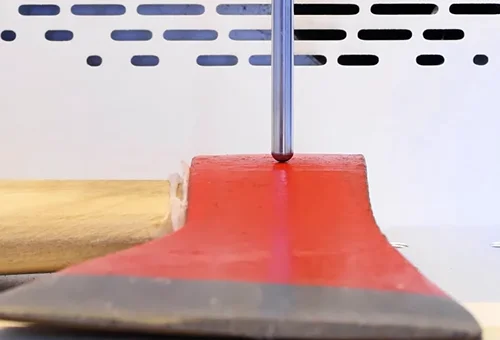
Of course, manual focus is also effective. Hang the focal stick at the correct position under the lens, and then carefully adjust the Z-axis height. When the end of the focal stick just touches the surface of the axe, it is in focus!
Auto focus
Manual focus
Focal stick of manual focus
Adjust the focus
Step 4: Ready to start laser marking
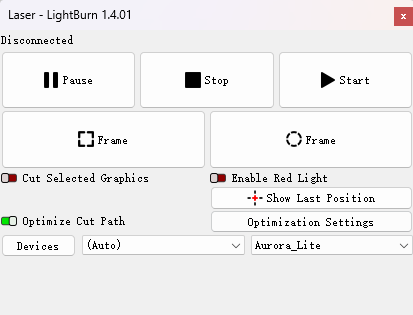
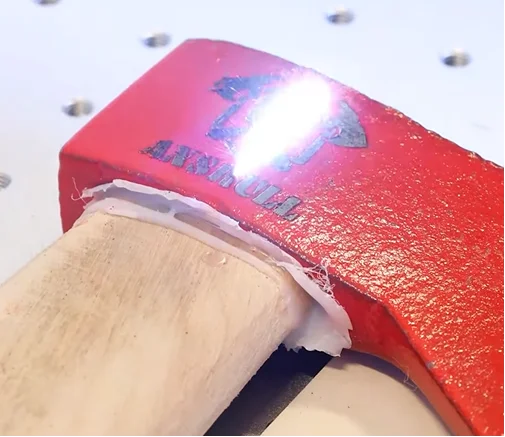
Press the frame button and check if the visual red light indicate the right area to be marked. The frame should be located in the correct position for the axe. If not, move the pattern positions until they align.
After checking, close the laser door and begin Aurora Lite’s operation.
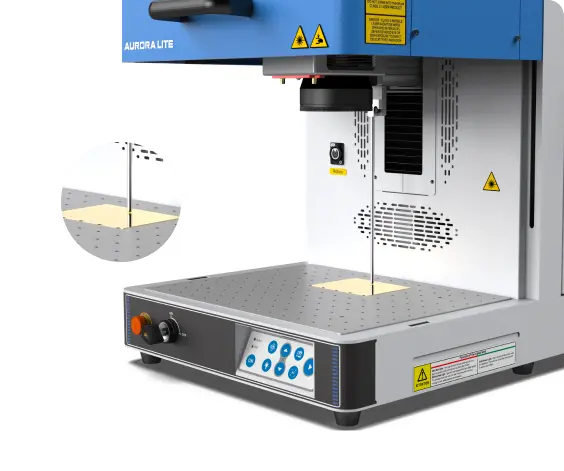
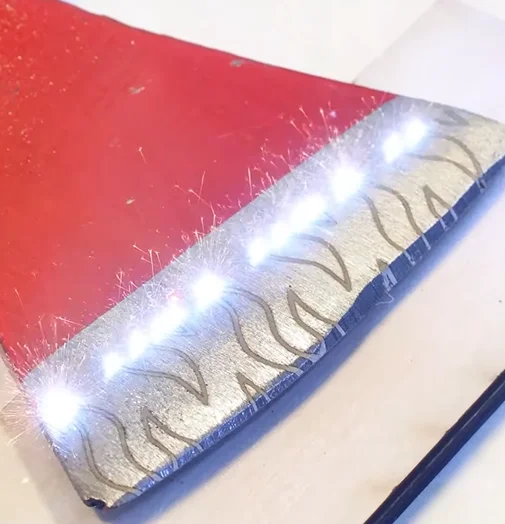
Step 5: Monitor the metal axe marking process
Stay near the laser machine throughout operation to monitor for any unusual sounds or alarms. This door ensures safety during laser marking, as the energy is potent. Avoid looking directly at the laser beam, even with protective measures in place.
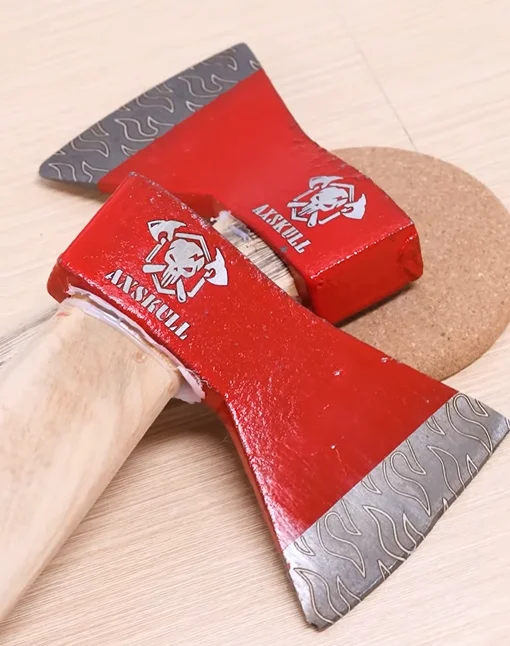
Step 6: Complete the laser marking
Once laser marking is complete, carefully open the door and get your personalized candy box. Laser marking does not produce toxic substances, and you can use the axe after a simple cleaning!
Come and Try!
Every swing of your axe becomes a signature statement when it’s laser marked. This personalized touch not only ensures your tool stands out on busy job sites but also prevents mix-ups by clearly displaying your name or logo.
Whether you’re an outdoorsman, woodworker, or DIY enthusiast, the seamless blend of durability and style offered by laser marking transforms your axe into both a practical tool and a unique statement piece. Elevate your craft with an axe that reflects your exceptional workmanship and sets you apart from the rest!


.png "laser cutter Globle")


