Let’s make your hammer as tough and unique as you are! Laser marking can add your name or logo right onto the metal head, and it’s perfect for keeping your hammer from getting mixed up on busy job sites or adding value for customers.
Ready to give your hammer the edge it deserves? Check out the steps below and mark your way to success!
The machine is connected and operating normally, and the lens cover has been removed.
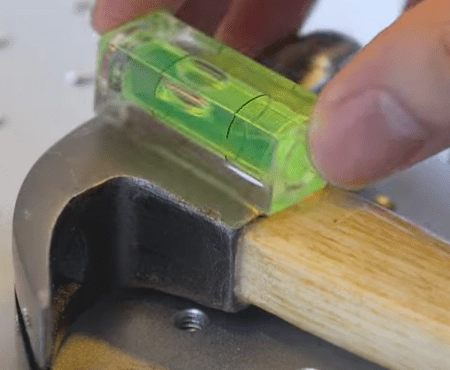
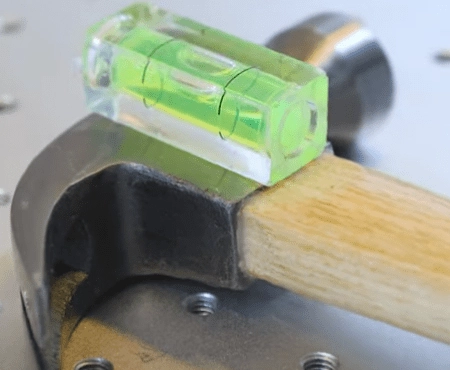
Step 1: Level the hammer
Place the hammer, and level it. Because the hammer head is always thicker than its handle, we should jack up the handle to make the whole hammer level. We can use a level to test if it is flat.
Place the level (that little green rectangle) on the head of the hammer that will be marked. Observe the bubbles inside and adjust the height of the hammer handle to center the bubbles. Most importantly, once you see the bubble centered, turn the level over one side. If the bubble is still centered, the adjustment is good. If not, keep adjusting!
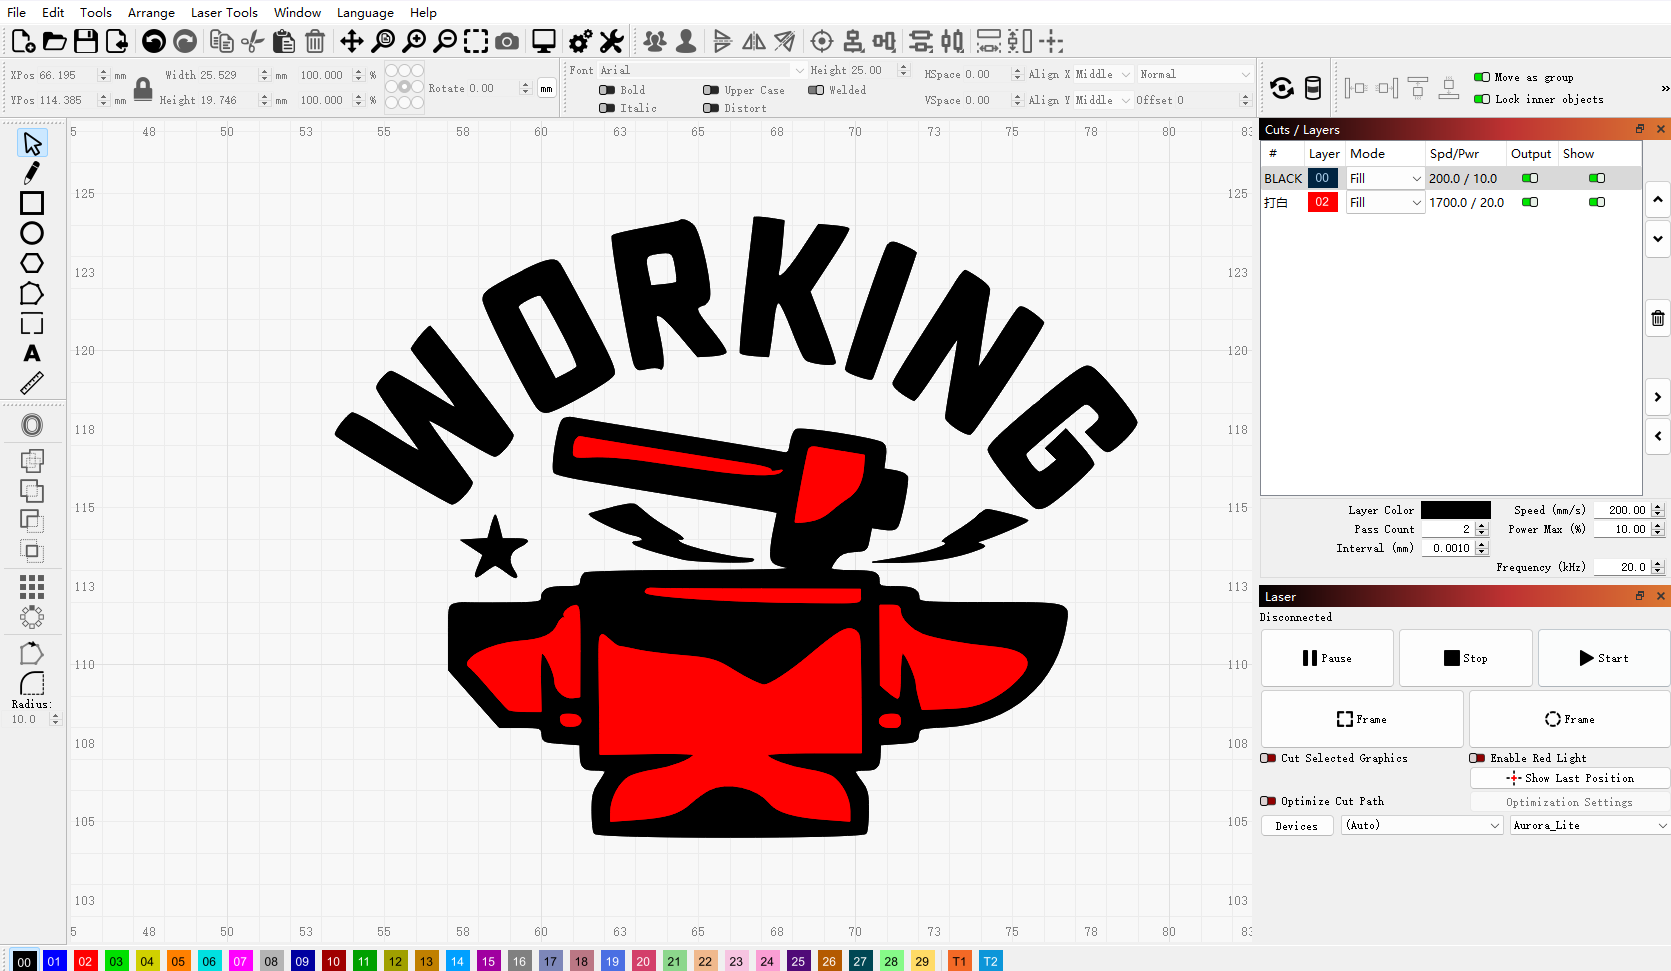
Step 2: Import laser marking file
Load your design into LightBurn software, adjusting its size and position to fit your hammer.
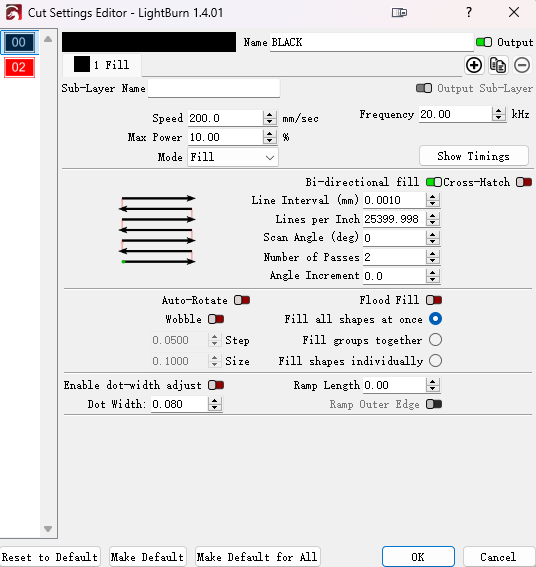
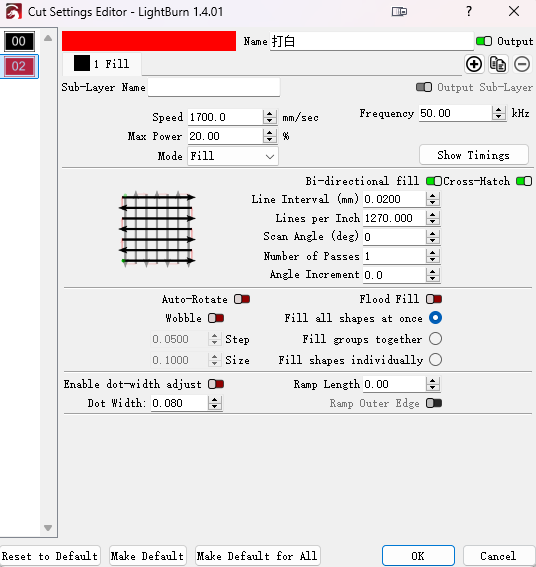
Step 3: Check out the hanmmer settings
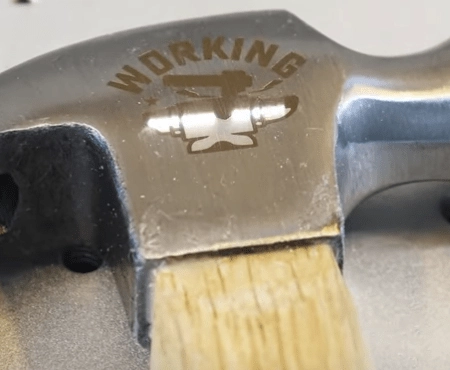
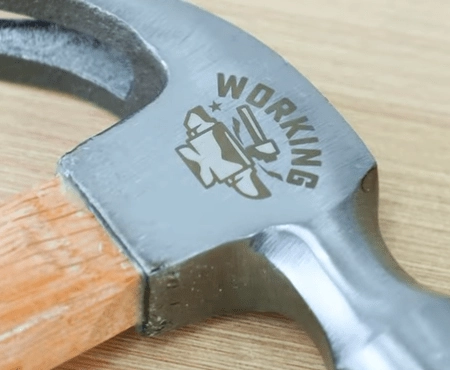
Here are the two laser marking layers: the black layer represents a gold brown marking, while the red layer add a white marking effect.
Step 4: Don't miss the focus
Press the frame button to visualize the laser marking area with a safe red light. Adjust your design until it aligns perfectly with the hammer head. Once confirmed, close the machine door and initiate the marking process by pressing start.
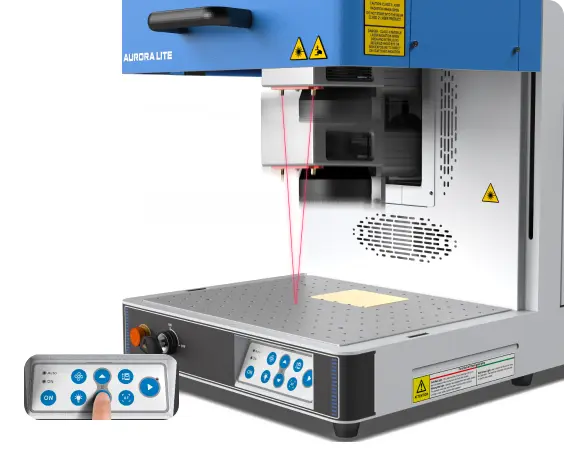
Auto focus
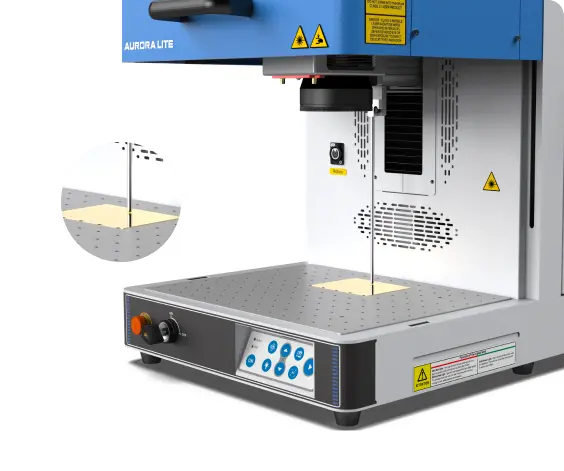
Manual focus
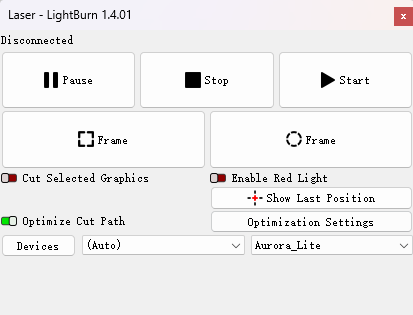
Step 5: Ready to start
Press the frame button and check if the visual red light indicate the right area to be marked. The frame should be located on the hammerhead. If not, move the pattern positions until they overlap.
After checking, close the laser door and begin Aurora Lite’s operation.
Step 6: Monitor the hammer marking process
Stay near the machine throughout operation to monitor for any unusual sounds or alarms. This vigilance ensures safety during marking, as laser energy is potent. Avoid looking directly at the laser beam, even with protective measures in place.
Step 7: Complete the task
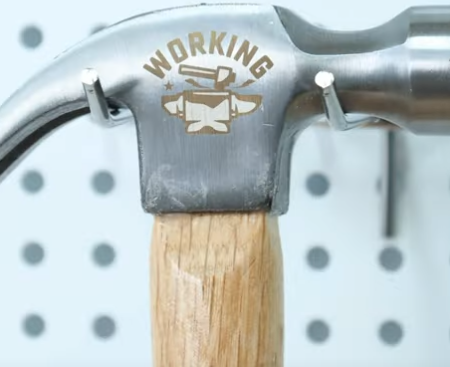
Once laser marking is complete, carefully open the door and get your newly personalized hammer!
Come and Try!
A laser marking hammer is your signature in every swing. Perfect for contractors, builders, and DIY enthusiasts, these hammers prevent mix-ups with marked names or logos.
Durable and personalized, laser marking offer both style and utility on-site or in a hardware store. Elevate your work with a hammer that reflects your craftsmanship and stands out from the rest.
.png "laser cutter Globle") International
International
 United States
 Brasil
 Canada
 Costa Rica
 Mexico
 Česká
Česká
 Romania
 Polska
 Ireland
 Italia
 Lietuva
 Россия
 Deutschland
 Britain
 Україна
 France
 Sverige
 Norway
 Denmark
 Ελλάδα
 Portugal
 한국
한국
 中国
中国
 中国香港
中国香港
 Israel
 中國臺灣
中國臺灣
 ジャパン
ジャパン India
India
 پاکستان
 پශ්රී ලංකා
 ประเทศไทย
 Australia
 New Zealand
 South Africa