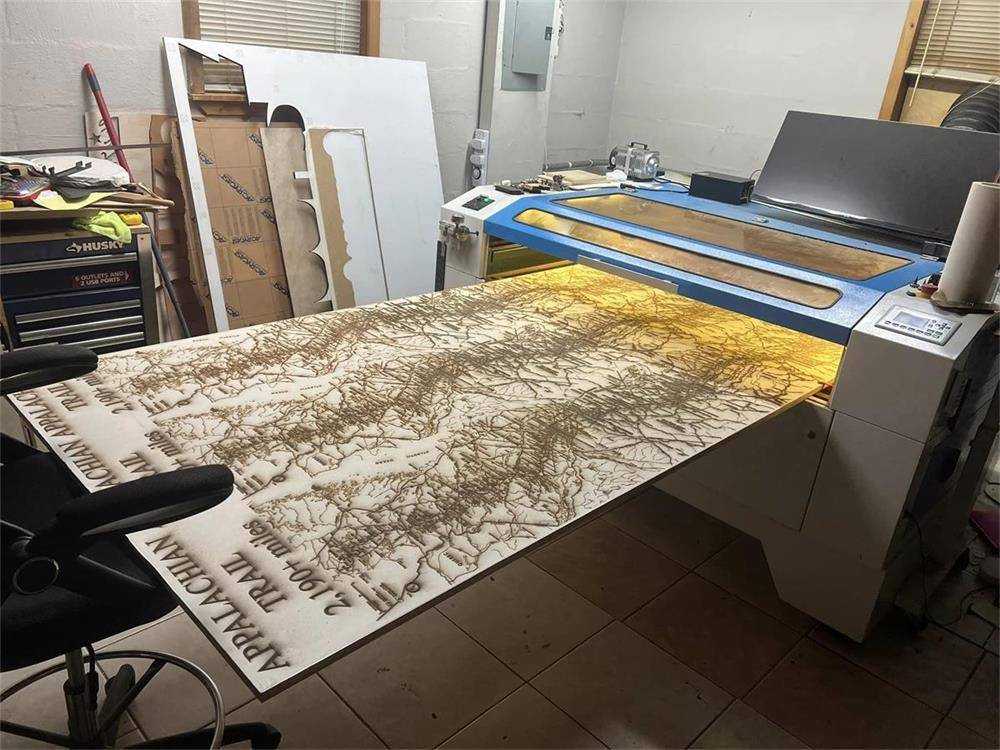
Just imagine someday when you need to cut a super long material and the table of your laser cutter is not long enough, what can you do? Using a saw to cut the material into small pieces first? That would be a waste of time and might damage the material a lot.
Don’t tell me that your laser cutter does not have a pass through door design! All Thunder laser cutters has a pass through door design to deal with such case, you can learn how to use this function easily from this video.
The pass-through door is a structural design feature of laser cutting machines that allows them to engrave or cut materials larger than the machine’s working area. This design is typically found in industrial-grade laser cutting machines, particularly when handling large workpieces. The pass-through door generally has a wide opening and, when combined with the laser cutting head, can flexibly accommodate materials of various sizes and shapes.
laser cutter with pass through
Opening the front bezel with a key, remove the front bezel, and place the material flat on the Thunderlaser machine.
Next, disassemble the rear bezel, which is fixed by screws.
Remove the screwdriver from the kit, unscrew the screw, and remove the bezel.
It can be seen that a straight groove of about 3cm is exposed, allowing longer materials to pass through the straight groove.
The limited height of the straight groove can ensure safer use of the machine.
The Thunder laser cutter with pass through door makes your work more complete in carving.

Use Lightburn Cutting a Project Larger Than Your Laser’s Workspace
To cut a project larger than your laser’s work area, the process involves strategically dividing the design into manageable sections using the “Cut Shapes” function. For precise alignment between sections, add crosshair markers to each section; these will serve as “Target Positions” to ensure accurate positioning of subsequent sections.
It is critical to plan the division so that both the section and its corresponding crosshairs from the previous cut fit entirely within the laser’s work area. This ensures continuous and accurate alignment as you move from one section to the next.
Once the crosshairs of a section are engraved, assign them to a Tool layer to prevent them from being output again during subsequent cuts. Do not delete or reposition these crosshairs, as they are essential for alignment throughout the entire project. Similarly, once a section is fully engraved or cut, move the remaining graphics for that section to a Tool layer or delete them to avoid duplicating output.


.png) International
International
 United States
 Brasil
 Canada
 Costa Rica
 Česká
Česká
 Ελλάδα
 Polska
 Ireland
 Portugal
 Lietuva
 Россия
 Deutschland
 Britain
 Україна
 France
 Sverige
 Italia
 Norway
 Denmark
 Romania
 한국
한국
 中国
中国
 ประเทศไทย
 中国香港
中国香港
 Israel
 中國臺灣
中國臺灣
 India
India
 پاکستان
 پශ්රී ලංකා
 ジャパン
ジャパン
 Australia
 New Zealand
 South Africa